When I first started quilting, I wasn’t really concerned about scraps of fabric. Unless it was a big piece (maybe close to a fat quarter) then I didn’t save the leftover fabric – I just threw it out. ***GASP!!!*** I know all you experienced quilters and fabric hoarders are having a hard time believing it, but it is true. I used to be a fabric waster. I admit it. Since then, I have gradually started saving smaller and smaller pieces with hopes of one day making a scrappy quilt out of them. However, I draw the line at about a 3” square. If it’s smaller than that, I still usually toss it – I know I’ll never have the patience to do a postage stamp quilt so it’s pretty pointless to keep. But I still feel bad just throwing them away! So I decided to come up with a few ideas for the little scraps that I know I won’t sew into anything.
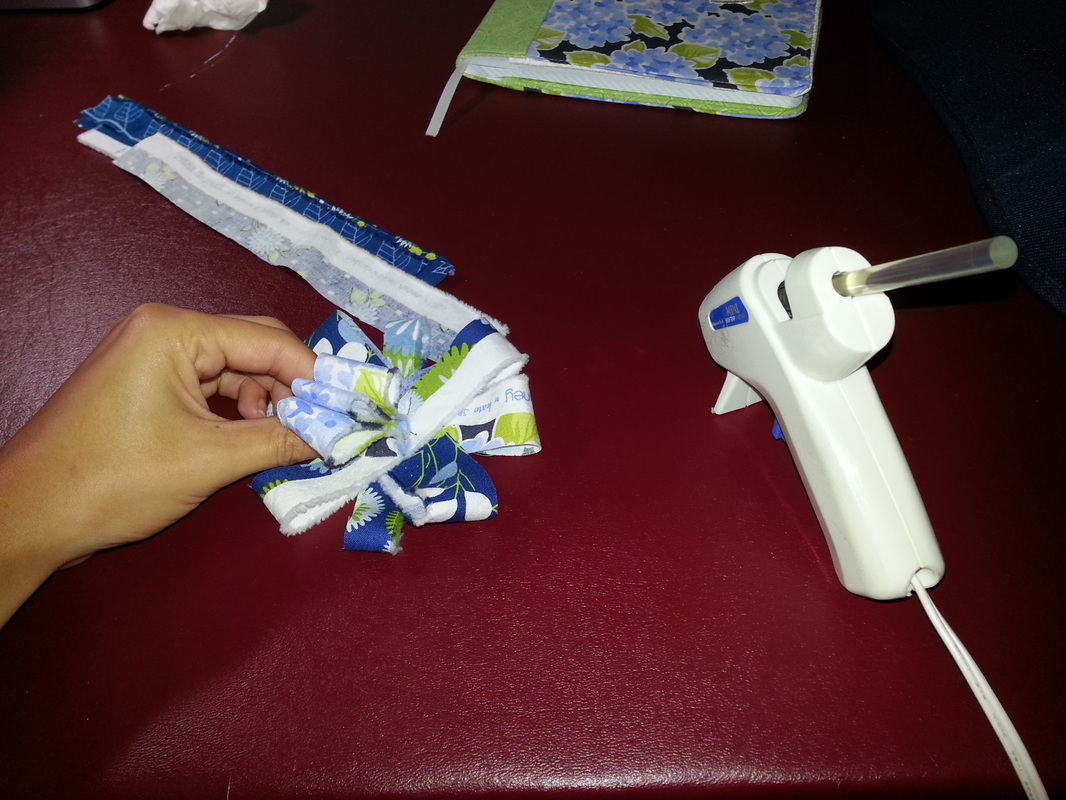
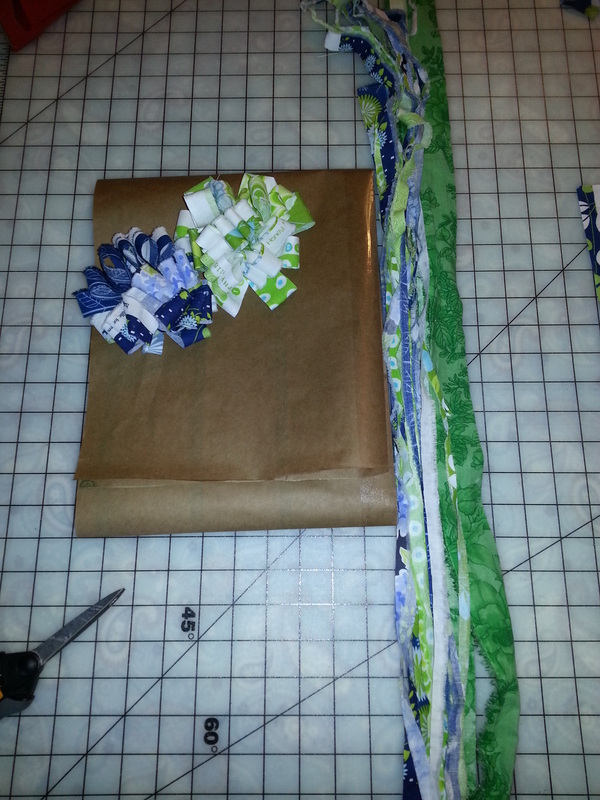
For my mom’s 50th birthday quilt, I wanted to wrap her present but you can’t bring a wrapped gift on an airplane so I needed some wrapping I could pack without getting too smushed. So I decided to make “ribbon” and bows out of fabric instead. For the bows, I had some short strips that were around 1” by 6” so I folded a few into loops and sewed them together to make a base for the bow.

Next I used the hot glue gun to glue more fabric strips and loops onto the bow. I wasn’t very precise here, I just grabbed a strip, folded it however I saw fit and glued it down.
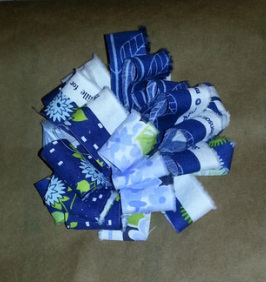
Keep going until it looks like a pretty bow and you are happy with the fullness. Don't stress about it - i'm sure it looks great. If you're like me then I know you'll be tempted to keep messing with it until it looks "perfect" but don't! It will look good I promise!
If you want to make the bow even more re-usable, you can hot-glue a clip onto the back of it and then it could be clipped onto a cute bag or something (and you can clip the bow onto the ribbon instead of trying to tape it down).
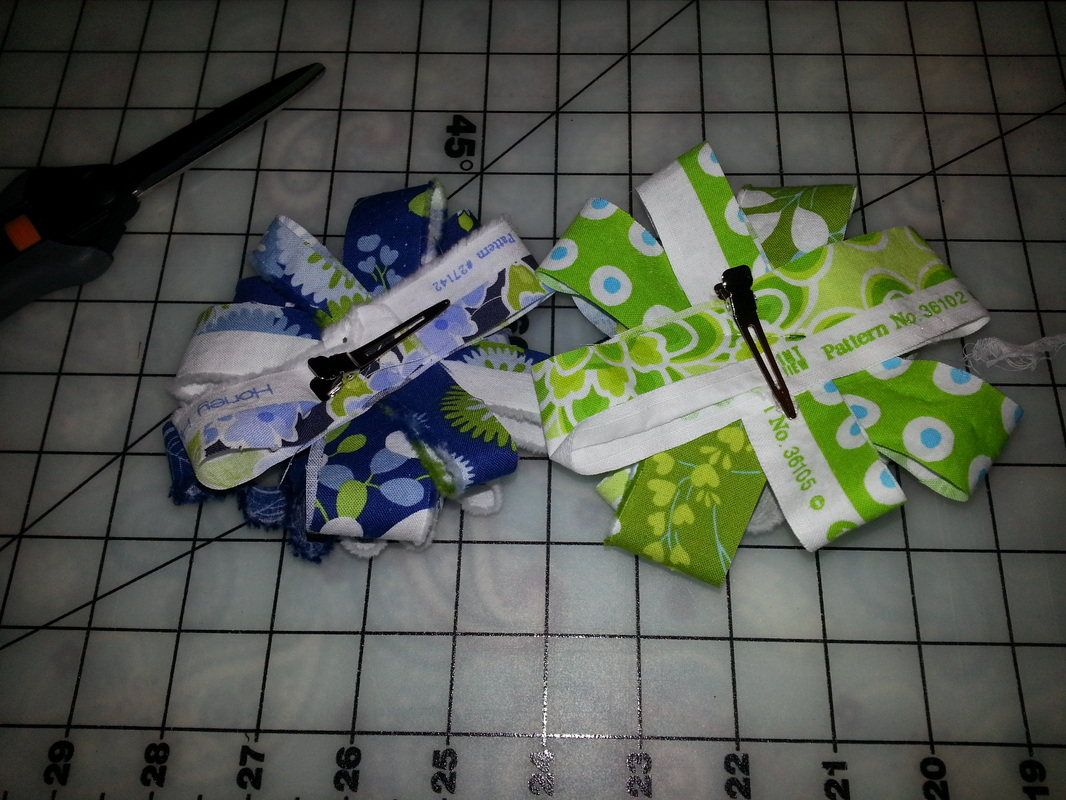
And there you have it two cute bows! For the ribbon, I just braided some long strips of selvage and then tied them together until it was as long as I needed. And see that brown paper? That’s the actual paper I used to wrap the present and it’s really the paper that comes off my bolt of batting as I unroll it. Cute idea, right?!
Unfortunately I didn’t get a pic of the wrapped present (it was pretty tight quarters trying to wrap that present on the cruise ship so I was kind of hurrying) but I assure you, the wrappings all held up great in my suitcase and were very festive.
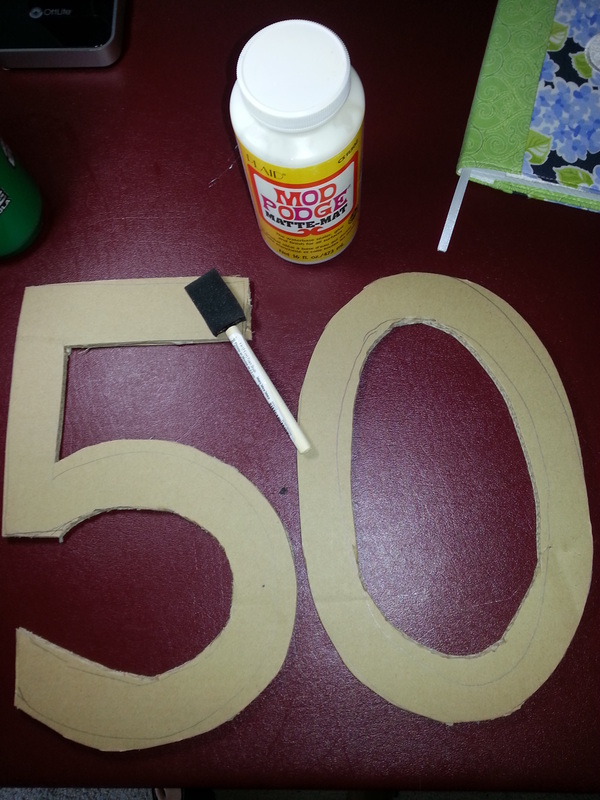
After I finished the bows and ribbons, I still had a ton of little rectangles and short strips left from making the quilt. I don’t remember what I did that caused so much trimming but there were quite a few of them. So I decided to make a party decoration with them! First I cut out a “five” and a “zero” from cardboard (for her 50th birthday, remember?) and spread a layer of Mod Podge over them.
After I finished the bows and ribbons, I still had a ton of little rectangles and short strips left from making the quilt. I don’t remember what I did that caused so much trimming but there were quite a few of them. So I decided to make a party decoration with them! First I cut out a “five” and a “zero” from cardboard (for her 50th birthday, remember?) and spread a layer of Mod Podge over them.
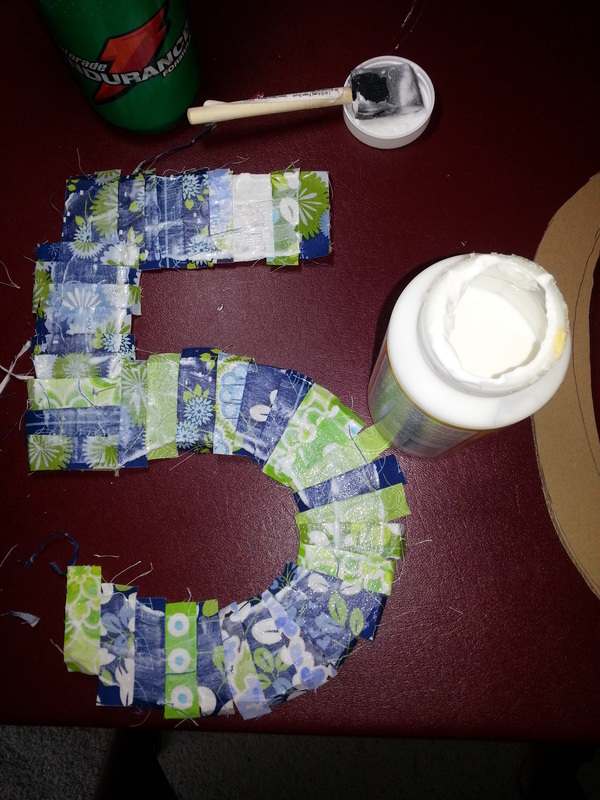
Next, I laid the little rectangles of fabric over the cardboard and pressed them into the Mod Podge (you could also use Elmer’s glue). Don’t worry if they aren’t all the same size or if they hang over the edge of the letters, they can be trimmed later. After I had covered the entire cardboard area with fabric, I spread another layer of mod podge over the fabric strips (be careful to only go in one direction or do it gently so you don’t cause your fabric pieces to get pushed around).
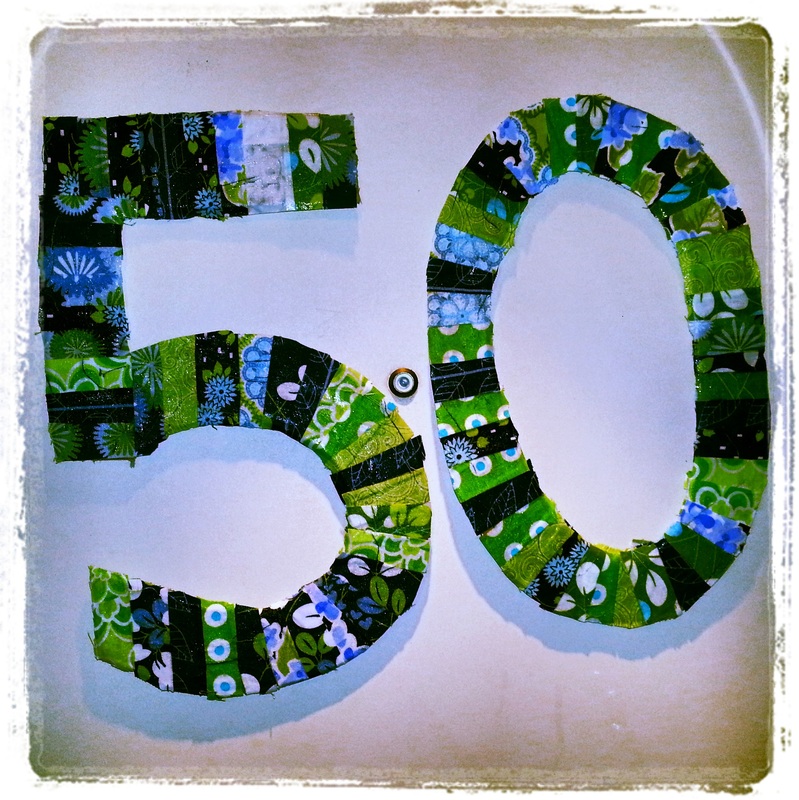
While it’s drying, repeat this process for any other letters or numbers you want to do. Once they are all dry, you can use fabric scissors to trim the fabric along the edge of the cardboard if you’d like (or you can leave it for a “shabby” look) and then it’s ready to be hung up! They are really light decorations so they held up just fine with a little bit of scotch tape!
I know the wrapping materials and party decorations may not be something that’s kept forever, but at least I found a way to re-use them before they get tossed in the trash. Anyone else have some great ideas for using up tiny scraps of fabric at the end of a project? My favorites are probably things you can do right away at the end of a single project – I don’t want to store up bins of little scraps just staring at me longingly hoping I’ll make something with them, LOL. I’d love if you guys share any ideas you’ve got!!


