A couple months ago, my sister-in-law Corine, messaged me about making a weighted blanket for her son (my nephew) Ethan. What is a weighted blanket? It’s exactly what you think it is: a blanket that is heavy. You can use polypropylene (plastic) pellets inside the blanket to weigh it down. These blankets can be used to help with a huge variety of ailments – ADD, depression, autism, restless legs syndrome, the list goes on and on…Ethan was having some trouble sleeping so his doctor recommended getting him a weighted blanket but they are very expensive. Being smart, Corine thought “hey I bet Ashley could make that!” so we did! Here's how to make a weighted blanket.
First, you need to determine what size and weight to make the blanket. If you are using this for medical purposes, you will get this information from your doctor or therapist. Below are some general guidelines for approximate size and weight depending on age and height.

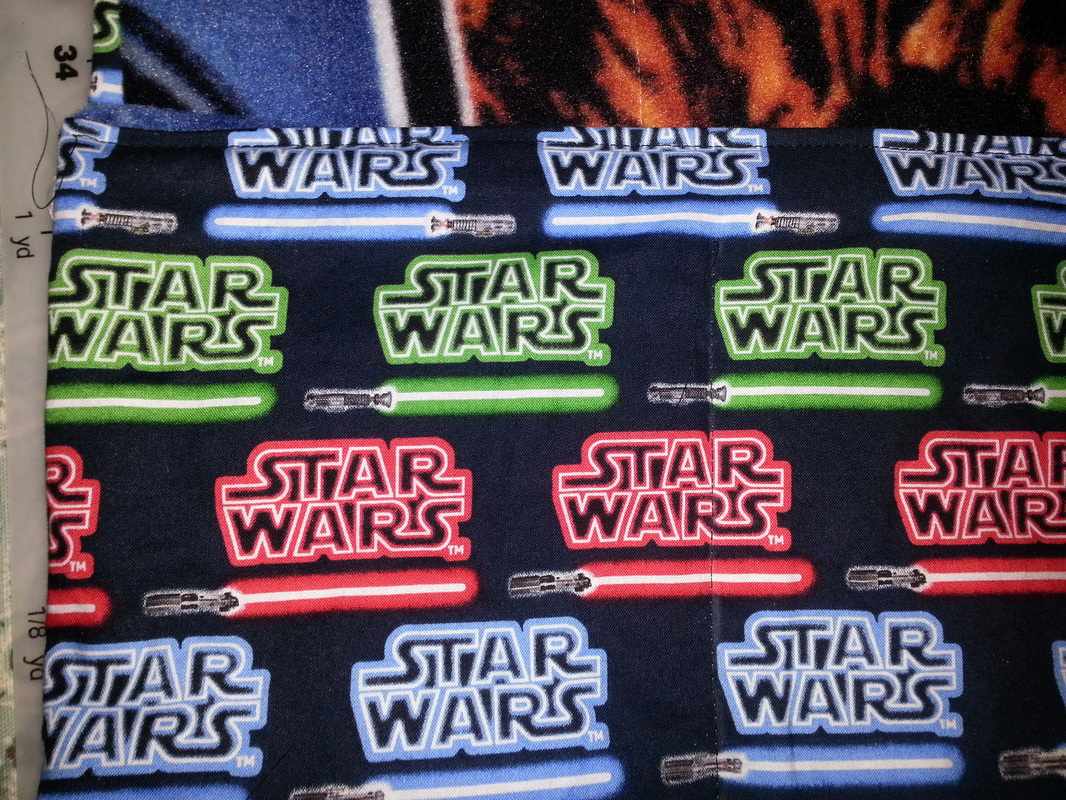
Once you know what size and weight you want the blanket to be, purchase a fabric for the front and back of the blanket. I used a fleece on one side and a regular cotton fabric on the other.
Small Blanket: 1.5yds of each fabric
Medium Blanket: 2yds of each fabric
Large Blanket: 2.25yds of each fabric
For the polypropylene pellets, I bought them at Quality Poly Pellets. Polypropylene is used because it is non-toxic, hypoallergenic, inexpensive and weighted nicely. If you are making a blanket for a toddler or small child, make sure your blanket is securely stitched since these come in tiny pieces that could be a choking hazard (they are slightly smaller than the size of a pea. Determine the total weight of your blanket based on your doctor’s recommendation or the chart above and then order at least that many pellets (they are often sold in standard units like 7lb, 11lb, 17lb, etc).
Sew the front & Back together
Put the front and back fabric together with right sides together and sew around three sides (the two long sides and one short side). Clip the corners and flip right side out.
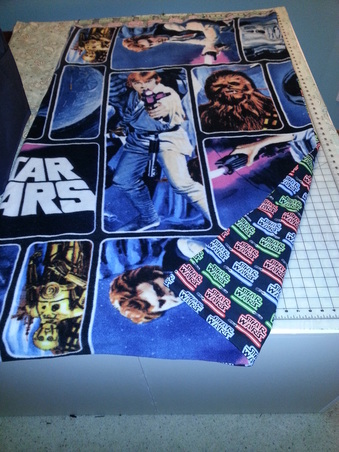
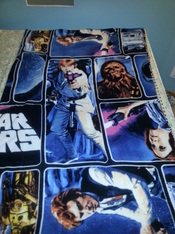
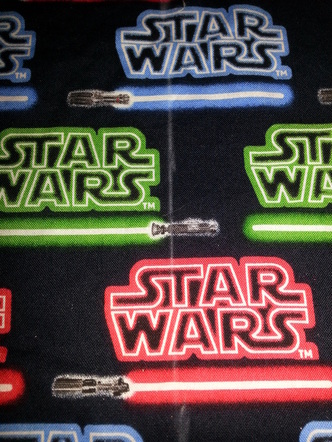
I used a Star Wars fleece panel on one side and a Star Wars cotton print on the other
Draw A Grid
This blanket will end up with a grid sewn on it so that the pellets are evenly distributed. You need to decide how many squares you want in your grid. The more squares you have, the smaller they will be and the less the pellets will move around. I decided to divide this blanket into 40 squares (5 tall columns x 8 rows) which made each square close to 7”. At this size, the pellets can move around quite a bit but the weight still feels distributed to me and it was much easier to insert the pellets and to sew the rows closed. Use your own judgment if you want smaller squares. Draw the grid onto the cotton fabric with a fabric pen or pencil (I used a white fabric pencil).
This blanket will end up with a grid sewn on it so that the pellets are evenly distributed. You need to decide how many squares you want in your grid. The more squares you have, the smaller they will be and the less the pellets will move around. I decided to divide this blanket into 40 squares (5 tall columns x 8 rows) which made each square close to 7”. At this size, the pellets can move around quite a bit but the weight still feels distributed to me and it was much easier to insert the pellets and to sew the rows closed. Use your own judgment if you want smaller squares. Draw the grid onto the cotton fabric with a fabric pen or pencil (I used a white fabric pencil).
You could use a plaid fabric and then not have to mark any lines!
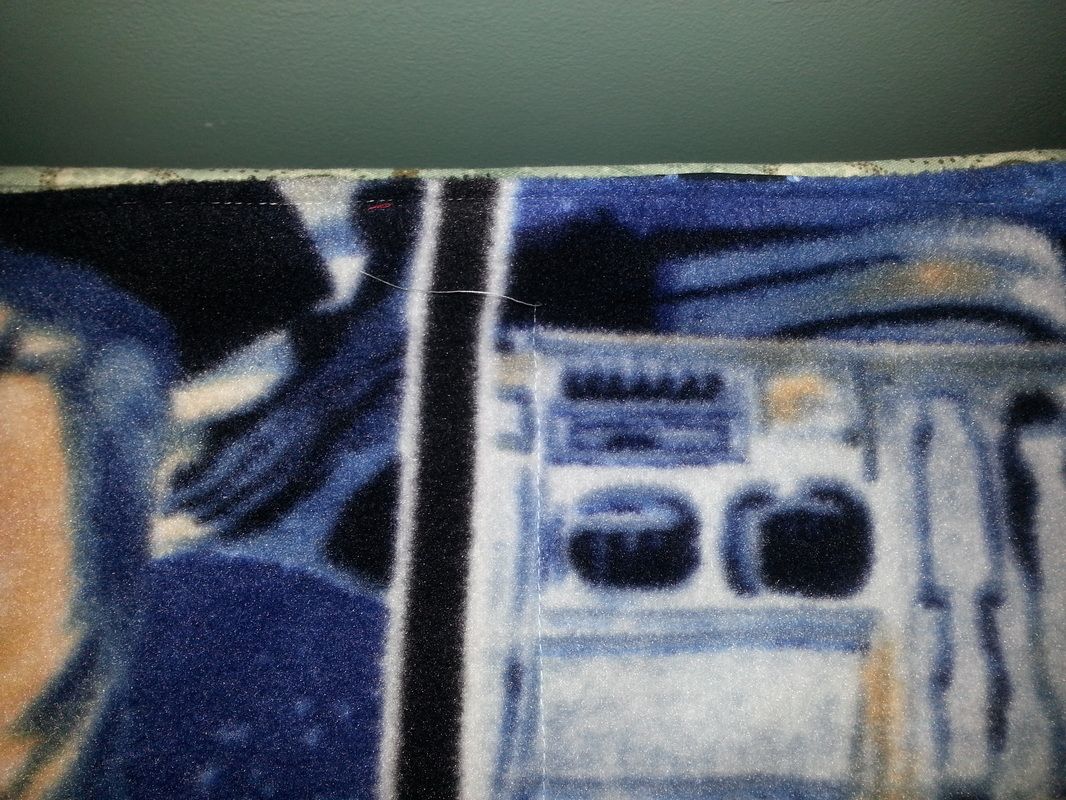
Sew Vertical Lines
Sew along the VERTICAL LINES ONLY, starting at the closed end or bottom of the blanket and going towards the side you left open. Stop when you get around 2” away from the opening on each vertical line. The blanket should have right sides out while you sew and you will have the fleece against the feed dogs because it’s easier to sew that way and because you made your markings on the cotton. You can use a walking foot if you want but you don’t need to be super precise so I found it wasn’t necessary for me.
Sew along the VERTICAL LINES ONLY, starting at the closed end or bottom of the blanket and going towards the side you left open. Stop when you get around 2” away from the opening on each vertical line. The blanket should have right sides out while you sew and you will have the fleece against the feed dogs because it’s easier to sew that way and because you made your markings on the cotton. You can use a walking foot if you want but you don’t need to be super precise so I found it wasn’t necessary for me.

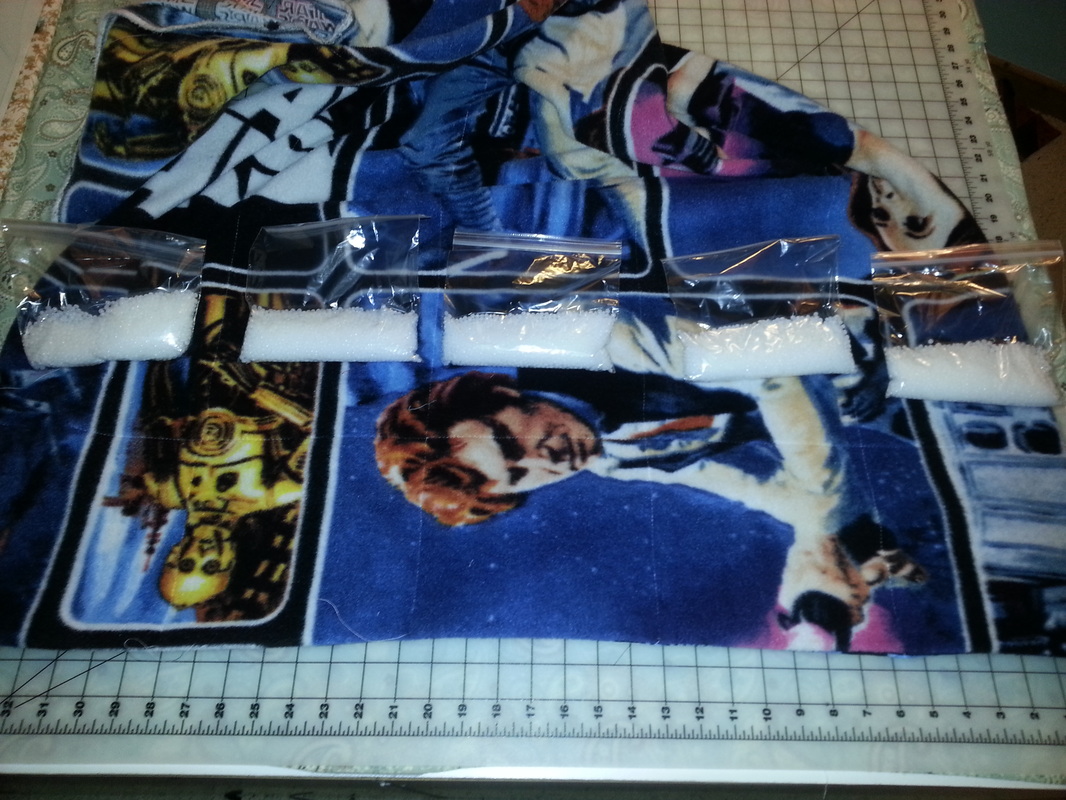
Weigh & Measure the Pellets
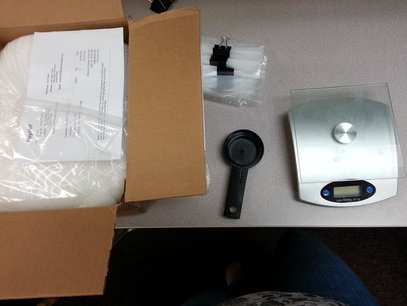
Now we need to get all the plastic pellets ready. Get out a kitchen scale and something to put the pellets in. I used Ziploc bags but little Dixie cups might be even easier. You can either measure them all out at once (you would need 40 bags or cups in this example) or you can do one row at a time (5). Above you determined the weight of the blanket right? Weigh your sewn blanket to see how much the fabric weighs (I forgot to do this part so my blanket came out slightly too heavy). Subtract that from your desired weight and divide by the number of squares on the grid to get the weight of pellets that needs to go in each square. Use the kitchen scale to measure out all the pellets.
Example for a 9lb blanket (mine was supposed to be 8 but I forgot about the fabric weight):
9lb x 16oz/lb = 144oz total weight – 16oz fabric weight = 128oz (8lb) of pellets
128oz pellets / 40 squares = 3.2oz of pellets per square on the grid
Add Pellets & Sew Horizontal Lines
Dump one bag or cup of pellets into each column and shake them down to the bottom. You may want to stick your arm in there to try to knock off any pellets that stick to the sides on their way down. Sew across your first horizontal line to lock those pellets in place.
Dump one bag or cup of pellets into each column and shake them down to the bottom. You may want to stick your arm in there to try to knock off any pellets that stick to the sides on their way down. Sew across your first horizontal line to lock those pellets in place.
Stitch Top Closed
Dump one bag or cup of pellets into each column and shake them down again. Sew across your second horizontal line. Continue this process until you get to your last row of squares at the top of the quilt. After you dump the pellets in for your last row, fold the open edges of the blanket inside the blanket to the point where your vertical stitching stops. Top stitch all the way across, and continue topstitching all the way around the blanket (if desired). After you top stitch, there will be a gap between where you stopped stitching the vertical lines and your top stitching. Stitch in this gap so that the pellets can’t move from column to column in the top row.
Dump one bag or cup of pellets into each column and shake them down again. Sew across your second horizontal line. Continue this process until you get to your last row of squares at the top of the quilt. After you dump the pellets in for your last row, fold the open edges of the blanket inside the blanket to the point where your vertical stitching stops. Top stitch all the way across, and continue topstitching all the way around the blanket (if desired). After you top stitch, there will be a gap between where you stopped stitching the vertical lines and your top stitching. Stitch in this gap so that the pellets can’t move from column to column in the top row.
Trim your threads and you’re done! A comfy weighted blanket in fabrics of your choosing!
Cost of a similar SensaCalm Weighted Blanket: $125 + tax/shipping
Cost of my homemade weighted blanket: $25 poly pellets + $28 fabric = $53 total
Cost of a similar SensaCalm Weighted Blanket: $125 + tax/shipping
Cost of my homemade weighted blanket: $25 poly pellets + $28 fabric = $53 total
All Done!
You could get cheaper fabric from JoAnn Fabrics but they didn’t have the Star Wars in stock so I ordered it at Fabric.com. I would definitely recommend making your own blanket if you have a sewing machine– much cheaper!
Washing instructions: Machine wash separately – a delicate or low spin option is recommended for heavier blankets. Tumble dry on low but do not iron, microwave or dry clean.
Additions: To make a fluffier blanket, try adding polyfil stuffing to each section so that it is a puffy soft blanket (make sure to account for the weight of the polyfil you will be putting in).


