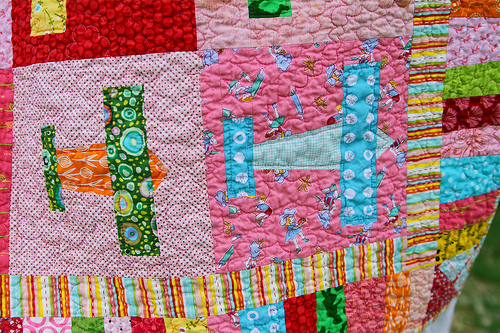
A few months ago, a friend asked me to make a custom quilt for her daughter (she was still pregnant at the time). Her husband is a test pilot for Velocity and they own their own aircraft so when they saw the quilt below (click the pic to see the original) they knew they needed an airplane quilt for their daughter Ashtyn.
I decided this seemed like the perfect quilt to try and make my own paper piecing pattern. I have only done paper piecing a couple of times but I enjoyed how clean and crisp all the lines came out. Every block came out virtually perfect with not a lot of effort. I've never made my own pattern but since I had done it a few times I thought I understood well enough to figure it out. I started with some scraps and tried out a test block...it didn't quite come out like I'd hoped...LOL
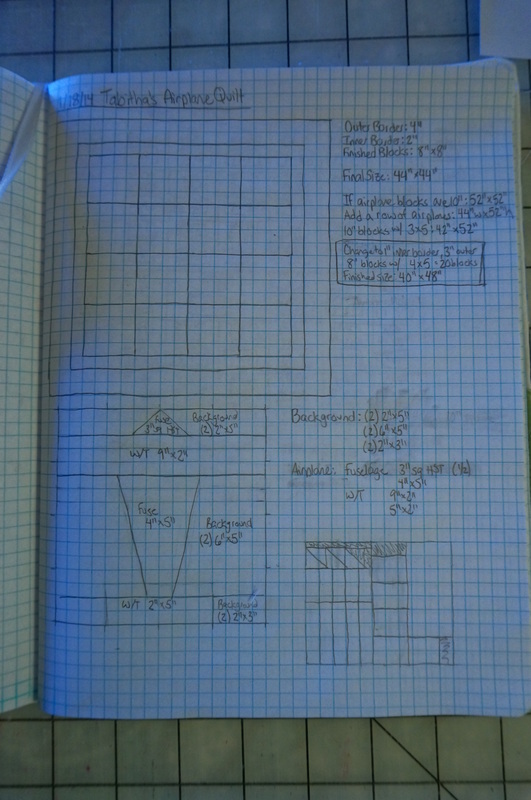
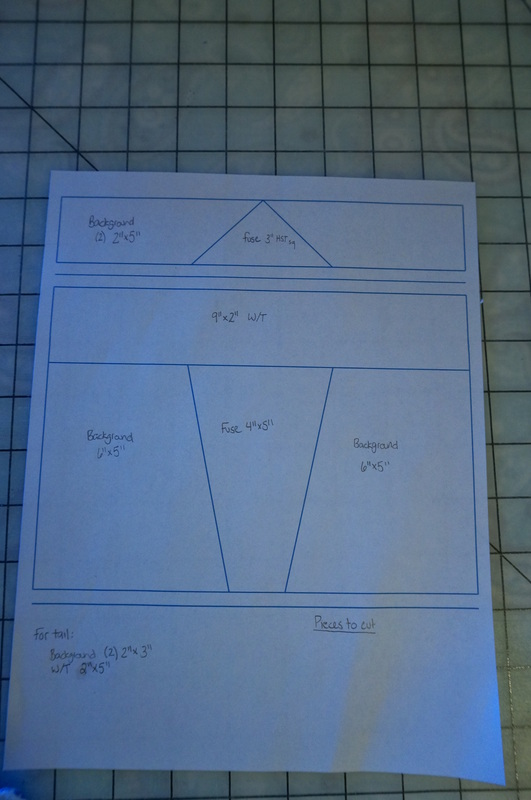
I have seen some airplane paper-pieced patterns but they were all set on the diagonal. I ended up splitting mine up into three sections (the nose and wing, the fuselage and the tail). When it's split up that much, I'm not sure the paper piecing saved a ton of time but it did make sure the blocks end up straight and don't get wonky while trying to sew all those angled edges. Below is the final pattern (after some adjustments) I used in case any of you want to try it. The one on the right is a downloadable word document so you can print it out.
| 
| |
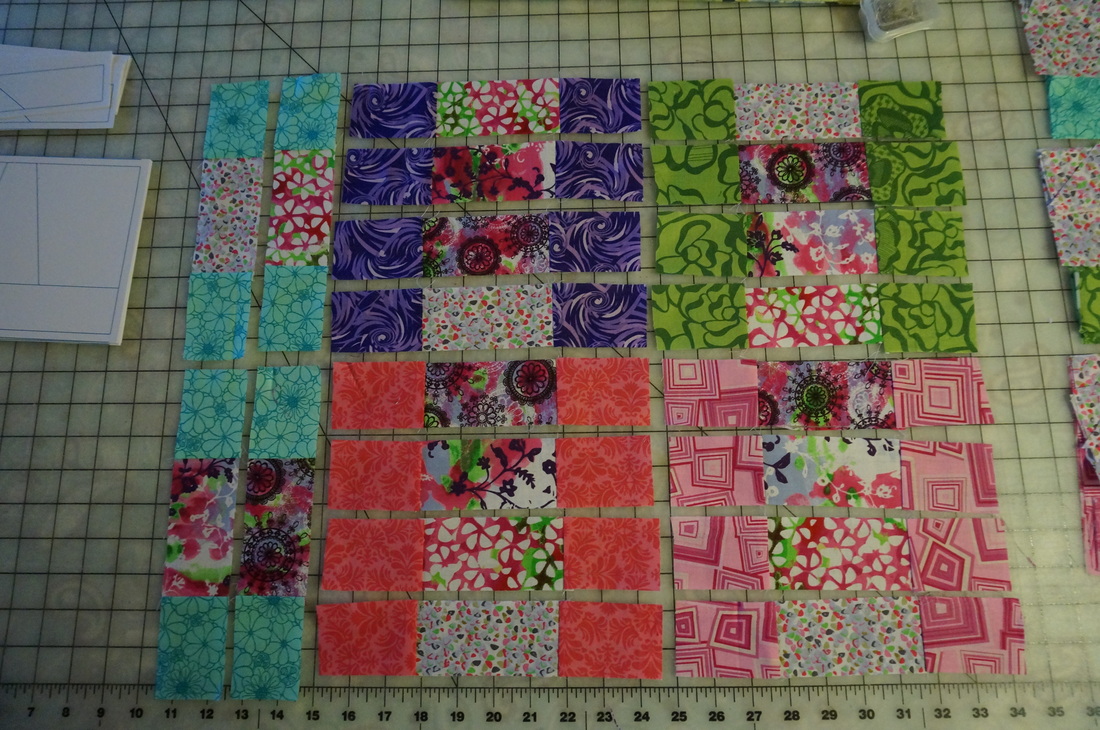
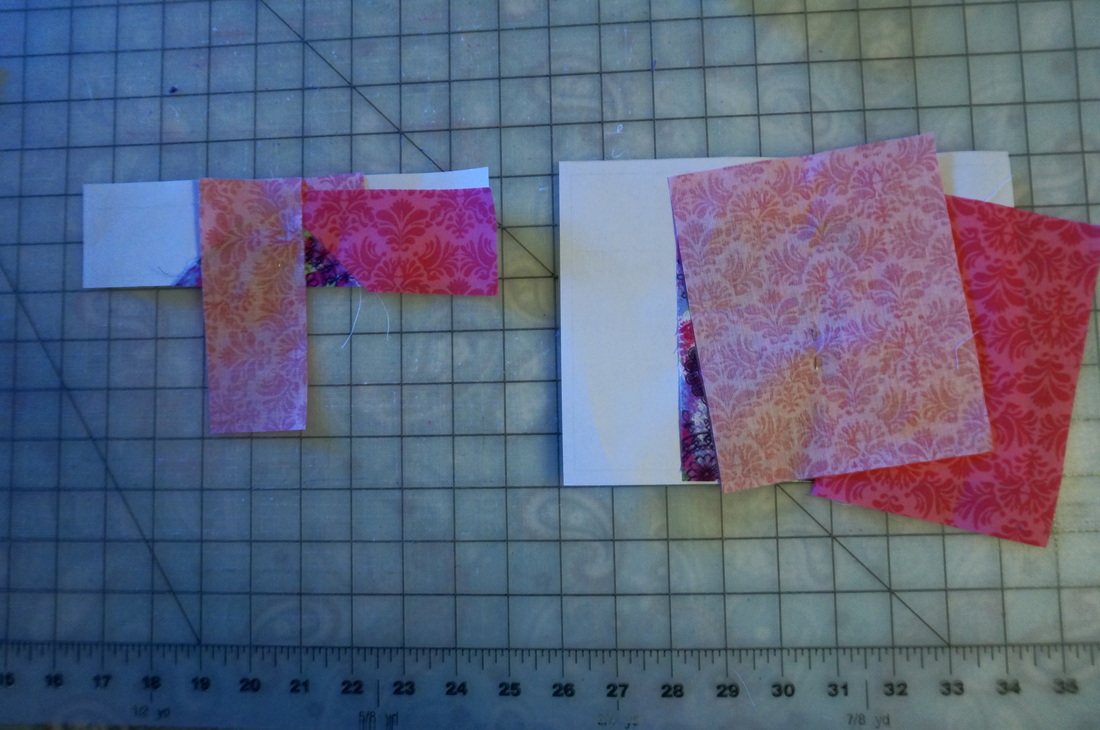
When you cut your fabrics, keep in mind that the paper pattern shows the final size so you need to cut all your pieces at least 1/4" larger on all sides to account for seam allowances. The best part of paper piecing is that your cutting doesn't have to be exact. As long as all the pieces are larger than the final piece, you'll be fine. After I cut all the fabrics, I sewed the tail pieces together (no paper piecing since they're just rectangles). Then I was ready to sew all the blocks together.
| 
|
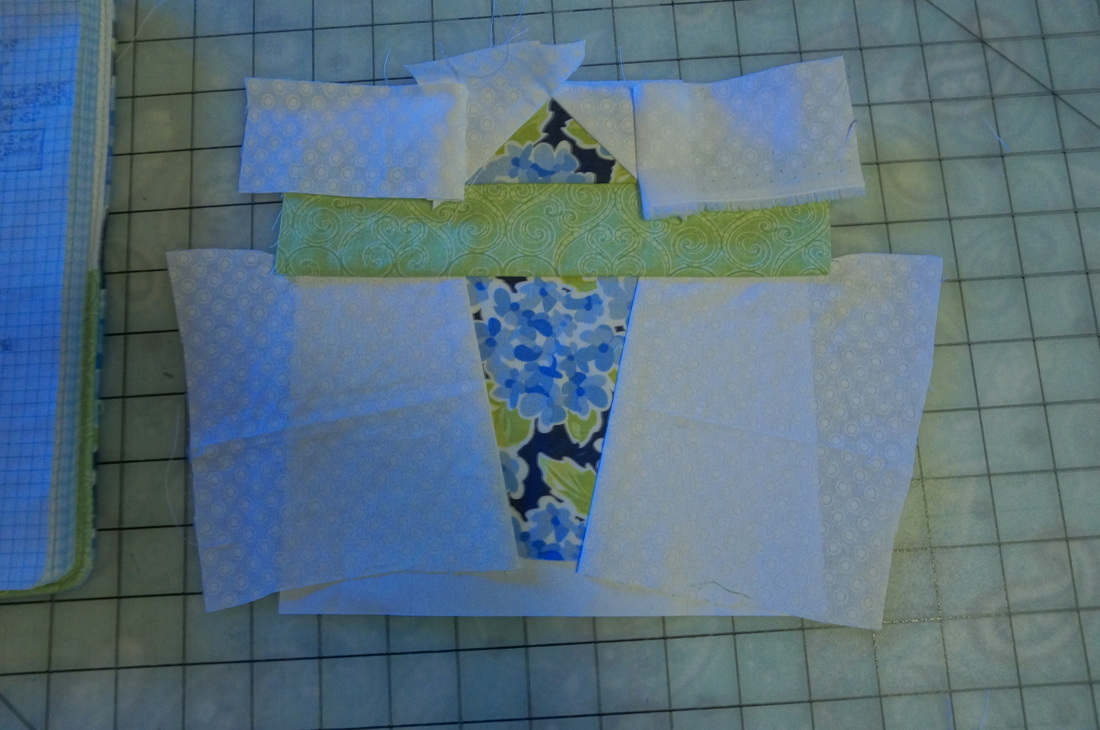
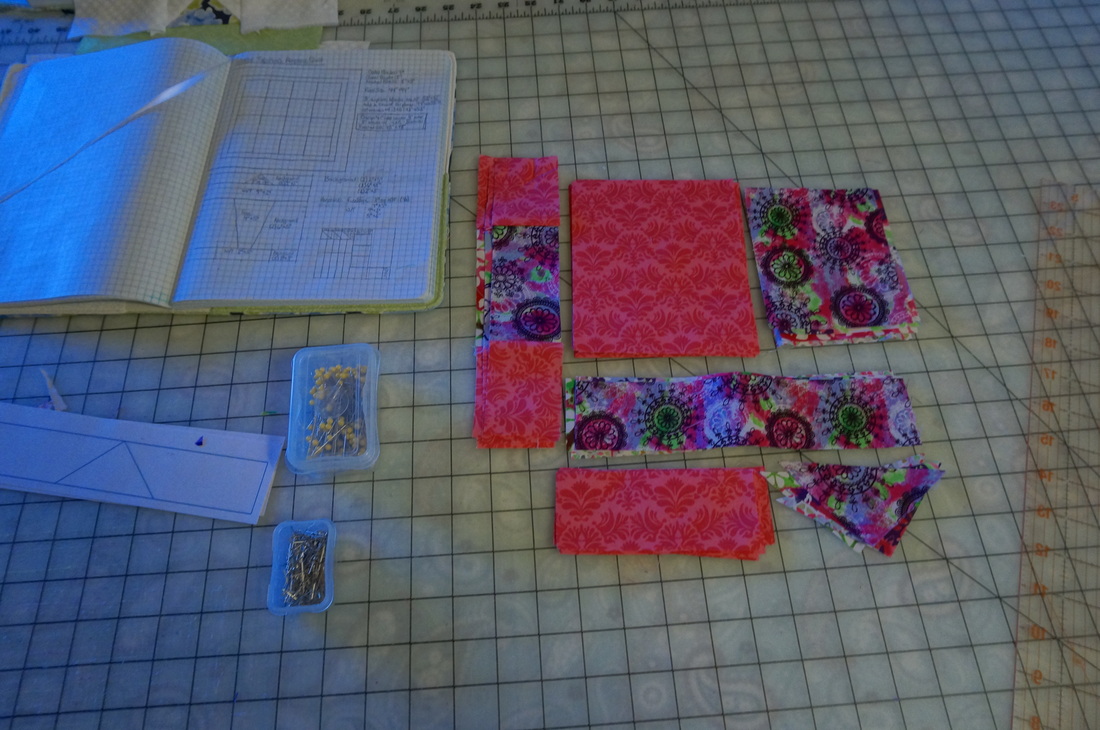
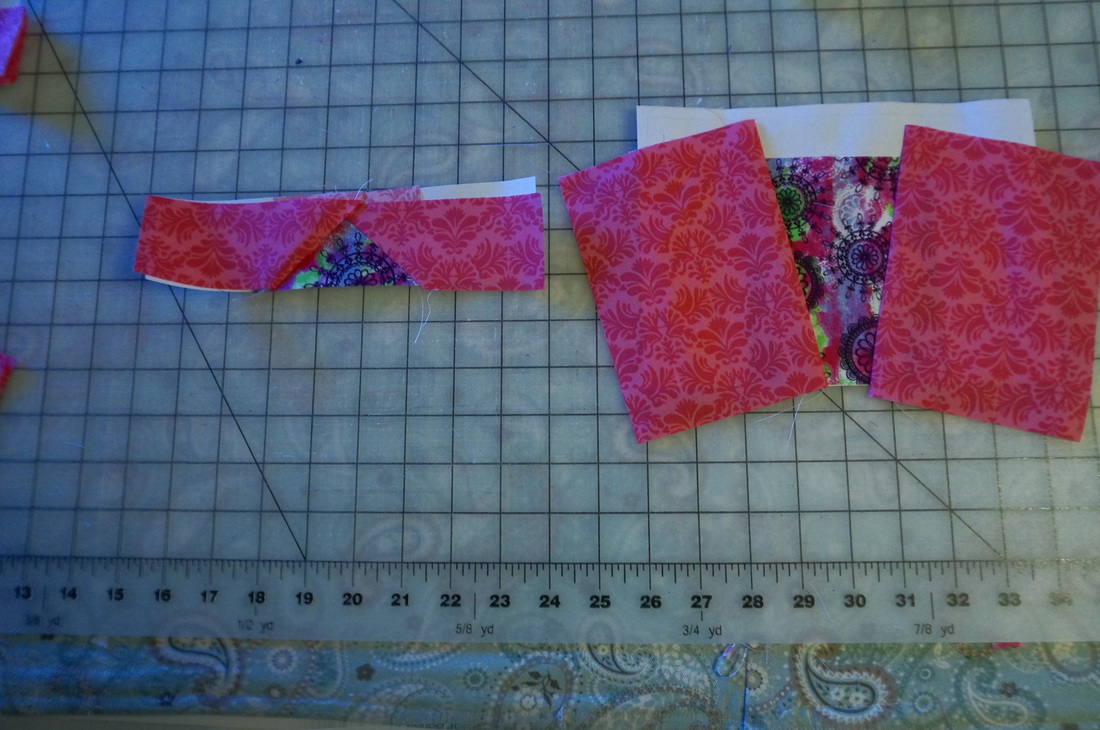
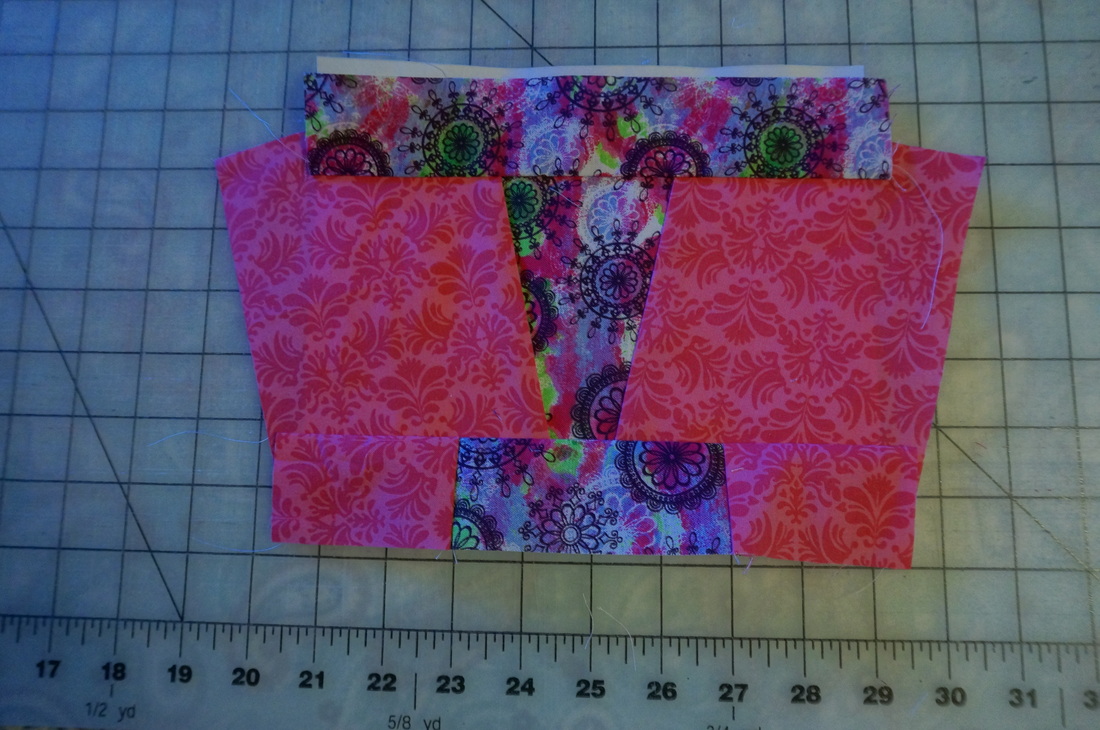
For the paper piecing, you actually put the paper with the printed side down. Lay down the first piece of fabric, right side up and then the next piece of fabric with right side down. Make sure that both pieces of fabric are covering the line you are going to sew on and then pin both pieces to the paper. Flip the piece over so you can see the printed lines on the paper and sew along the line desired. With paper piecing you always want to start with the center piece of fabric and work your way out. After you sew one line, press open and repeat for the following pieces of fabric. Below shows the nose section of the plane and the fuselage (body).
| 
|
| 
|
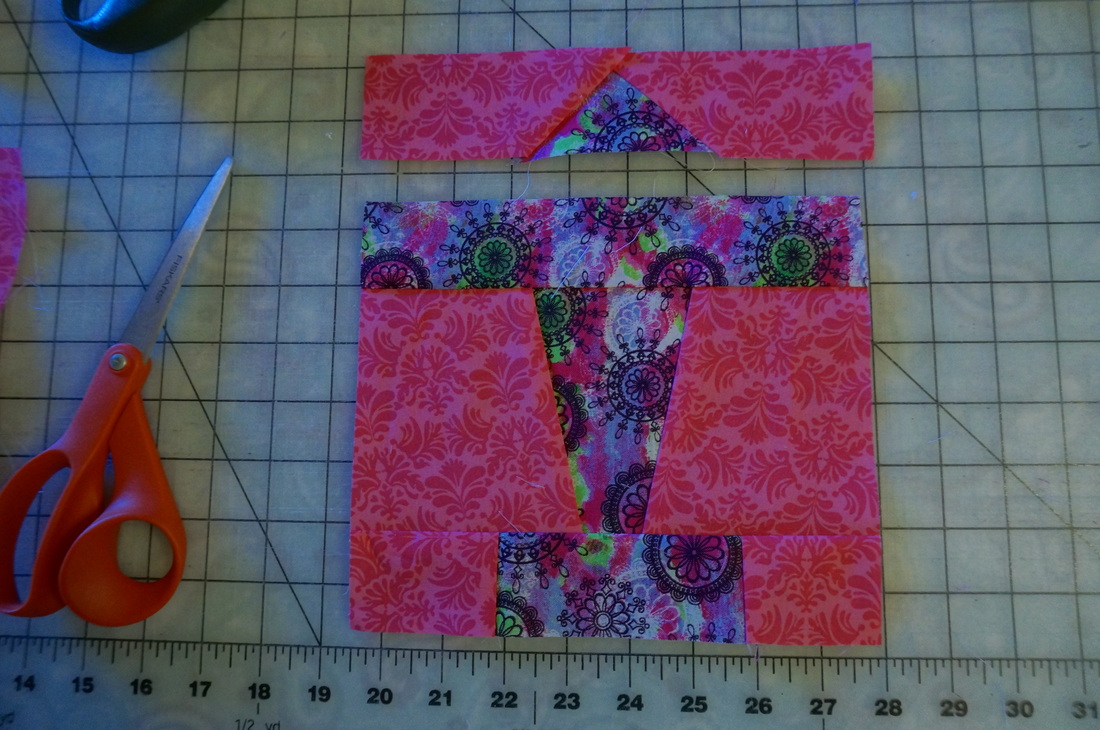
Now it's time to sew the wing and the tail onto the fuselage (body).
| 
|
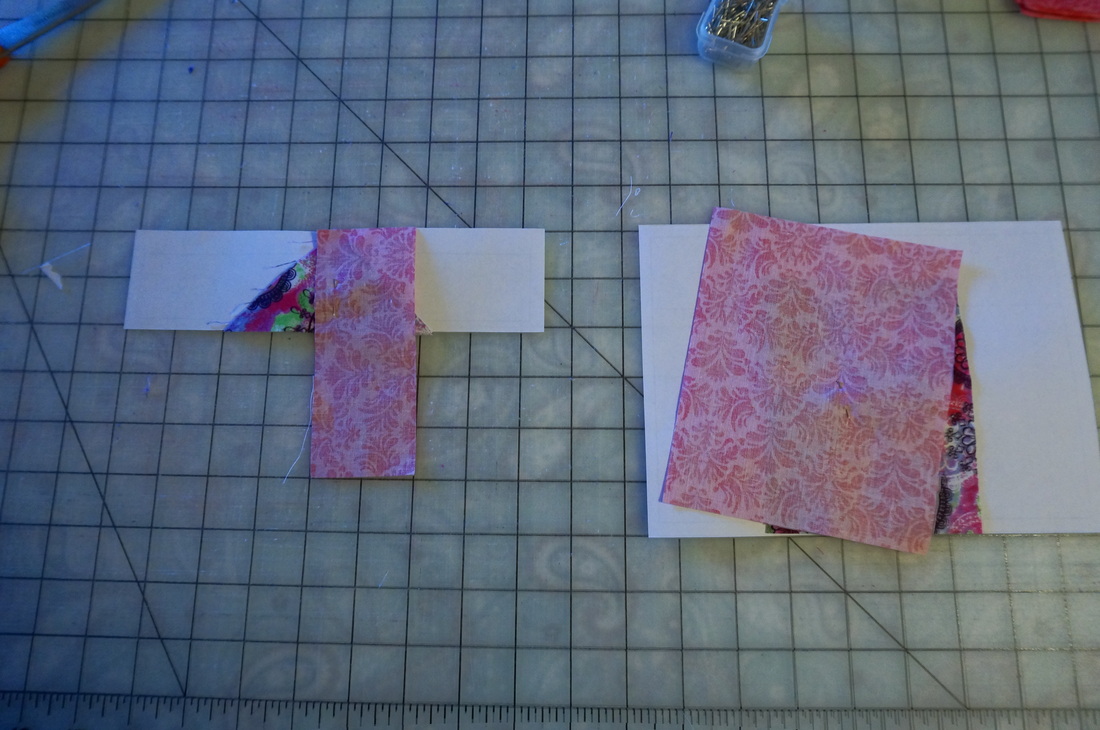
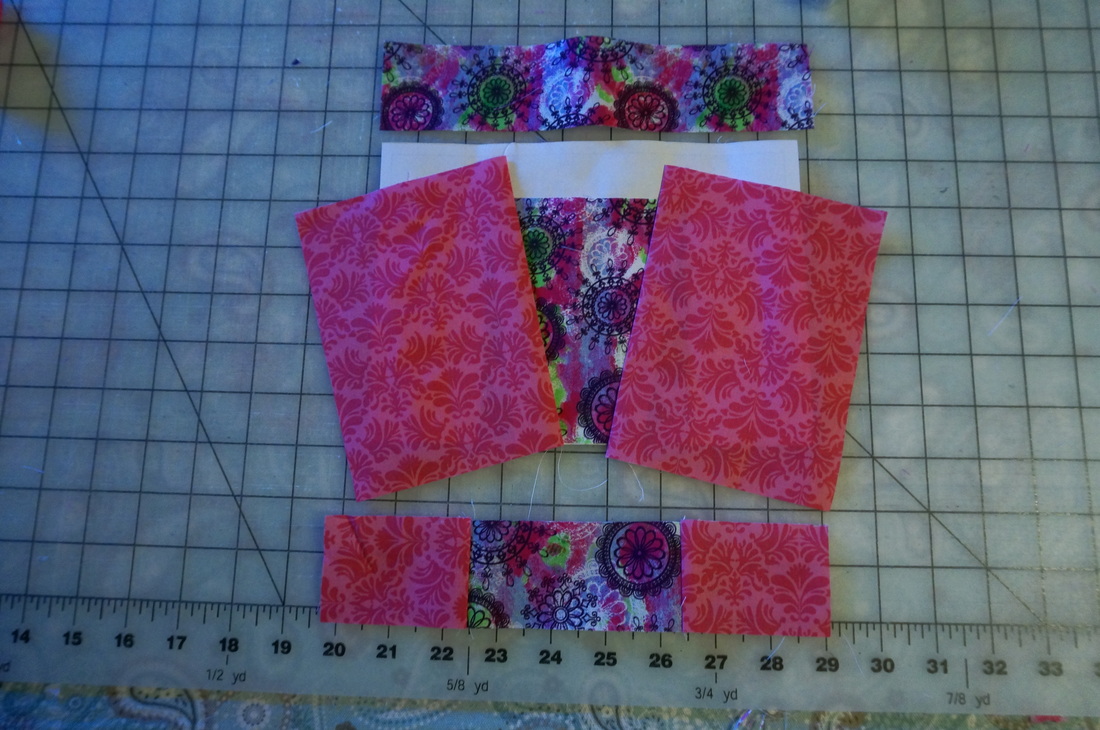
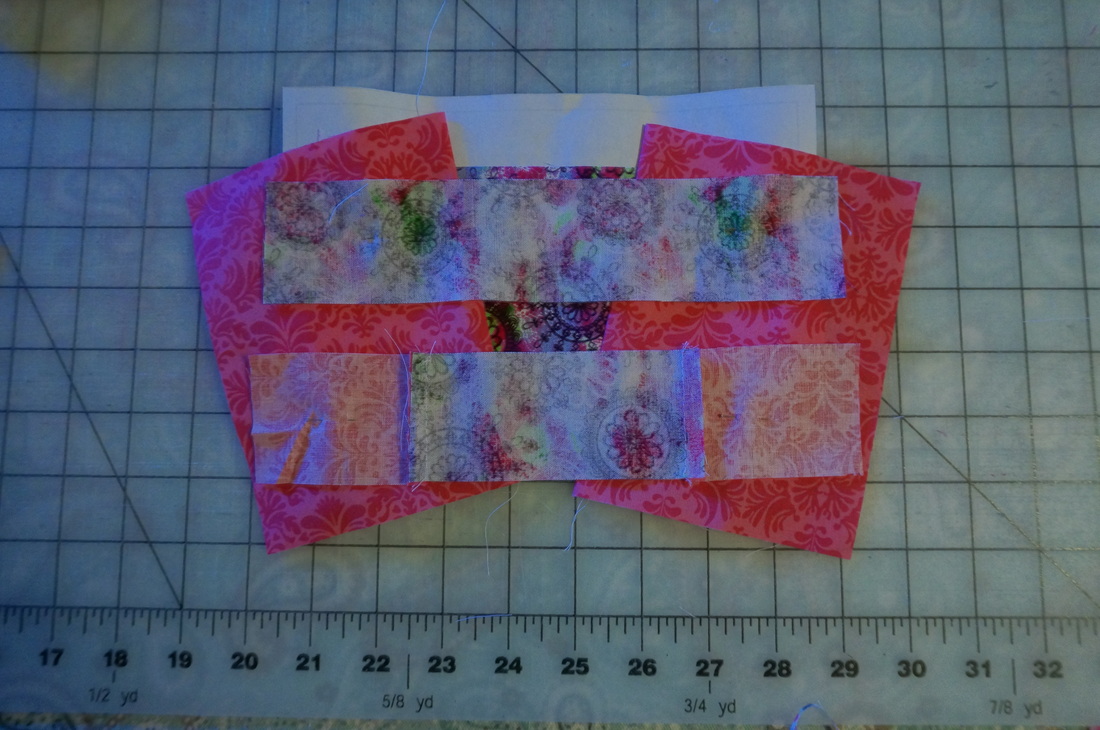
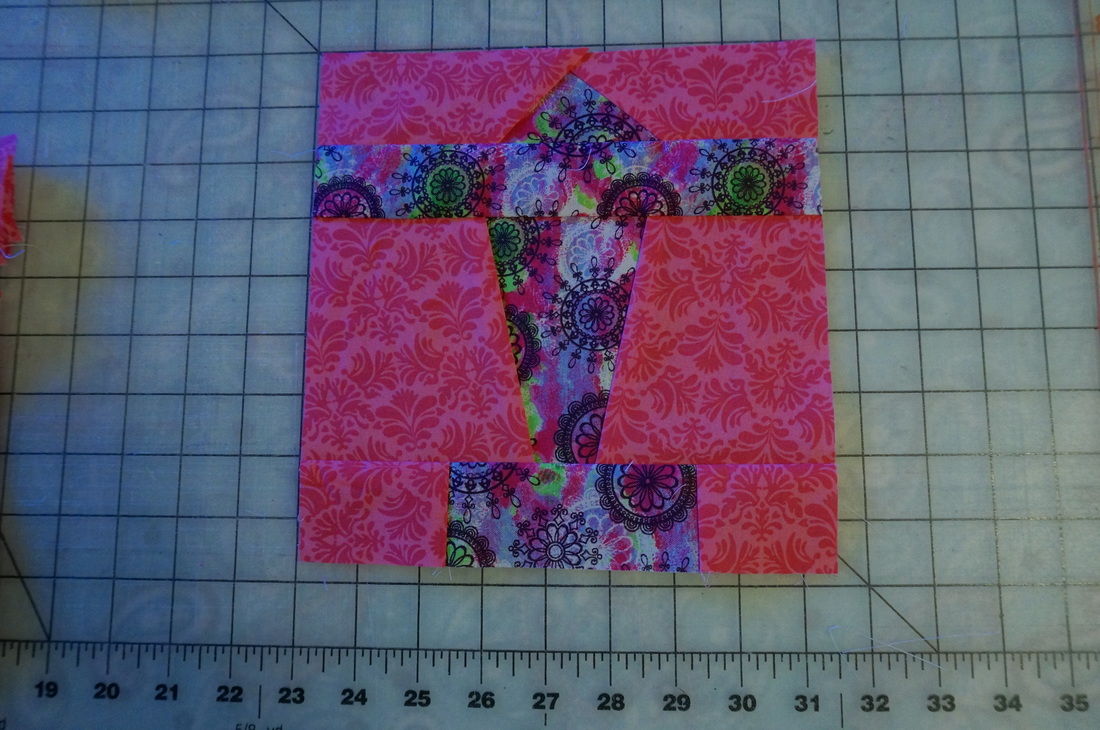
After that, the block is almost done - just trim it up and sew on the nose. To trim it, flip the block back over and trim the width to match the paper (don't cut the tail off the bottom though!).
| 
|
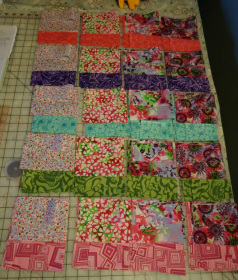
For this crib sized quilt, I decided to make 20 airplane blocks. There are several different backgrounds and plane fabrics. Tabitha picked out all the fabrics so I'm not quite sure what the fabric names are. Next Up: I need to decide on the final layout then sew them all together and do the quilting.


