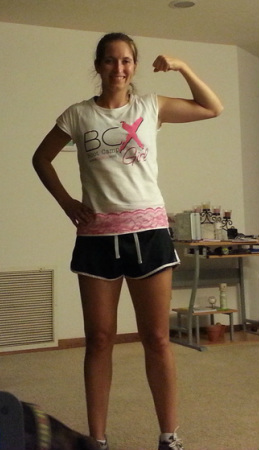
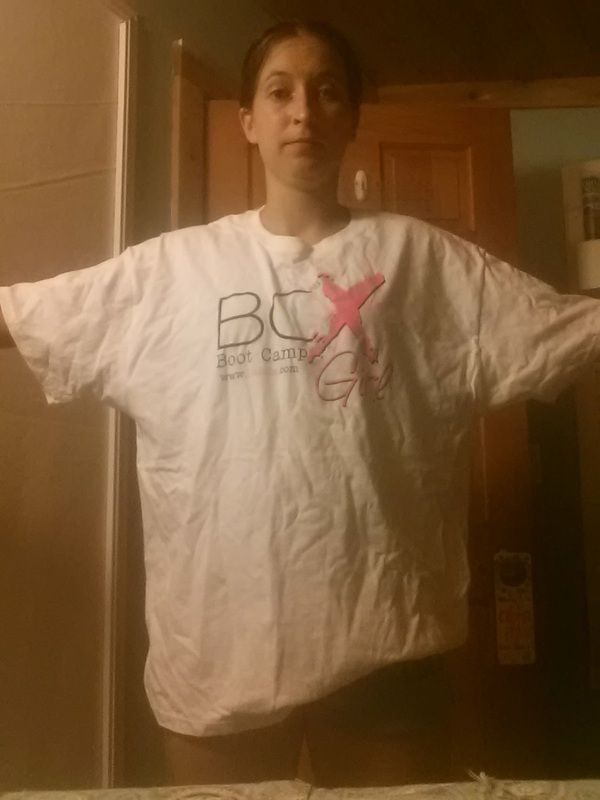
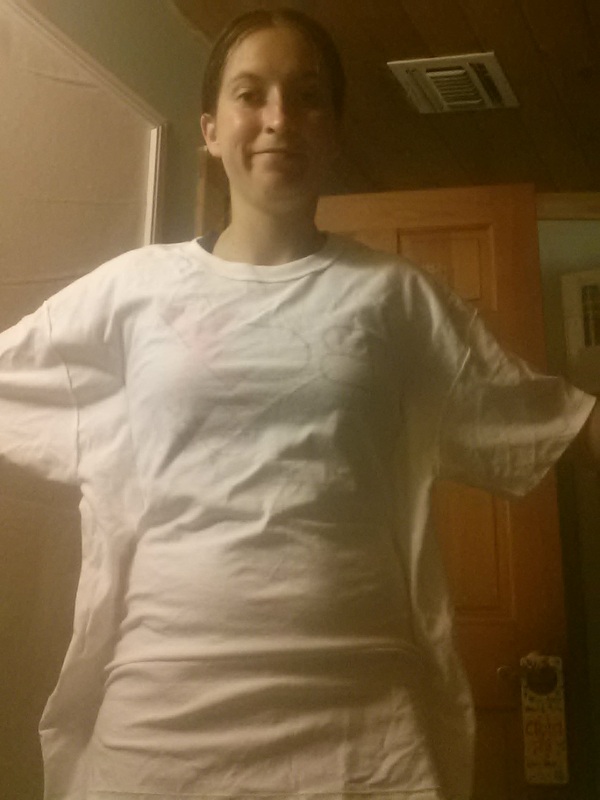
A couple weeks ago at Bootcamp with Bonnie & Steve, Bonnie was giving away some extra shirts she had. When she got to the bottom of the box, all that was left was a size XL women’s tshirt that no one wanted since none of us are big enough to wear even a size L let alone an XL tshirt (it’s not a fitted tee either). I hadn’t gotten a shirt though so I told Bonnie I’d take it and modify it to fit me; she seemed unsure but I was confident and I wanted the shirt, lol. Now these are REALLY bad pics so I apologize in advance but they are late in my quilt room with bad lighting and to take pics of myself on my phone I had to just prop it up on the desk so the angles and such are a bit odd. Here’s a picture of me wearing the shirt in its original state – look how huge it is!
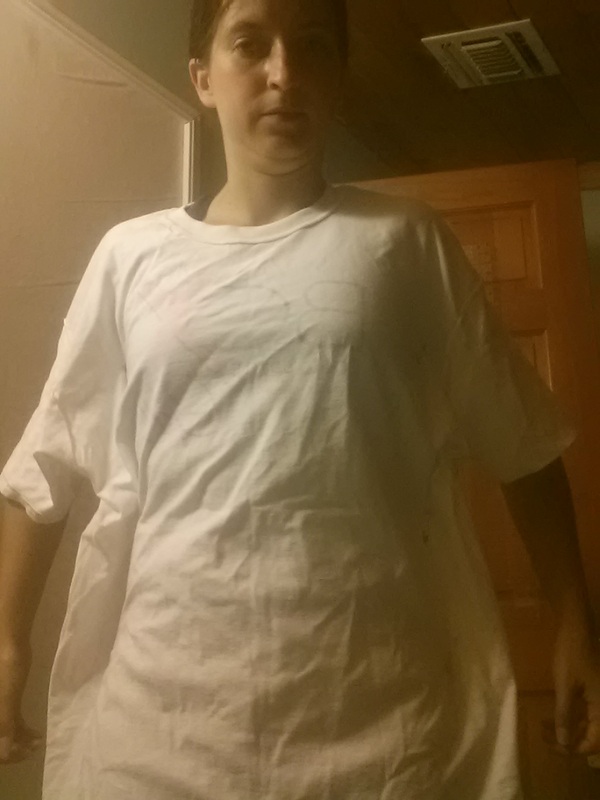
I thought about using my seam ripper to take apart the whole shirt, tracing a pattern based off an existing shirt I owned and then sewing it all back together but that just seemed like so much work. Instead, I flipped the shirt inside out and put it back on. Then I used safety pins to pin the shirt smaller – I tried to put safety pins at important or max/min measurements like the widest part at my butt/hips and the narrowest part at my waist and where I want the armpits. See in the picture how now the shirt looks tighter but I have “wings”? That’s after I put the safety pins in.
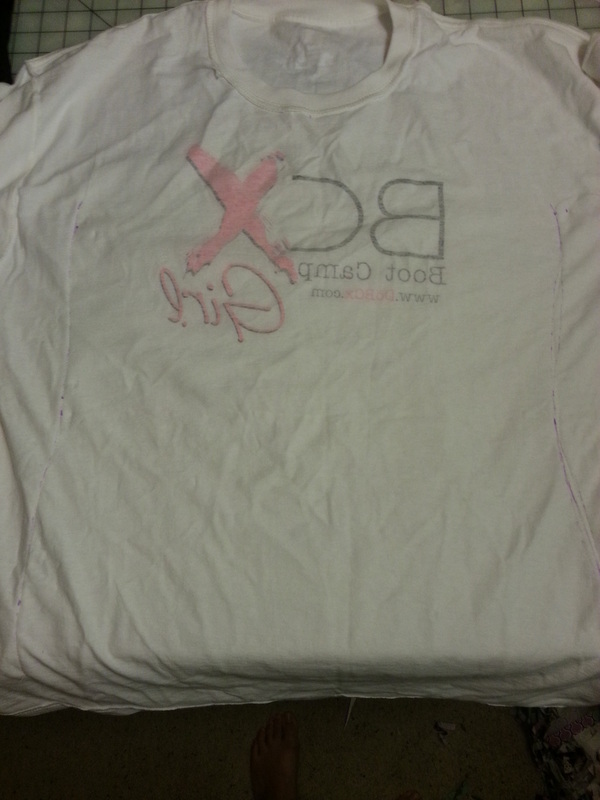
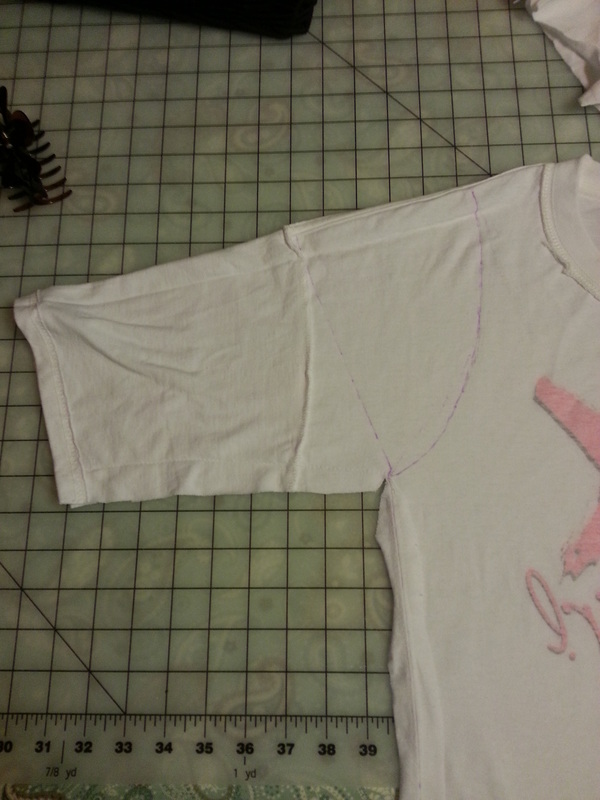
Then I took the shirt off and drew some approximate curves based on my safety pins. I tried to make sure the design was roughly centered on the new shirt size but other than that I just guessed at the curve/shape of the lines based on where my pins were.
Next, with the shirt still pinned, I sewed along the lines. For the time being I just sewed up the sides and didn’t modify the length of the shirt or do anything about the sleeves yet – I just stopped once I got to the height I had marked for the armpits. IMPORTANT: don’t cut your shirt before you sew in case your sewn lines weren’t quite right. After you sew the lines, try the shirt on again.
Once you are certain the shirt will be a pretty good fit, you can cut the excess off the sides. I left around a half inch extra so I could sew the seams down afterwards. For the sleeves I decided to just cut them straight across and see what needed to be done next. I put the shirt back on and while it was on, I used a fabric pen to draw two possible options for the sleeve – one for a capped sleeve and one to make it a tank top.
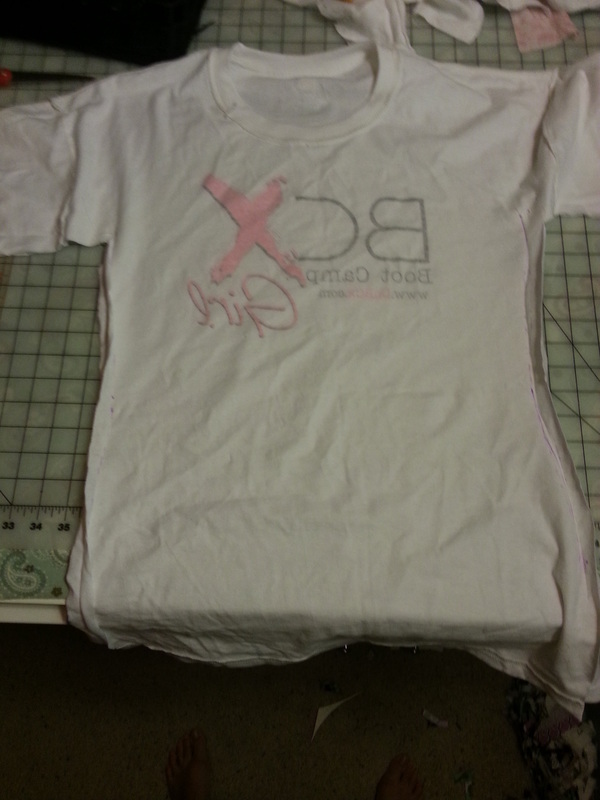
I decided I would cut the shirt as though I was doing the capped sleeves, try the shirt on again and then if I didn’t like the capped sleeves I would cut it down to a tank top. Had I decided to do a tank top instead and not liked it, I would have been stuck choosing between keeping a tank I didn’t like or figuring out how to sew the sleeves back on. Here’s the shirt right side out with the sleeves cut but not sewn.

Looking pretty good huh? I decided I liked the capped sleeves so I just tucked them under and sewed them down. The only other thing I did was to cut the bottom off the shirt to shrink it down and then I double folded the bottom edge and sewed it for extra durability. The neck opening is still a little bigger than needed since it’s an extra-large shirt but I didn’t want to mess with it so I just left it as-is.
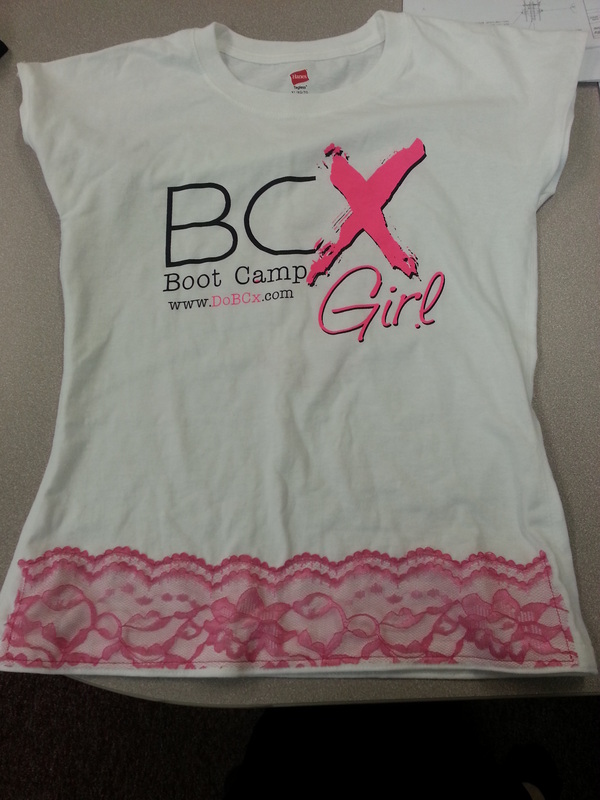
I thought I was done…but then I thought, “if I’m going to all this trouble to size this shirt down to custom fit me, I might as well personalize it a bit more” so I decided to do just a couple cute things. On the front, I added some pink lace across the bottom.
I thought I was done…but then I thought, “if I’m going to all this trouble to size this shirt down to custom fit me, I might as well personalize it a bit more” so I decided to do just a couple cute things. On the front, I added some pink lace across the bottom.
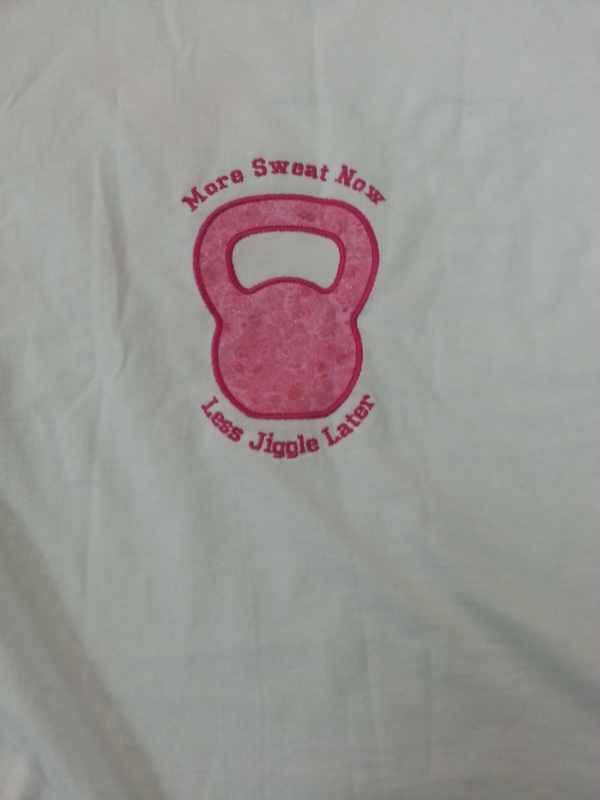
And on the back, I added a small applique on my mid-back (just below my ponytail height). The applique is a kettlebell (used in CrossFit, bootcamps, etc) and it says “More Sweat Now, Less Jiggle Later”. I saw the quote on Bonnie’s facebook page and loved it because usually after bootcamp I always poke my fat and say “the jiggle’s got to go!” LOL.
Overall, I took a free shirt that I never would have worn because it was way too big for me and turned it into a custom fit tshirt that’s adorable! The only other thing I wish I had done is I wish I had pre-washed the shirt first; I hope it doesn’t shrink! It is still fairly loose feeling so hopefully if it shrinks a tiny bit it will still be ok. I think I’m going to do this with a bunch more tshirts or even shirts I get at races or Goodwill. I’m always jealous of other girls that have adorable workout gear and this would be one inexpensive way for me to turn what I’ve already got into some cuter workout tops. Love my new bootcamp shirt!