Like I said before, I wanted to do some reorganizing and decorating in my quilt room and the upstairs in general. In the quilt room, I needed to get rid of anything not functional and make what I kept look prettier. I like my room pretty and orderly - I can't sew or work on anything if it's messy - it drives me insane.
But anyways, one project at a time. I was planning on getting some new bookshelves or cubbies and I knew I would want some piece of art or decoration above them. I saw this on Pinterest and decided I wanted to do a sewing or crafting quote for the wall similar to the one they had made.
But anyways, one project at a time. I was planning on getting some new bookshelves or cubbies and I knew I would want some piece of art or decoration above them. I saw this on Pinterest and decided I wanted to do a sewing or crafting quote for the wall similar to the one they had made.
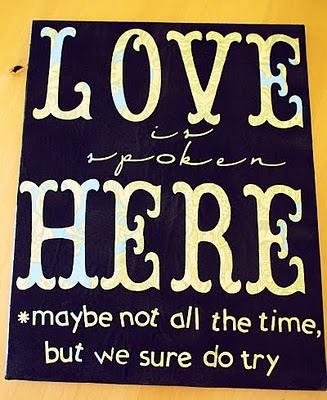
Pinterest Inspiration
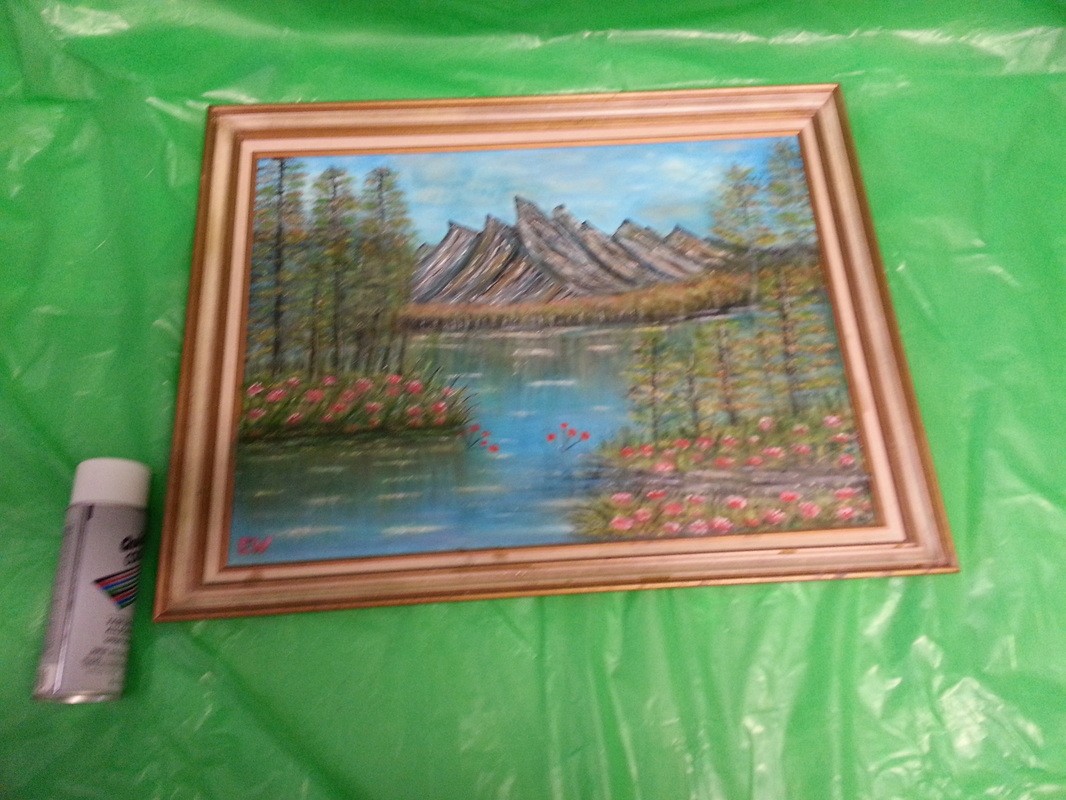
Now the person above covered a canvas in a decorative fabric and then painted over that but I saw some other pins where people had a neat painting beneath (where you can see the letters) and I wanted to try that (rather than have to buy a canvas AND some more fabric). I happened to find this pretty painting at Goodwill for $3. I almost didn't paint over it because it's so pretty but I really wanted my quote and I couldn't find another I liked. So sorry to the artist...your painting is no longer...
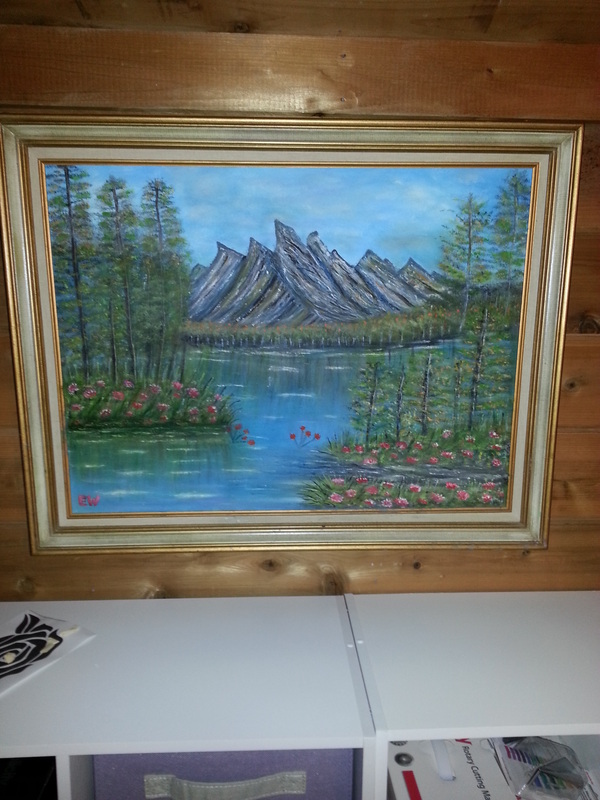
The goodwill painting hanging in its future home. And a sneak peak of the new bookcase...
Next I scoured the web for cute sewing or crafting quotes and finally settled on "Do something creative every day". I liked it because I don't just do sewing up there...sometimes i'm crafting or working on Halloween projects or who knows what...but I like creative stuff :) Then I must have spent an hour playing with the fonts in Microsoft Word until I found fonts and sizes I liked. I printed it out on computer paper and taped it onto the painting just to see roughly how the lettering would look.
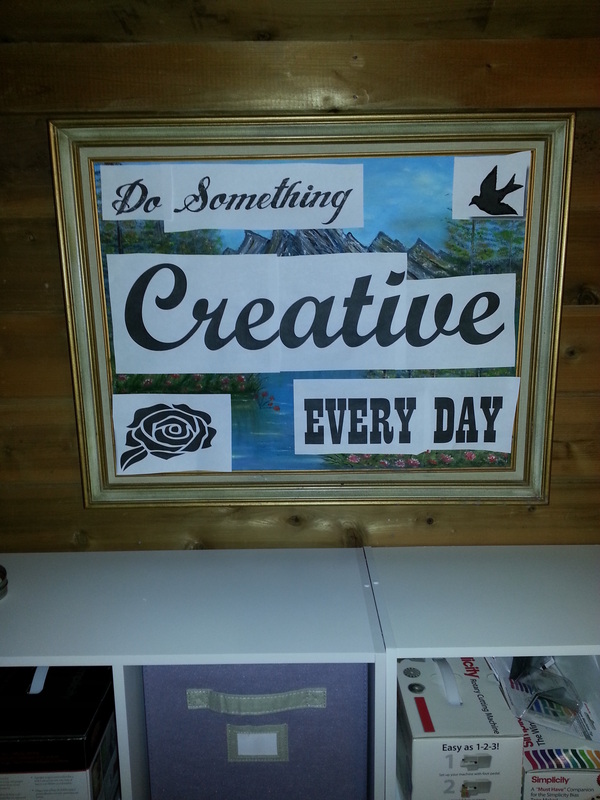
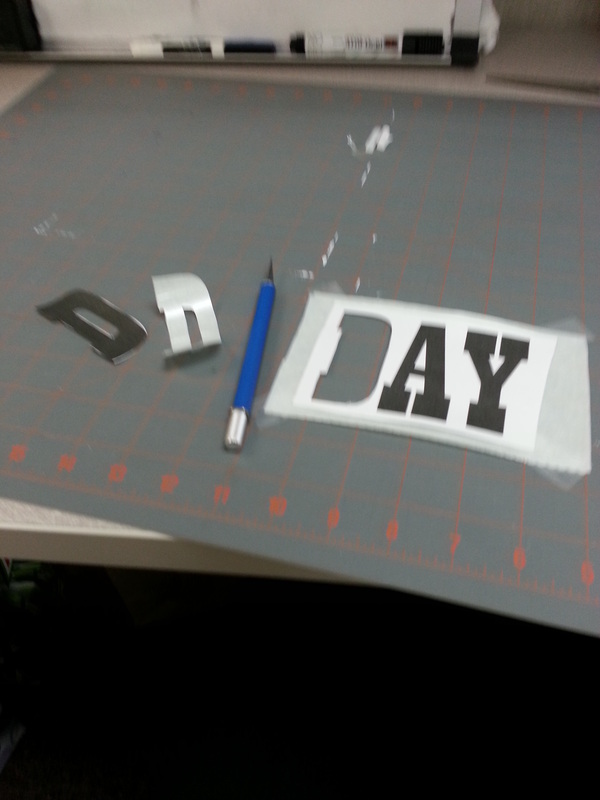
Next you tape your printed lettering onto contact paper (or if you have a cricut you can probably get it to cut out the whole thing for you. Oh, and I decided I didn't like that flower so it's gone now, LOL.
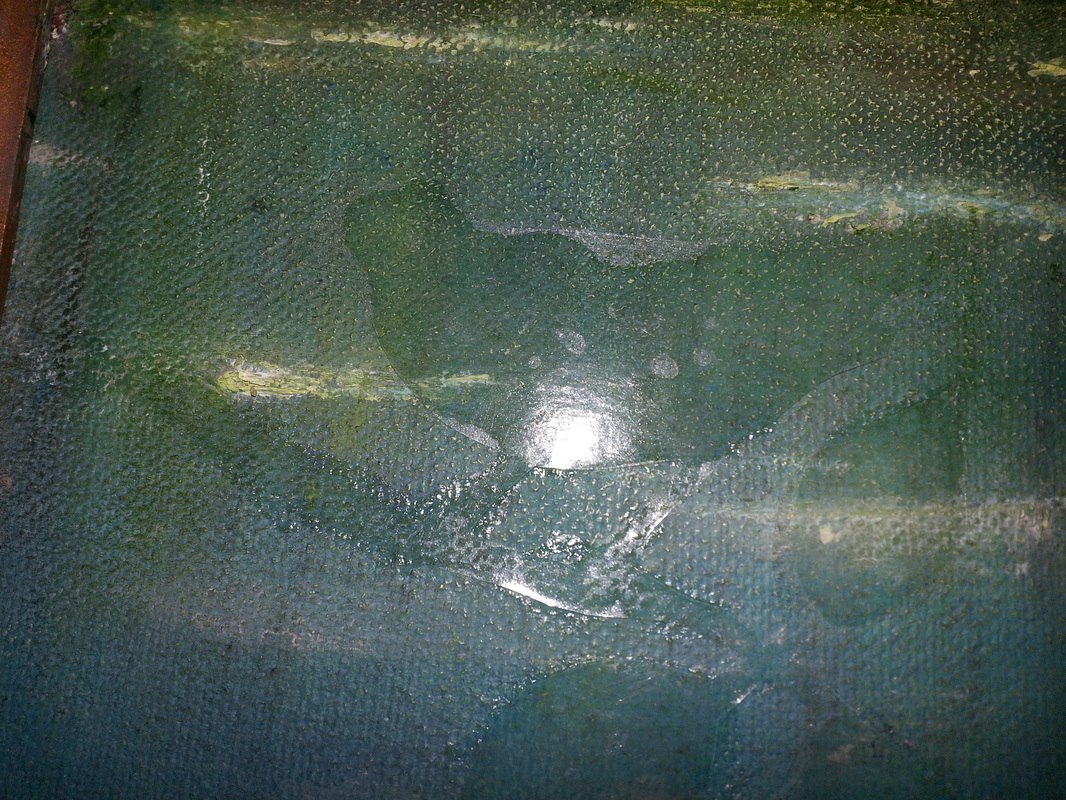
Once you have all the letters and images cut out of the contact paper, you stick them to the painting. Now here's where I got pretty discouraged...After I carefully cut out all those little letters, they didn't stick to the oil painting AT ALL!! So if this happens to you, don't freak out - you can still make it work. I have some "tacky glue" that I never use because it seems crappy and never seems to actually dry (maybe that's what it's supposed to do??). I decided to use that glue to glue down the letters onto the canvas and it worked pretty well. Here's a closeup of one of the birds glued down.
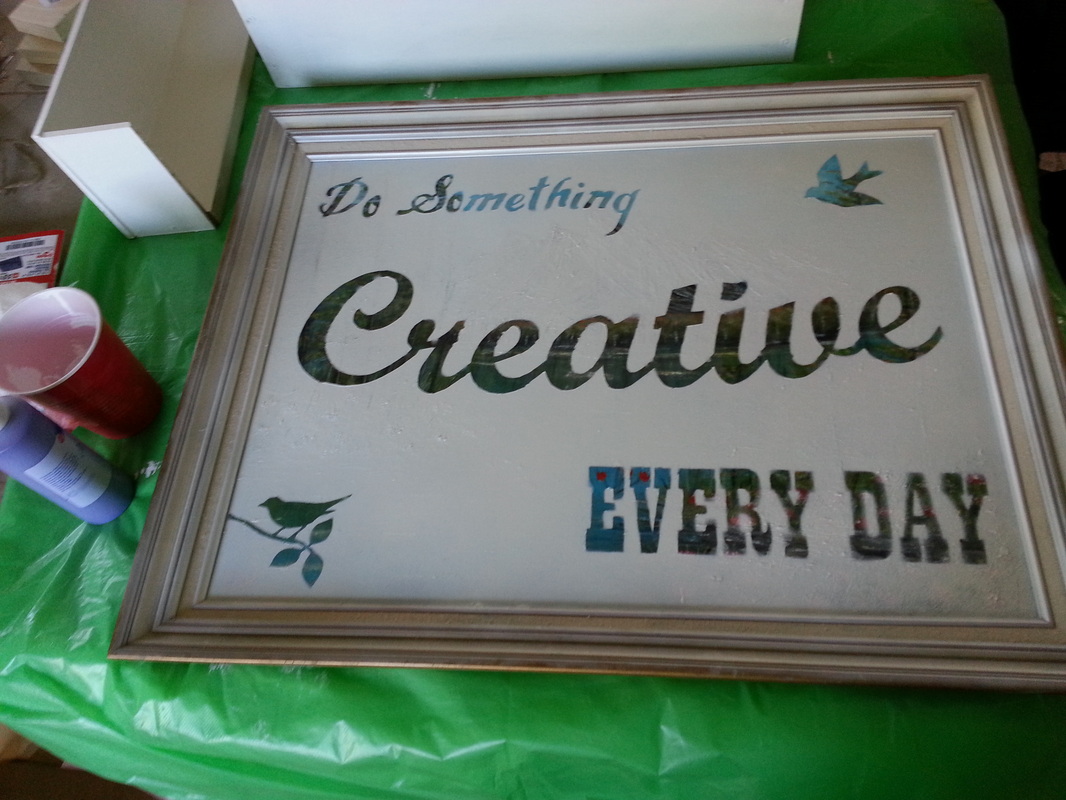
Once you have everything glued down (or stuck down if it stuck good for you), get out the tarp and spray paint!
I was pretty worried that the paint would seep underneath the letters and make it illegible so I held the can pretty far away from the painting and put on VERY light coats.
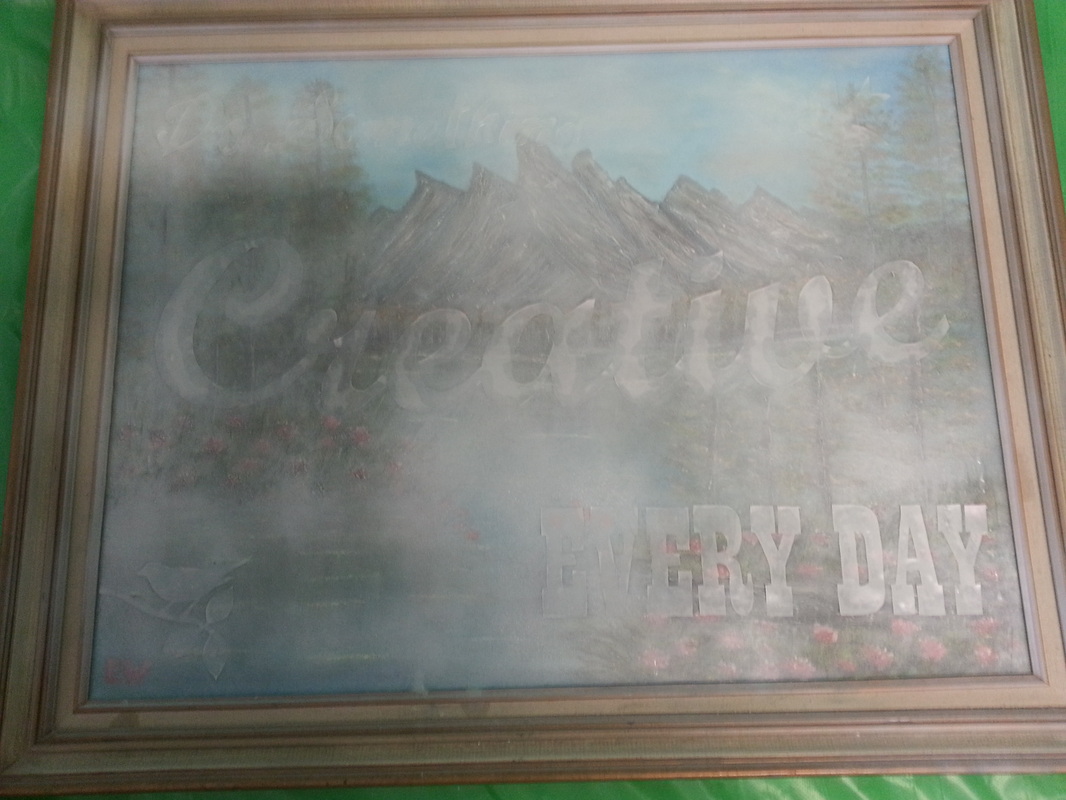
Continue to coat until it's a solid color. I also thought about leaving it light so you could see the painting (partially), but I couldn't get it even and it would drive me nuts if it was darker in some spots than other so I stuck to the original plan and kept painting until it was solid white.
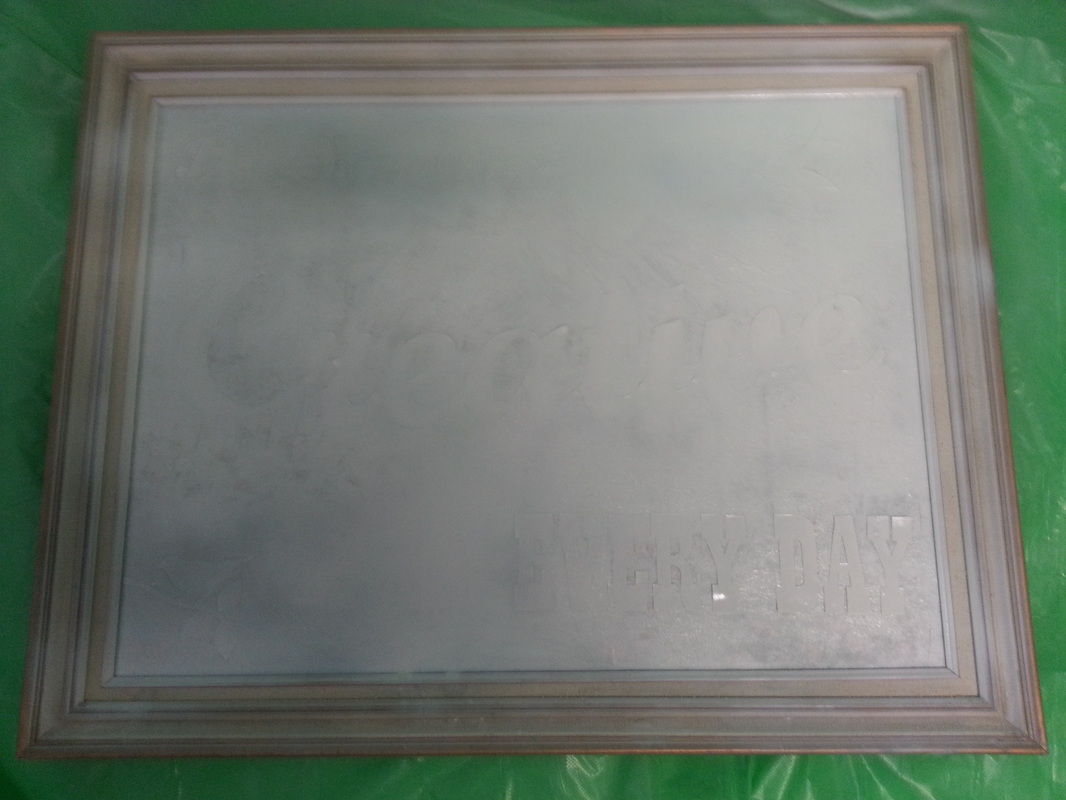
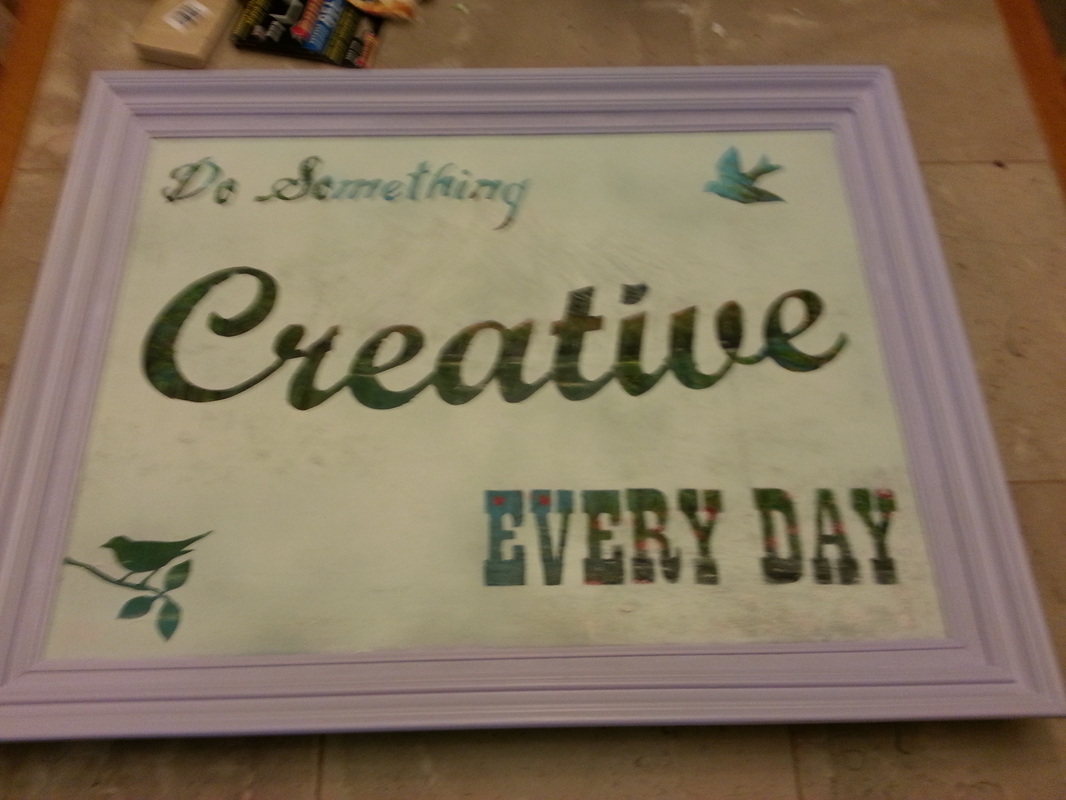
Let the painting dry completely and then comes the moment of truth...peel of the lettering (carefully) and see whether or not it worked!
Yay it worked!! You might have noticed that I got some spray paint on the frame. Well the reason I didn't tape it off is because I knew I wanted to paint the frame. Can you guess what color? Purple of course :)
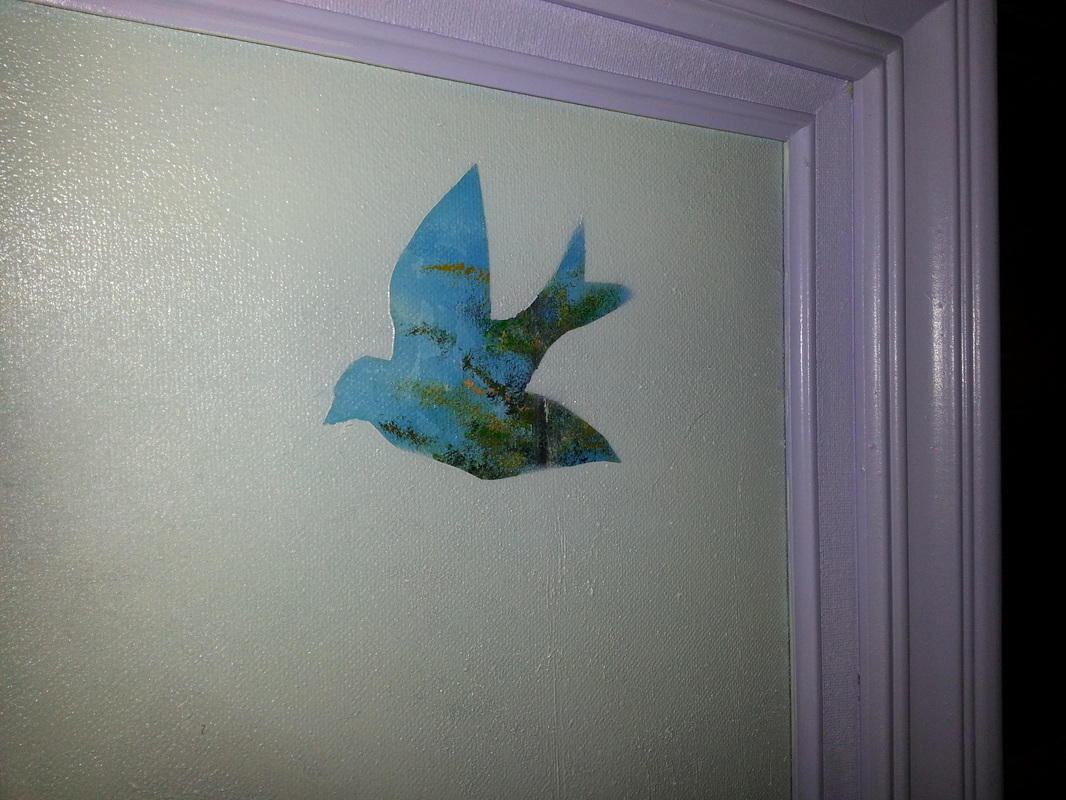
I LOVE how each letter and element is different and unique because of the painting behind it. Check out this little birdie (sorry for the bad phone pics, I've had shaky hands lately I guess...and I'm too busy to dig out the actual camera).
Finally, here it is hanging in its new home and making my quilt room a little prettier, yay!
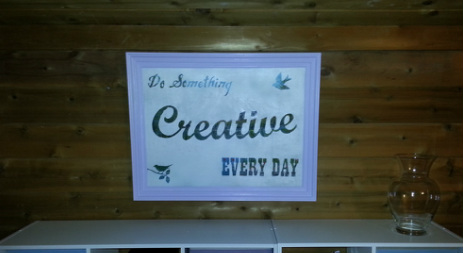
Man i've been doing bad taking pics lately, sorry about the lighting...
Next up: Do something about that clear vase and finish filling/decorating the top of that shelf there...ooh I'm so excited!


