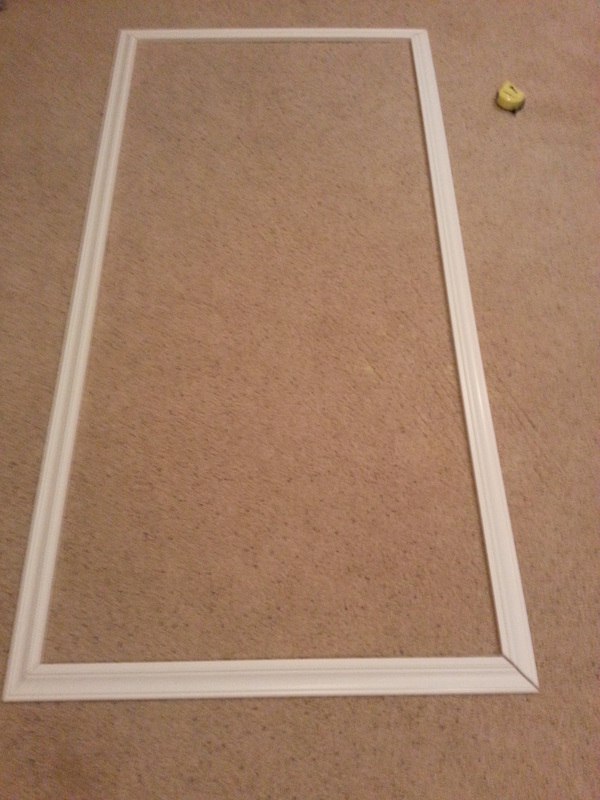
So, speaking of being patient and making sure you don’t screw up…I finally decided to make my design wall. I used the measuring tape to decide how big I wanted the design wall to be (36” x 72) and then decided which side of the molding I wanted on the outside versus the inside of the “frame”. I marked all my pieces and got out the saw and miter box to cut them. First I cut the 72” pieces, and I was careful to make sure I measured to the outer points and marked which way the cuts need to go. But then I went to cut the 36” pieces and I guess I got a little sloppy because I cut these pieces opposite of the long pieces, doh!!
Unfortunately, I couldn’t salvage the two short pieces and I didn’t have any extra molding so I had to go back to Home Depot to get one more piece. I marked the pieces again – more carefully this time, and cut the last two pieces. The most frustrating part is that it is exhausting for me to cut these pieces by hand in the miter box so I was upset I wasted all that energy on those three cuts, ugh. But at least I got the pieces cut correctly this time and then I just sanded down the edges a bit so they were nice and smooth. I think they fit together pretty decently.
Unfortunately, I couldn’t salvage the two short pieces and I didn’t have any extra molding so I had to go back to Home Depot to get one more piece. I marked the pieces again – more carefully this time, and cut the last two pieces. The most frustrating part is that it is exhausting for me to cut these pieces by hand in the miter box so I was upset I wasted all that energy on those three cuts, ugh. But at least I got the pieces cut correctly this time and then I just sanded down the edges a bit so they were nice and smooth. I think they fit together pretty decently.

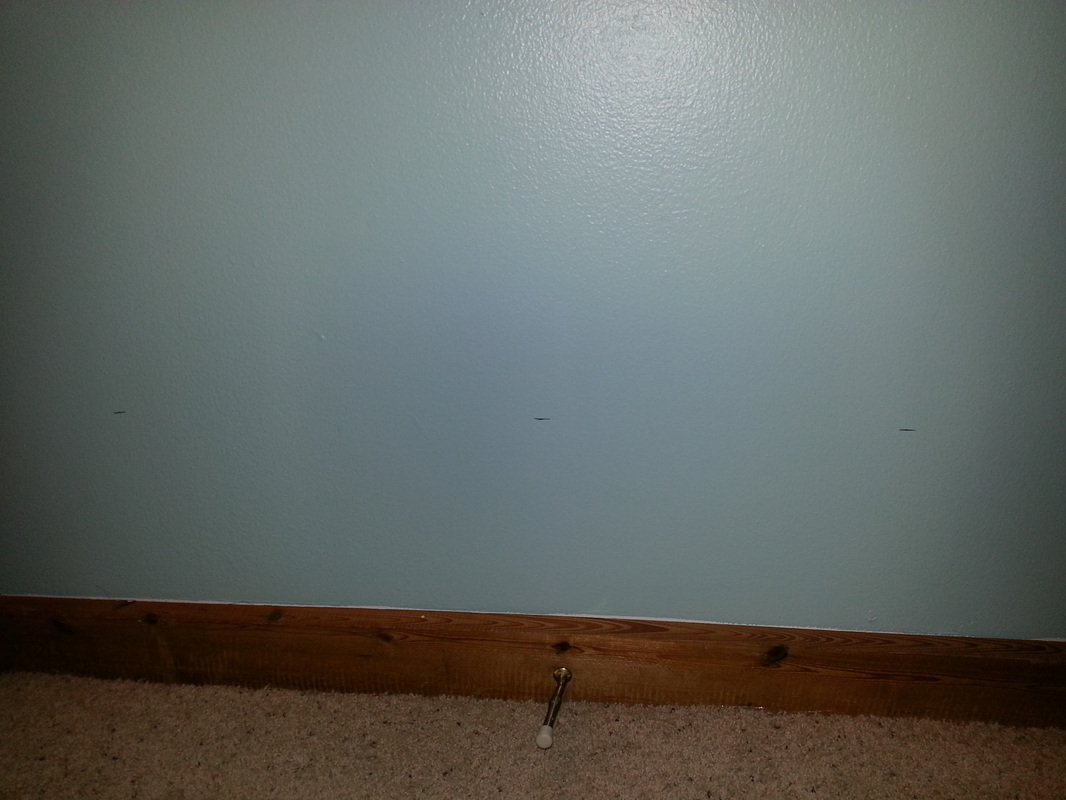
Next it was time to put up the batting. I was originally going to make the molding a frame, staple the batting to the frame and then hang the frame on the wall with a couple of picture hangers but Ryan said it would be better and more sturdy to just staple the batting straight to the wall and nail the molding around it. I wanted the top of the design wall frame to match up in height with the top of the door frame and I wanted it centered on the wall. So I held up the level on the top of the door moulding and marked a line where the moulding would go. I did the same for the bottom piece.
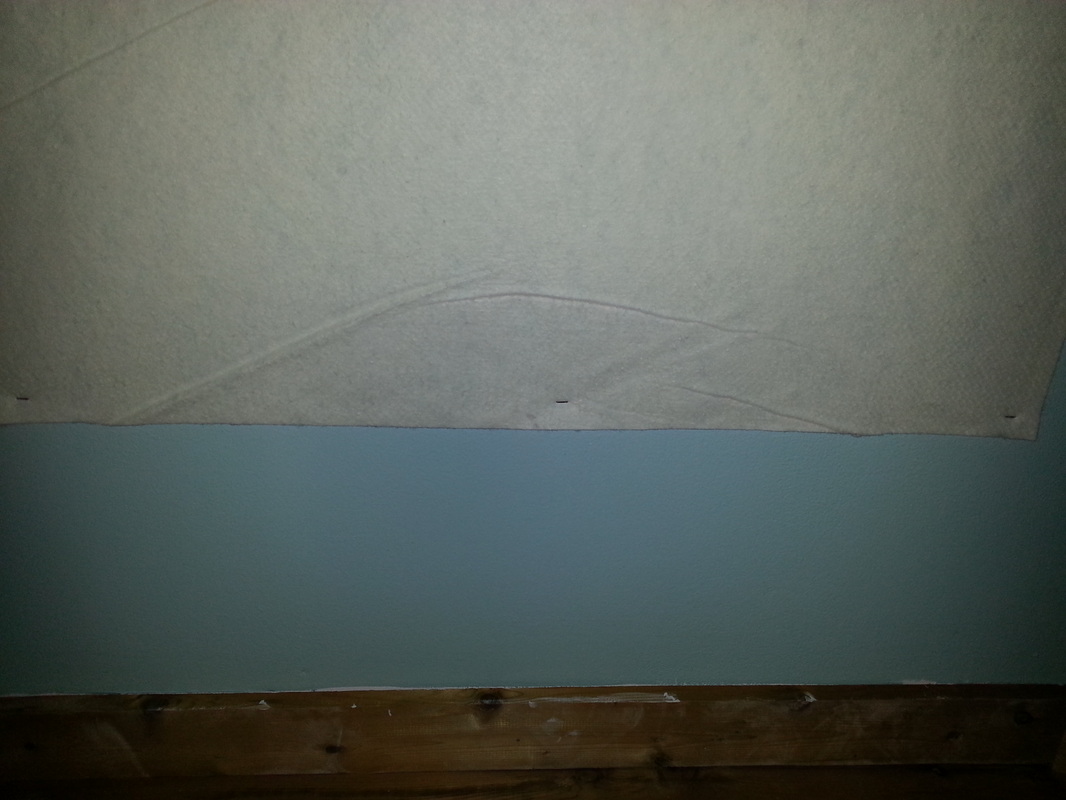
I was going to cut the batting smaller than the outer edges of the moulding but I decided to cheat and fold my batting multiple times before cutting it. When you do that, you risk the part being crooked so I cut the batting the same size as the moulding. I hung it on the wall, using my pencil marks as locators and painter’s tape.

Next it’s time to staple it to the wall. I started in the upper center then pulled to each upper corner. I made sure to staple about an inch from the edge of the batting and then trimmed the excess off. Finally, I used a hammer and finishing nails to hang the top piece.
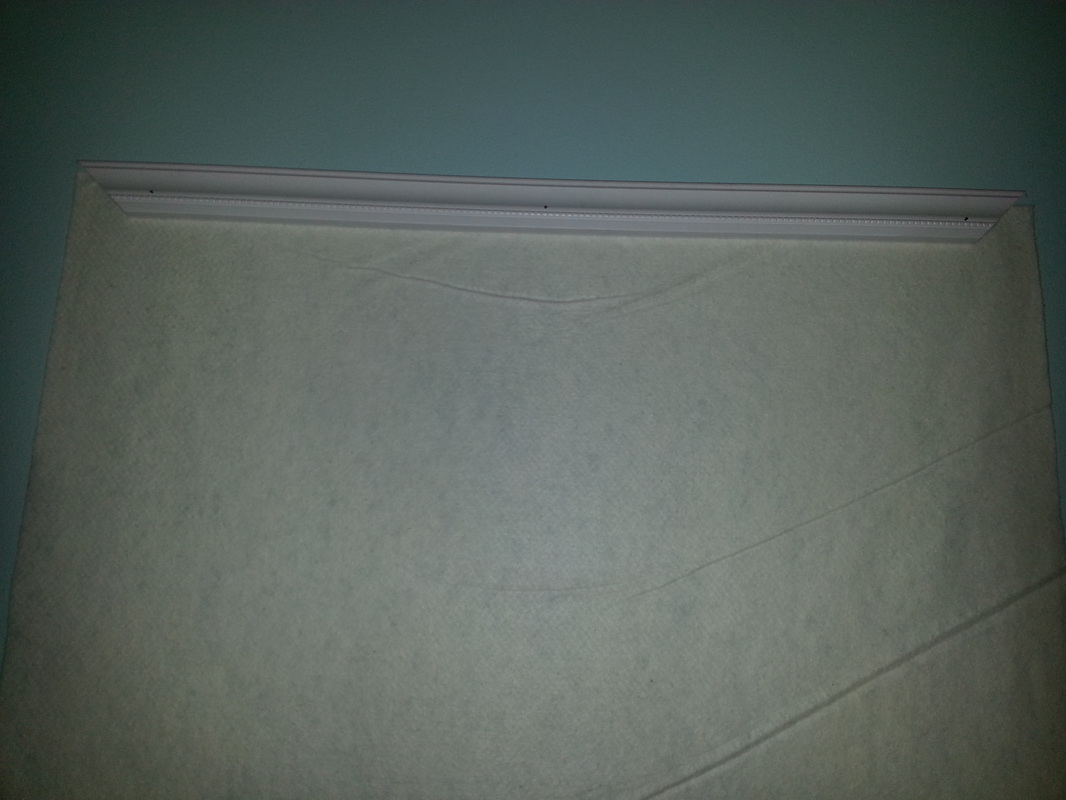
Hang the other three molding pieces using the marks on the wall for reference and then go around with a nail set to get the finishing nails set all the way into the molding. Lastly, use some wood wax or white wood filler to smooth over the mitered joints and fill in the nail holes on the molding. Then you’re done and ready to “hang” your quilt blocks on it so they are ready for you to stitch them together!
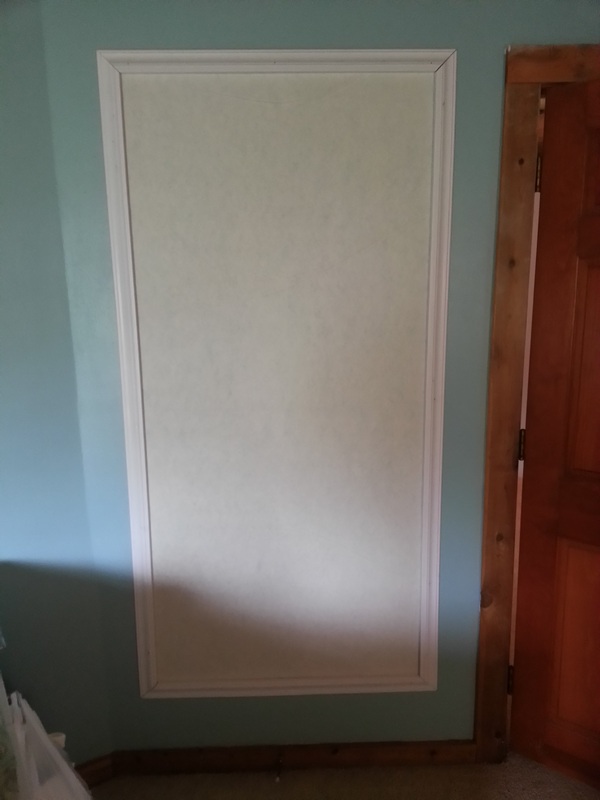

Isn't it awesome how the blocks just "stick" to the batting without any tacks or anything? Gotta love friction :)


