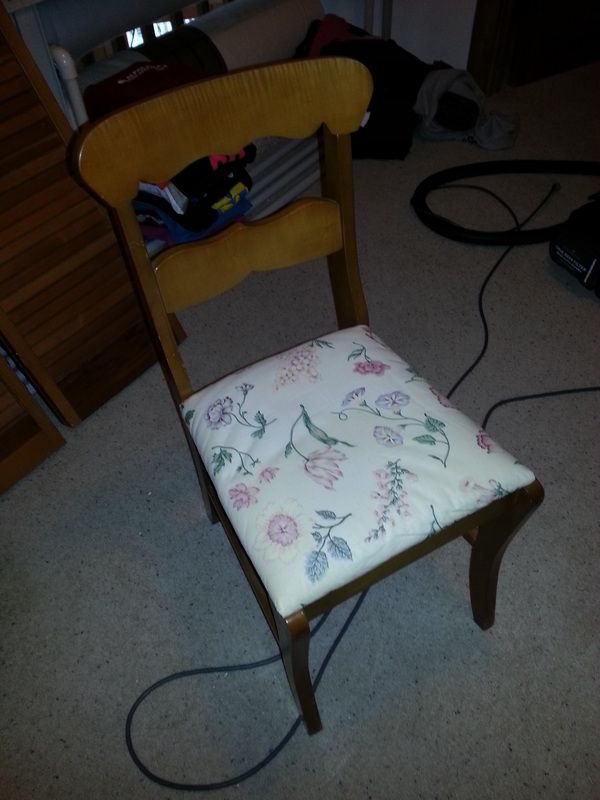
Ok Ok, I know I'm obsessed. But when I start a project I like to go all the way, LOL. So as part of finishing up the guest room, I thought I'd give this little chair a facelift to make it fit in better in the room.
| 
|
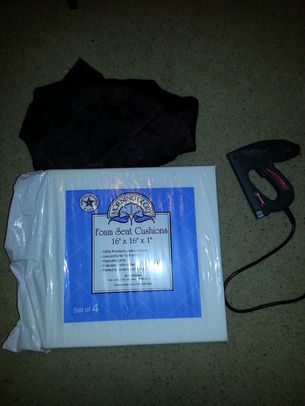
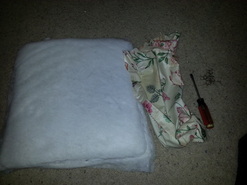
This is a super easy project that only takes about half an hour. The only supplies you need are an electric (or manual) stapler, the new fabric you want to use and some seat cushion foam ($6 at Walmart, optional).
Turn the chair upside down and remove the screws that hold the chair seat to the frame.
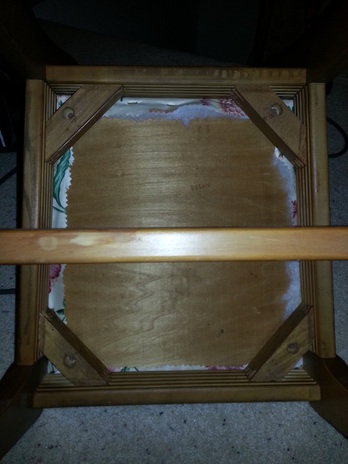
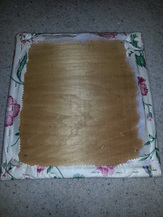
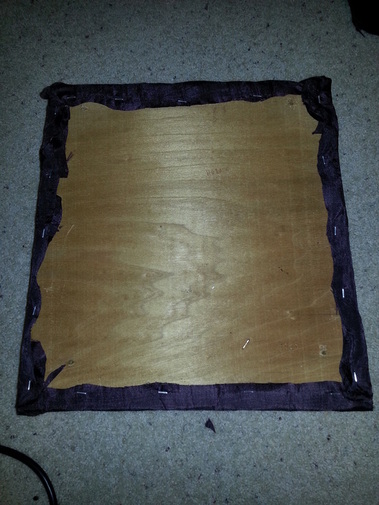
When you take the seat off you should see that the old fabric was just wrapped around the wood base and stapled down. You'll need to remove all those staples.
| 
|
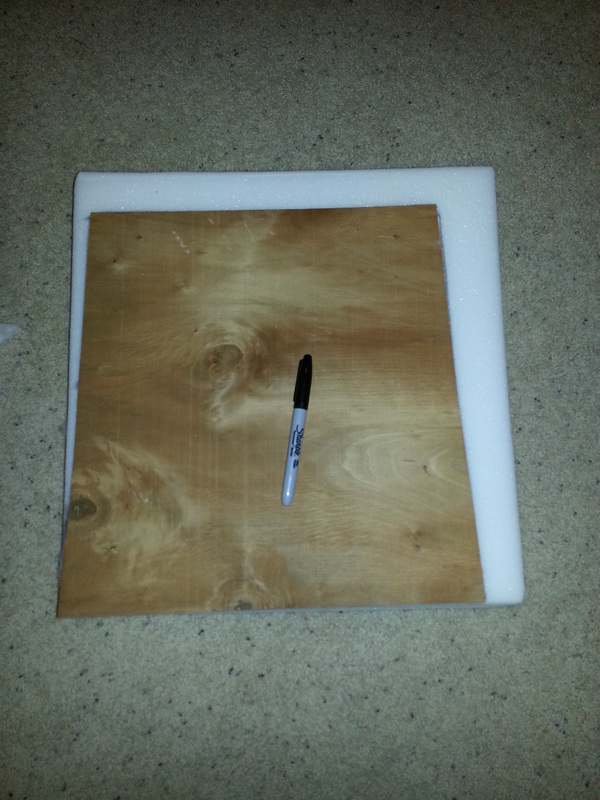
If you want to replace the existing cushion with new foam, lay the wood base on top of the foam, trace around it with sharpie and cut it out with scissors or a utility knife.
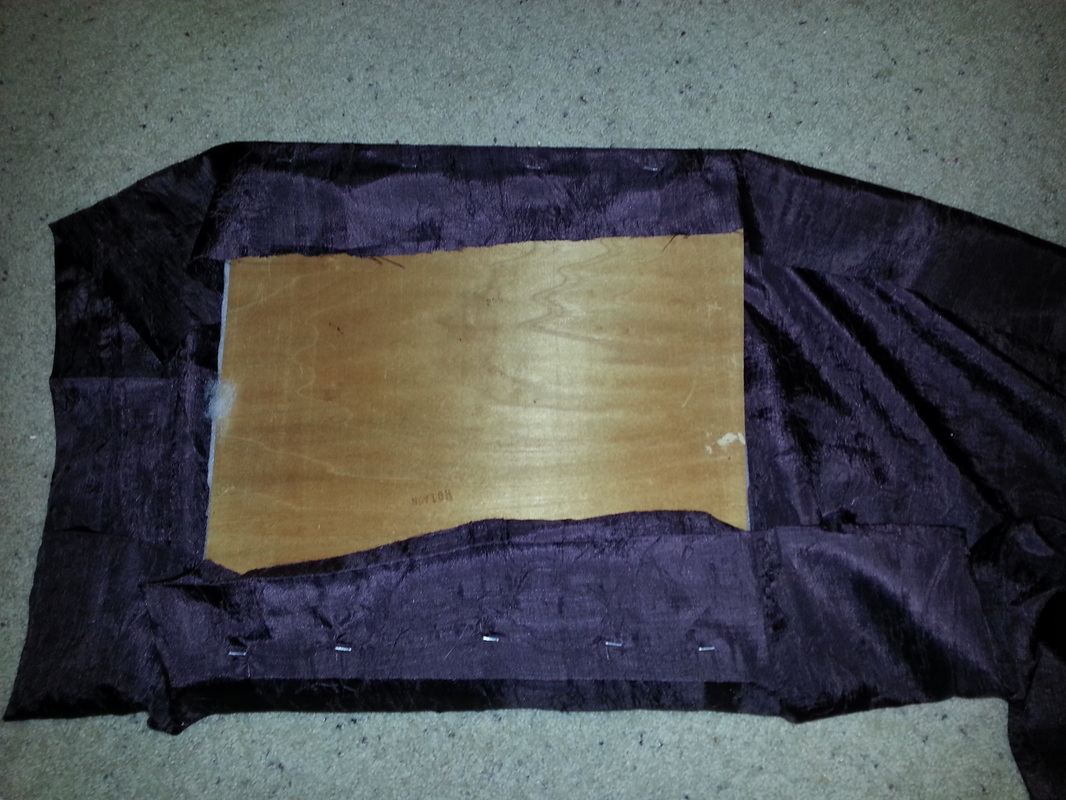
For the fabric, you don't even need to make a pattern. Just lay the board and foam on your fabric, wrap the fabric around tightly and staple it down. At the corners I just folded it like a present. You may recognize the fabric I used, it's leftover from when I shortened the drapes to use as a closet cover.
After you staple it down, check the front to make sure it looks ok and then trim the excess fabric close to the staples so it isn't covering the screw holes. it doesn't have to be pretty, just trim off the excess.
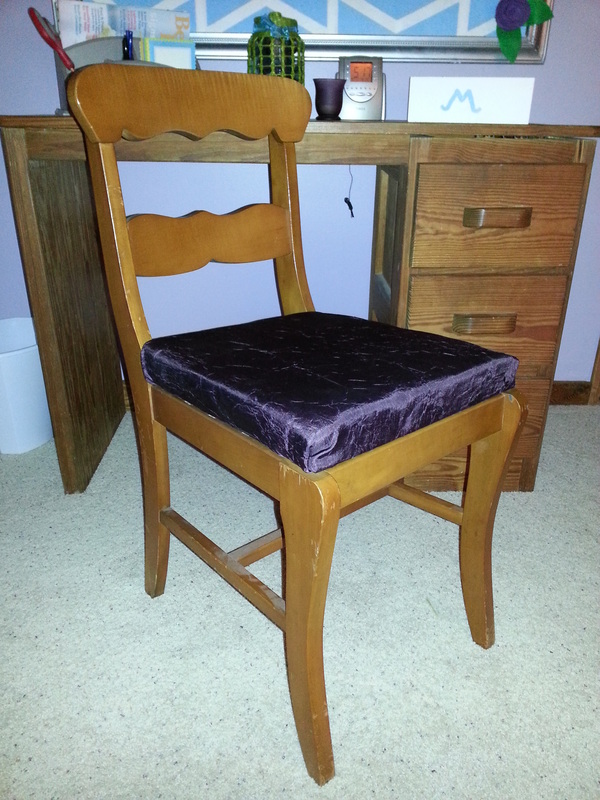
Put the original screws back in through the frame and base and then you're done! The chair has a more comfy cushion and matches the room...ta da!


