I know in a previous post I talked a little bit about the tile work we did for Mary over Christmas but I guess I forgot that I had taken pictures. I recently switched from my phone camera storing the pics in the camera folder to storing them on the SD card so now my main “gallery” only shows the photos from one of the sources. I didn’t realize I had a bunch of other pics until I was on my computer browsing through my phone folders.
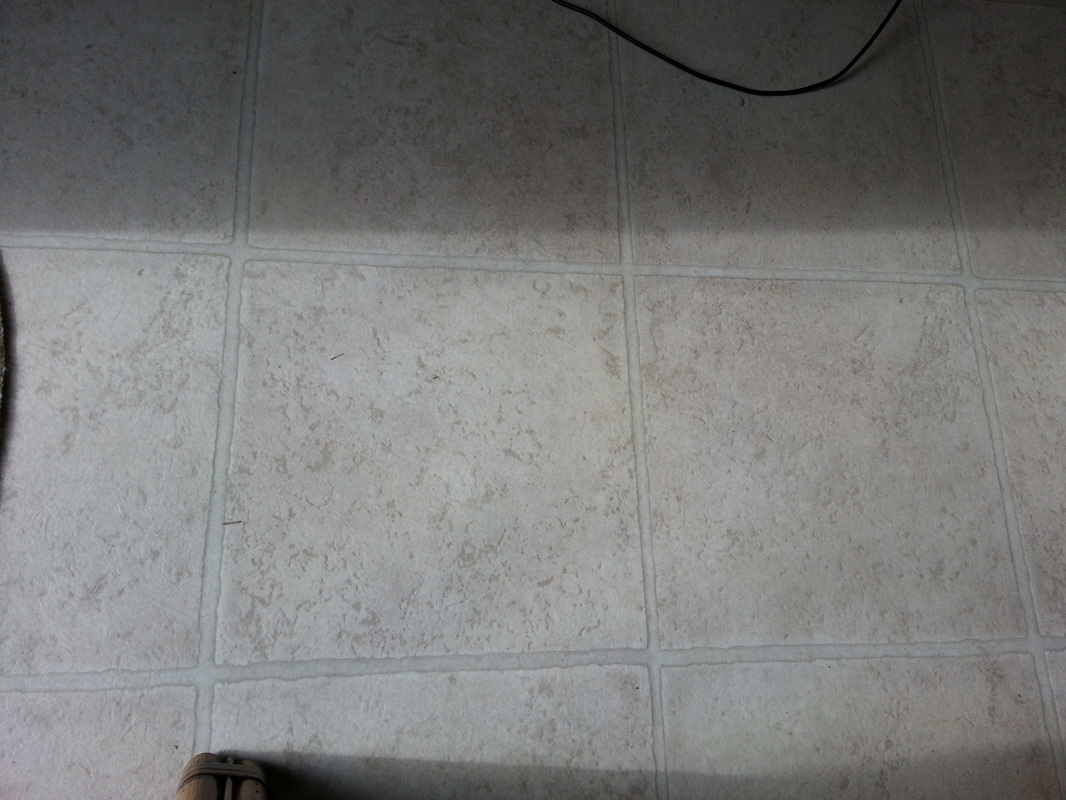
Anyways, Ryan was struggling to think of a good Christmas gift for his mom Mary and I recalled that she always mentioned (every time we were up there) that she would love to rip the linoleum out of her guest bath and put tile instead. Since the guest bathroom is so small, I suggested that we should tile it for her for Christmas. Then Ryan volunteered us to also do the master bathroom and the entry way and closet. It ended up being a lot of tile but it should make a dramatic improvement for her house. Now the only linoleum left to replace is in the kitchen and under the washer/dryer. Maybe we’ll do those for Christmas and her birthday this year. Here’s what her old linoleum looked like, it really wasn’t bad, just not as nice as tile.
Anyways, Ryan was struggling to think of a good Christmas gift for his mom Mary and I recalled that she always mentioned (every time we were up there) that she would love to rip the linoleum out of her guest bath and put tile instead. Since the guest bathroom is so small, I suggested that we should tile it for her for Christmas. Then Ryan volunteered us to also do the master bathroom and the entry way and closet. It ended up being a lot of tile but it should make a dramatic improvement for her house. Now the only linoleum left to replace is in the kitchen and under the washer/dryer. Maybe we’ll do those for Christmas and her birthday this year. Here’s what her old linoleum looked like, it really wasn’t bad, just not as nice as tile.
The first step to putting in the tile is to remove the quarter round (near the baseboards), cut away old caulk, take out the toilet and start removing the linoleum. All you really need to remove the linoleum is a heat gun and a scraper. When we removed linoleum from our house it took days because it was on a plywood floor and they used some awful black tar-like adhesive that was impossible to get off. Fortunately, Mary’s floor is concrete and the linoleum pulled up pretty easy.
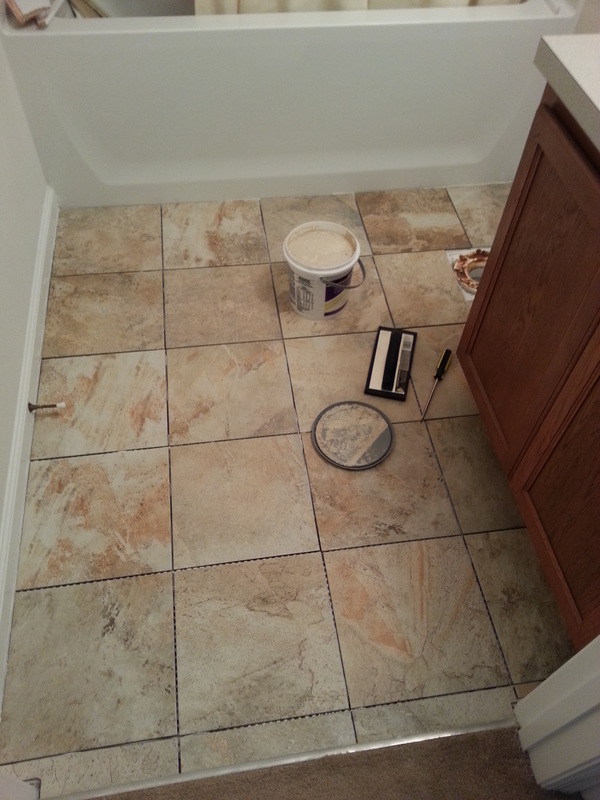
Next, you use adhesive (thinset or mastic) and a trowel to lay an even layer of adhesive. Ryan would put down the tiles (with plastic spacers between them to maintain an even grout line) and apply even pressure to make sure they are all level. As we got to the corners, I would measure the needed pieces and use the wet saw to cut the tiles we need. Having one person lay the tile and one cut really speeds up the work and make sure the person laying the tile doesn’t have to go back and forth to the tile saw all the time. You keep doing this until all the tiles are down and then you just have to wait until the adhesive dries (24 – 72 hours). You can tell if it’s not dry because if you start applying any pressure to the tiles they will shift or you will hear the adhesive “crackling” underneath it. Here’s a picture of the guest bathroom with tile but no grout:
Next, you use adhesive (thinset or mastic) and a trowel to lay an even layer of adhesive. Ryan would put down the tiles (with plastic spacers between them to maintain an even grout line) and apply even pressure to make sure they are all level. As we got to the corners, I would measure the needed pieces and use the wet saw to cut the tiles we need. Having one person lay the tile and one cut really speeds up the work and make sure the person laying the tile doesn’t have to go back and forth to the tile saw all the time. You keep doing this until all the tiles are down and then you just have to wait until the adhesive dries (24 – 72 hours). You can tell if it’s not dry because if you start applying any pressure to the tiles they will shift or you will hear the adhesive “crackling” underneath it. Here’s a picture of the guest bathroom with tile but no grout:
And here’s the entryway:
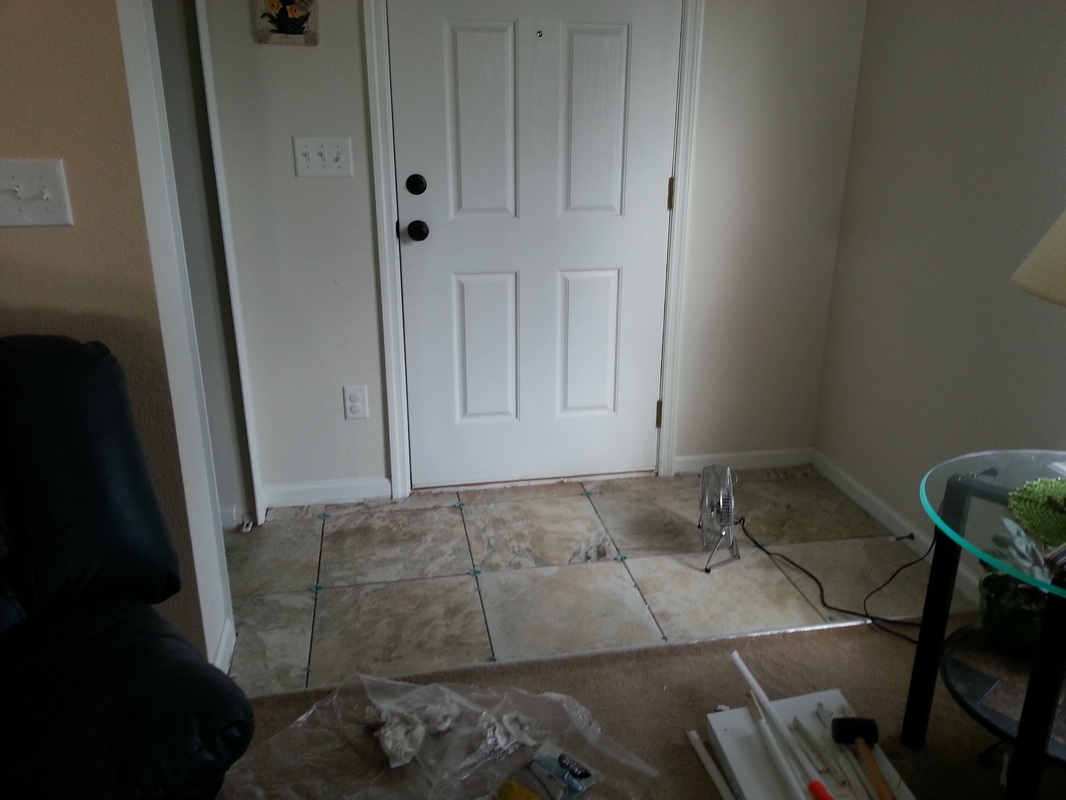
Eventually the adhesive will dry – it took forever for this adhesive since it was really cold out. After a couple days we finally put a heater and a fan in there to circulate warm air and speed up the dry time. Once it does, you can put the grout in. Grouting is really easy actually. You use a rubber grout float and basically smash the grout into the lines and scrape away excess with the edge of the float. Then you use a sponge to wipe off any additional excess grout off the tiles. Here’s a short video of Ryan doing the grout in the guest bath (I did the master bath):
A few hours after you put the grout in, you go back with a sponge again to clean off the haze left by the grout. Sometimes this has to be done several times before the tiles are completely clean. Finally, 24 hours after you put the grout in, you can seal the grout, reinstall the toilet and quarter round, and put fresh caulk down. And then you have beautiful new tile in your home! Ta-da!
Unfortunately I forgot to take pics of the tile after the grout went in. We used a light sand colored grout that really tied the tile together and made it look even better than the photos above. Maybe I’ll remember to take a few the next time we’re up there…
Unfortunately I forgot to take pics of the tile after the grout went in. We used a light sand colored grout that really tied the tile together and made it look even better than the photos above. Maybe I’ll remember to take a few the next time we’re up there…


