|
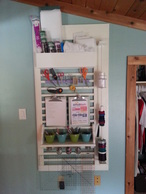
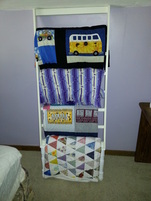
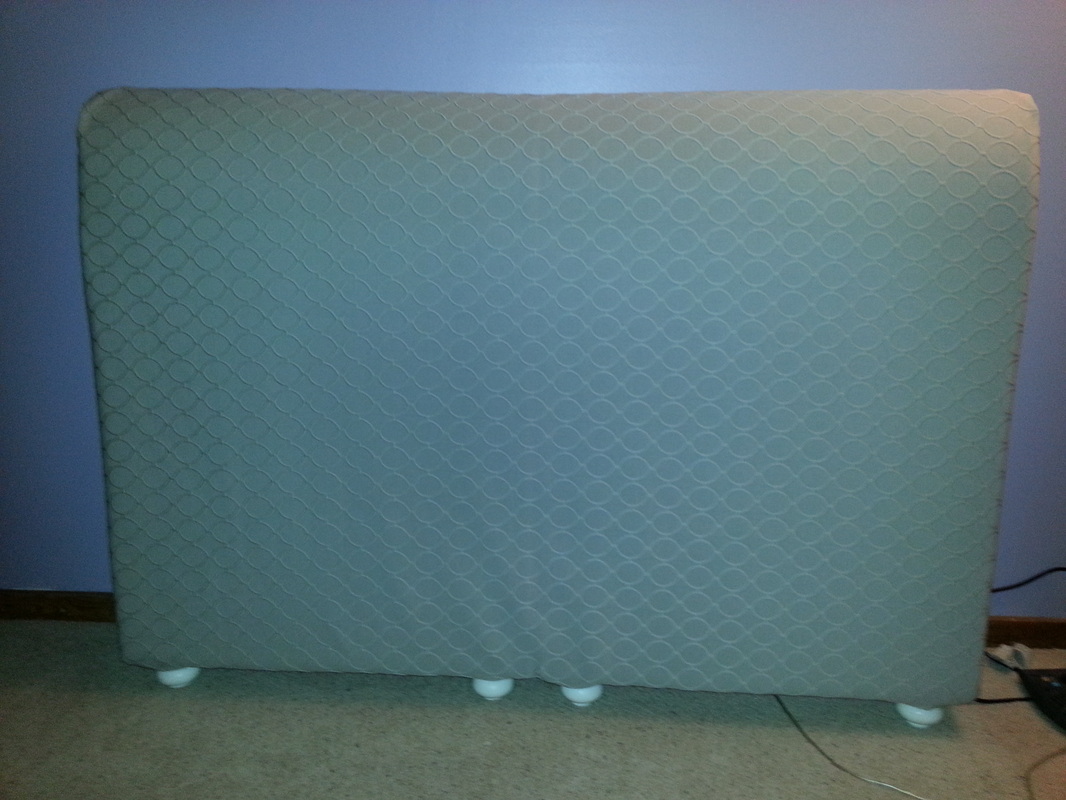
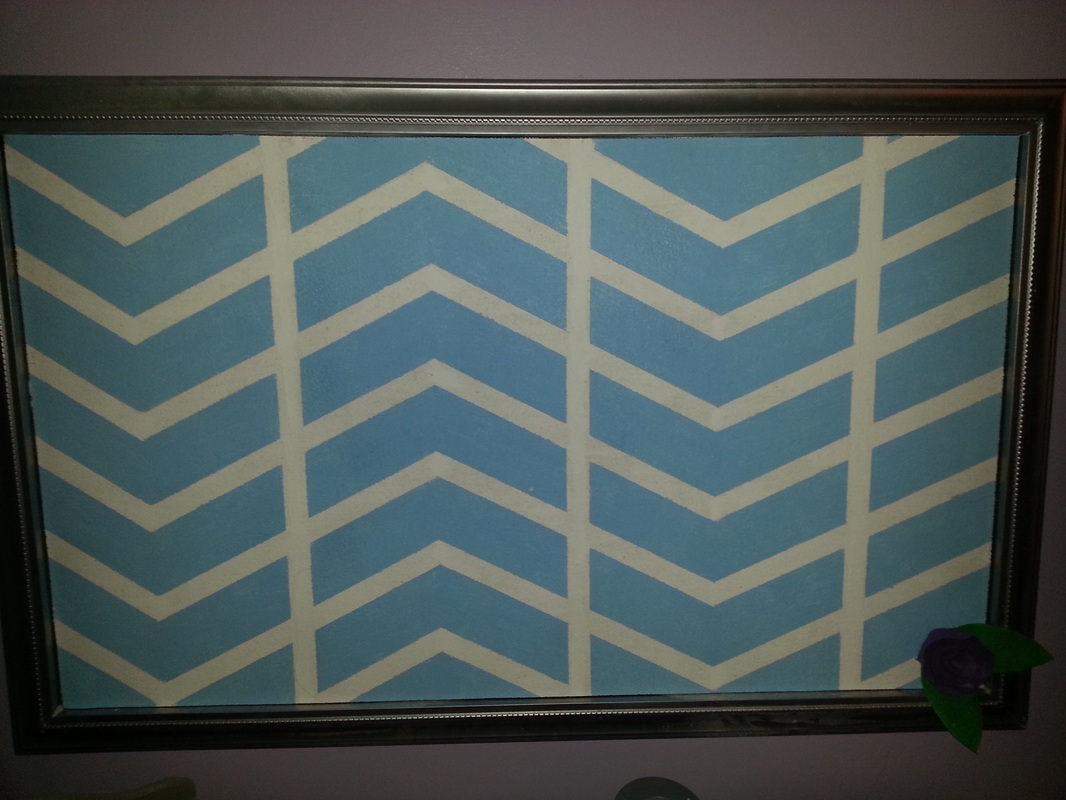
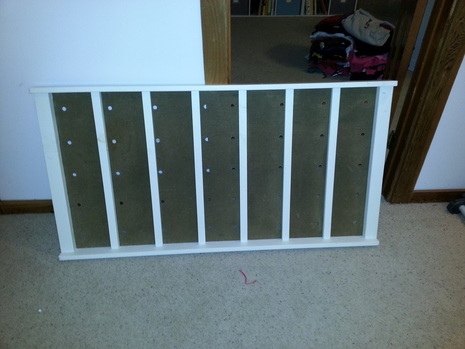
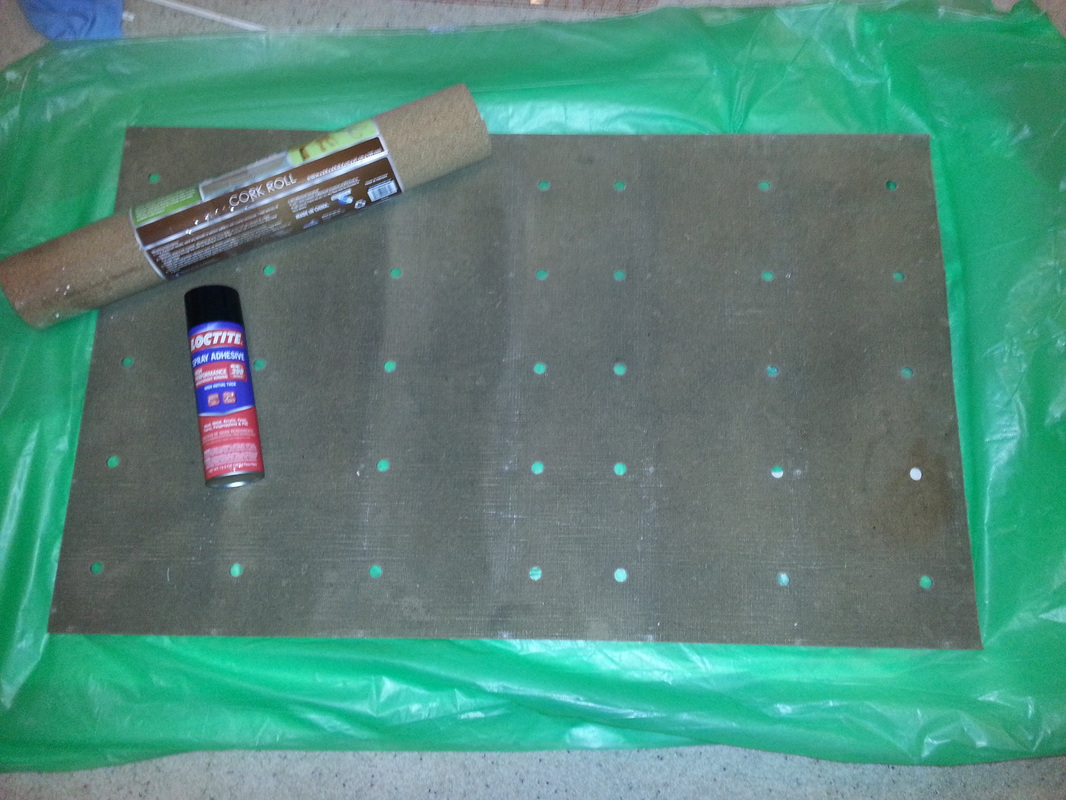
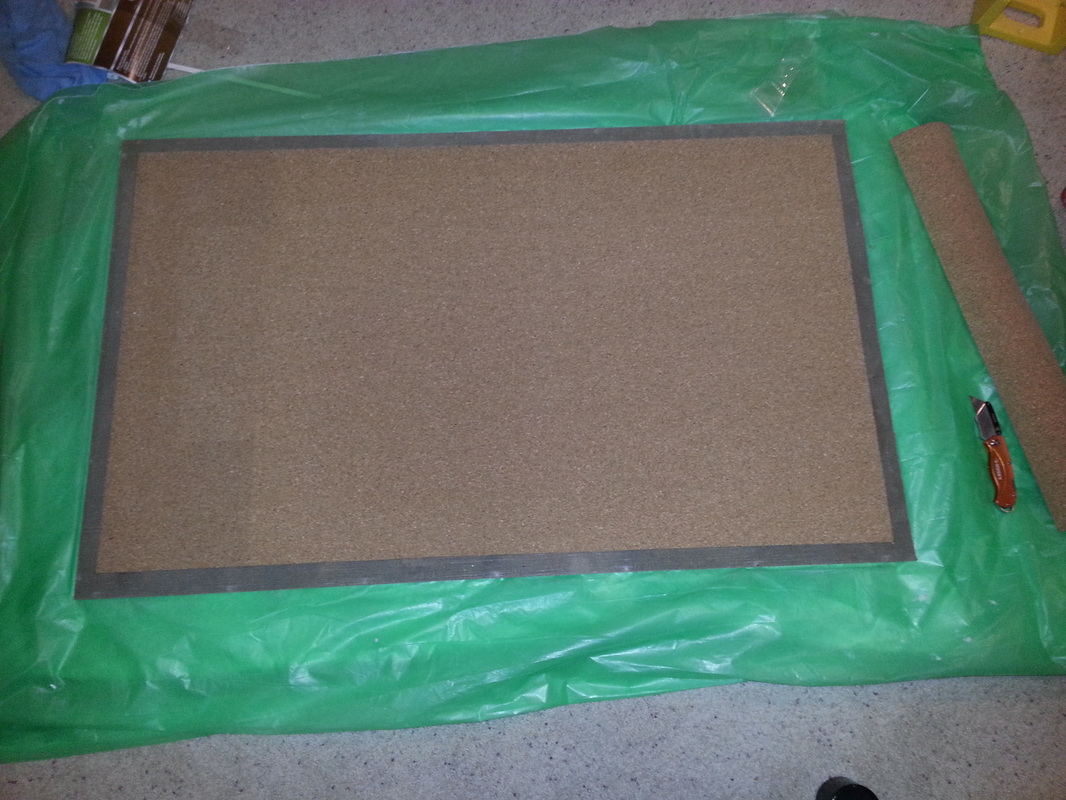
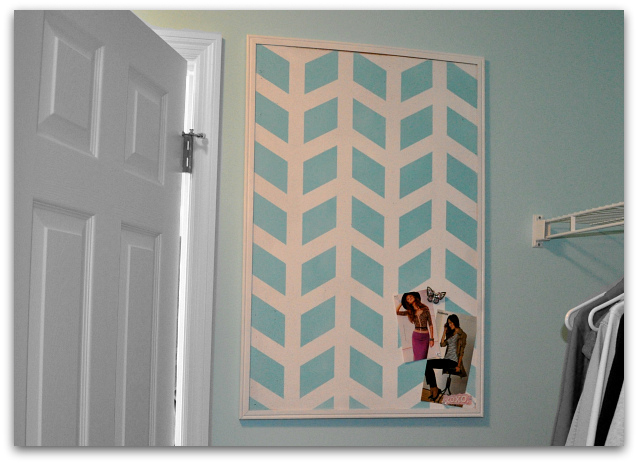
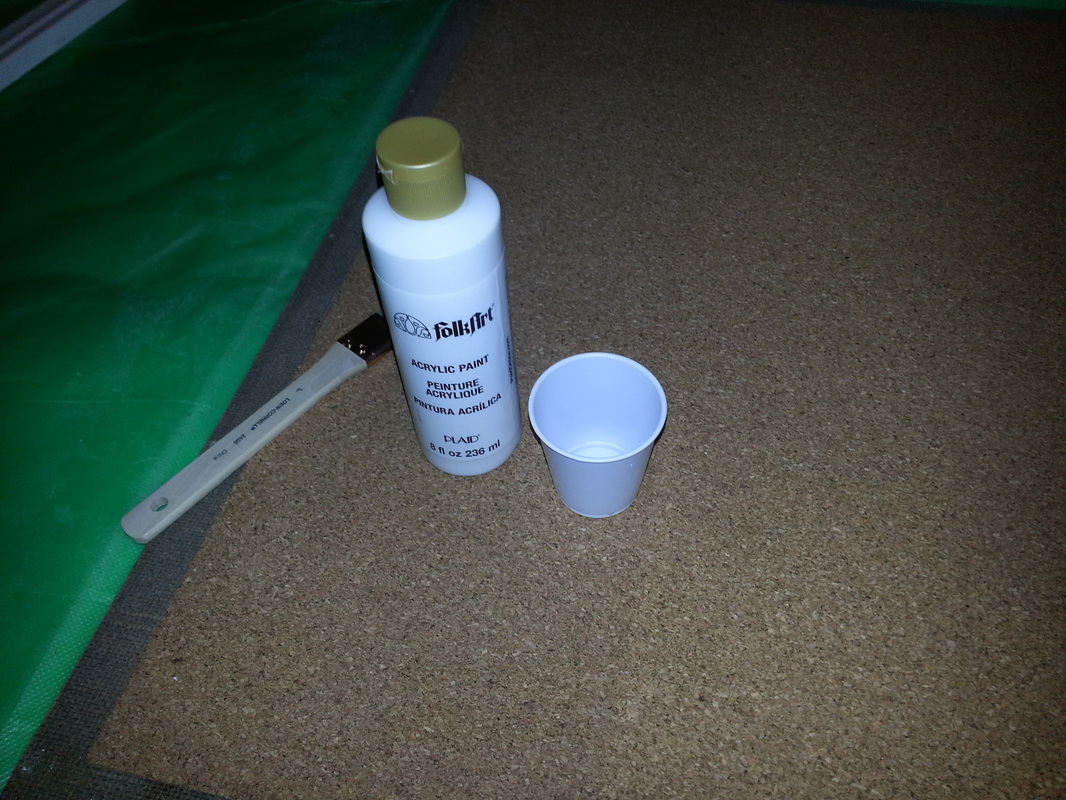
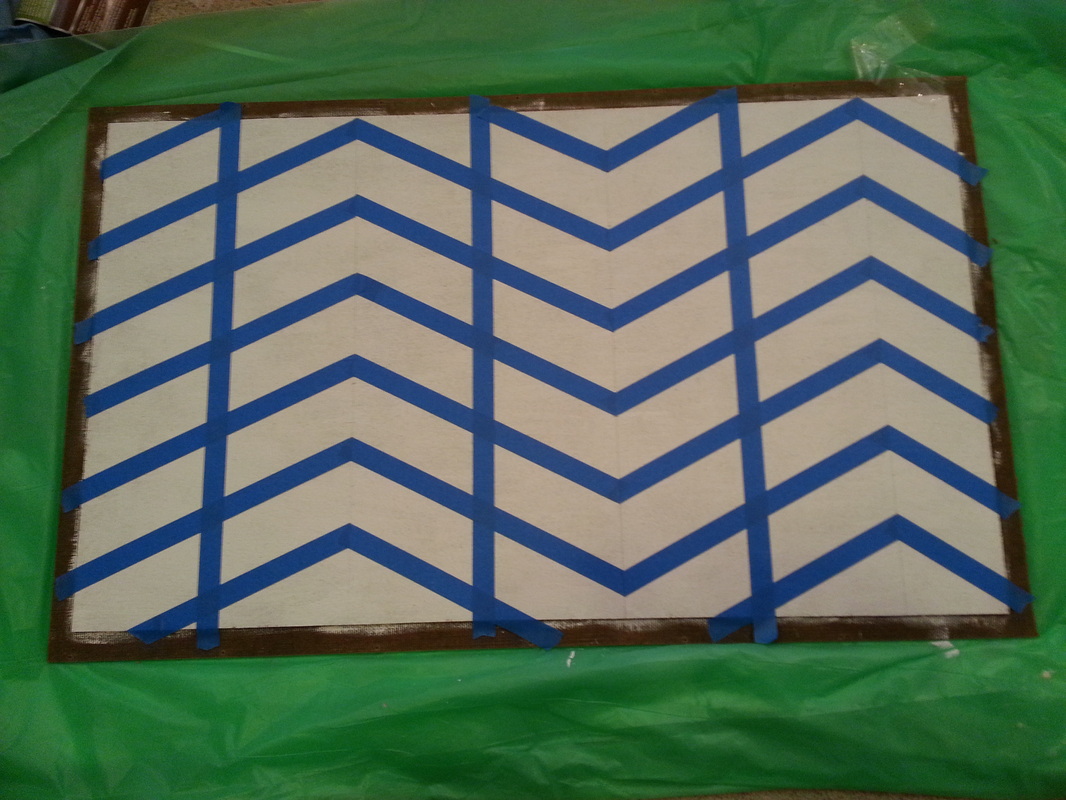
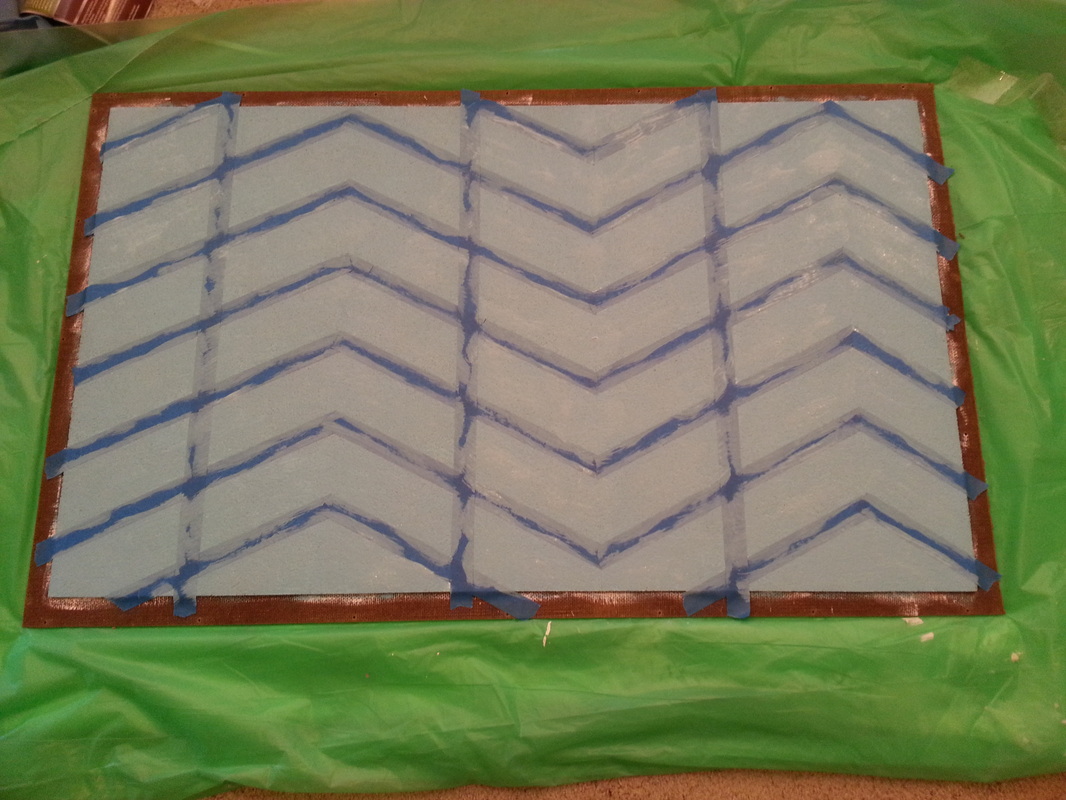
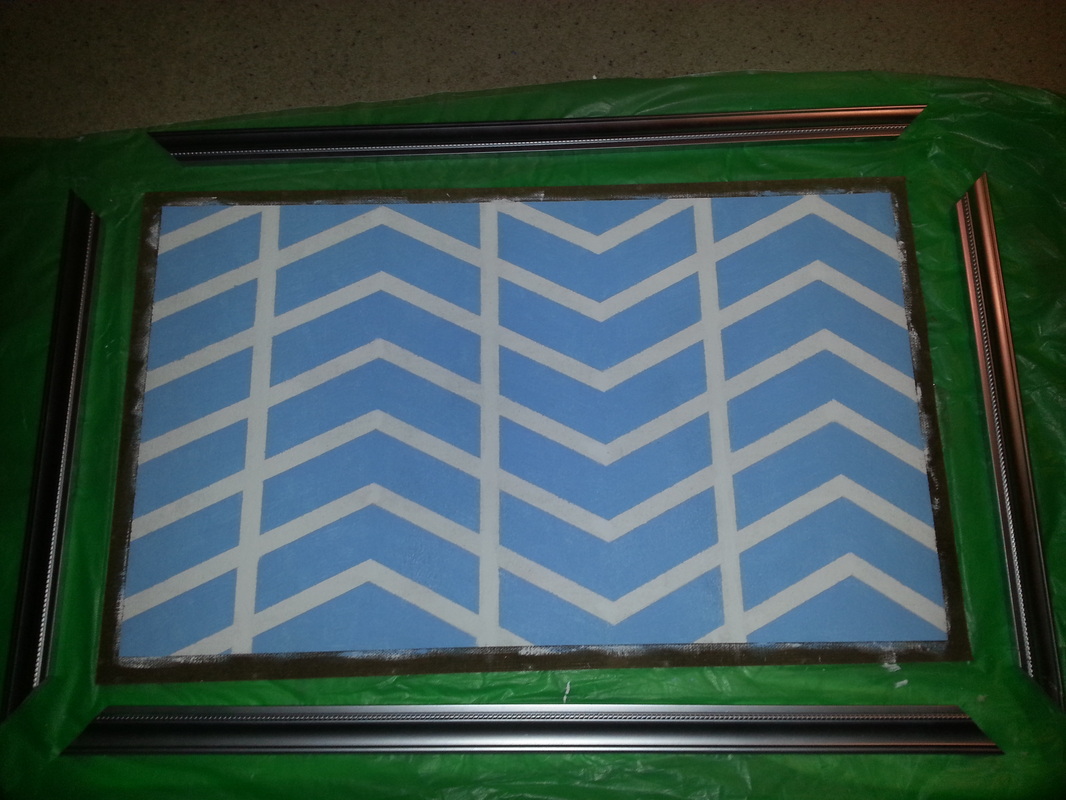
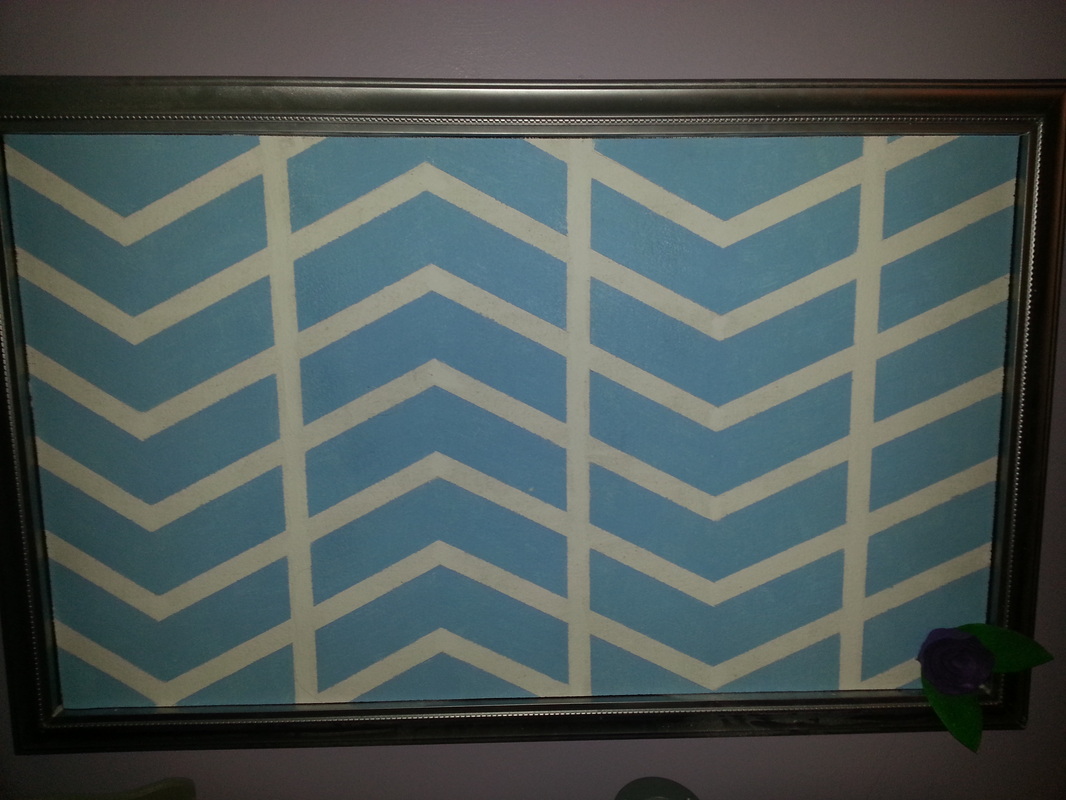
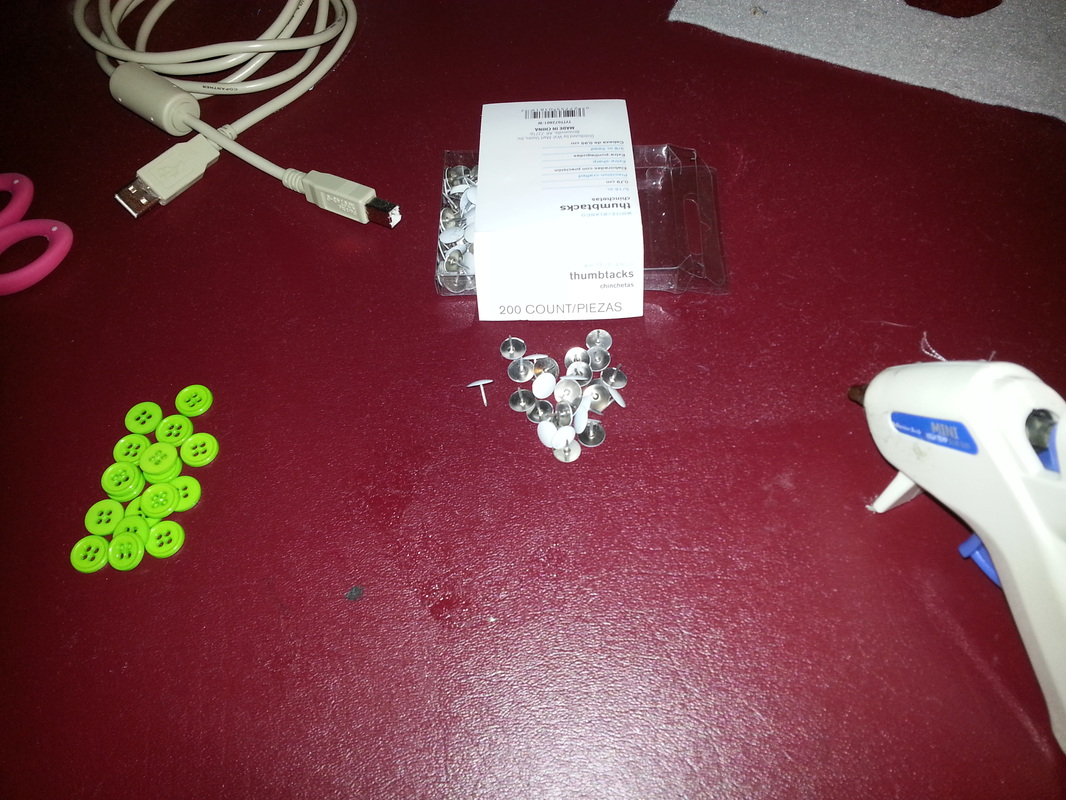
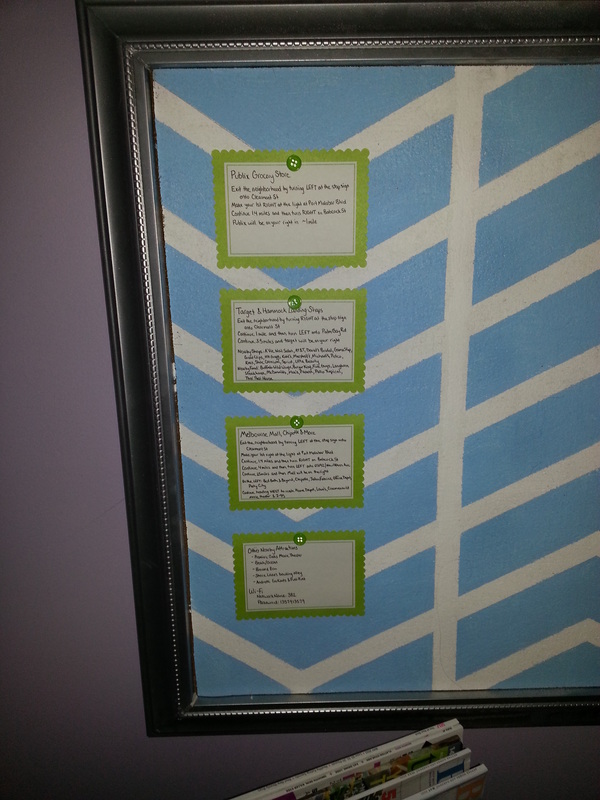
You may remember that I bought an upholstered crib off Craigslist earlier this year and I made three projects with it already: a tool organizer, a headboard and a quilt rack. I was also able to use a part of it to make a bulletin board! Remember on the quilt rack when I said I removed the brown fiberboard backing? Well, after I took them apart, I realized it was pretty close to the size I wanted for a bulletin board. And, I could buy a roll of cork for the same price as a new bulletin board (which wouldn't quite be the right size/shape and has a boring frame). I used a utility knife to trim the board a little shorter (to match the width of the desk it would go over) and then got ready to roll out the cork. I sprayed the fiberboard generously with 3M Adhesive spray (LOVE that stuff!) and then unrolled the cork, pressing down firmly as I went. When I got to the end of my board, I just used my knife and a ruler to cut a straight edge. Now normally I would have made the cork the exact same size as the backing board, then framed it and nailed or stapled through all three. But the roll of cork was just slightly shorter than my board and I didn't want to piece together the cork or pay for a bigger roll. So instead, I'll just frame around the cork. I saw this really cute herringbone painted bulletin board on pinterest and I thought I just might copy the idea :) It probably would have been easier to spray paint the board but it was dark out and I was out of room in the garage for spray painting (taken up by a dresser at the time, LOL) so I used cheap white acyrlic/craft paint and brushed the whole board white. Once that dried, I drew a grid on the board for reference and then laid out some painter's tape in a pattern. I ended up with something kind of half way between Chevron and Herringbone - I'm not sure if there's a name for this, but I like it. After I taped the pattern down, I painted the board light blue craft paint and let it dry for a few hours. While the paint was drying I cut my PVC moulding to the length I needed and painted it with the silver leaf spray paint by Rustoleum. When I peeled the tape back, I was left with a light blue board with the white pattern showing through. Cute right? To secure the frame, I was going to staple it from the back but the staples weren't long enough and had a hard time going through the fiberboard (it must be SUPER dense). Fortunately I still had the screws that originally went through the fiberboard and into the bottom of the crib so instead of staples, I put those screws back in their original countersunk locations through the board and into the moulding. For a fun little finishing touch, I added a couple of purple flowers on the front that I made out of fabric from my old drapes. Last but not least, I decided I needed some cute push pins instead of the plain ugly ones. So I bought a box of the small white tacks from Walmart for $.50 and then used hot glue to add little buttons. I even made a couple cute little cards with directions to the nearest groceries, shops and restaurants and pinned them up with the little buttons.
1 Comment
|
About Me...I am a part time quilter, full time engineer and hope to one day become a full time quilter. Feel free to read along as I explore quilting, cooking and anything else that strikes my fancy. Browse By Month
August 2015
Browse By Category
All
Search My SiteLoading
Follow My BlogI Participate! |
