Earlier this year, I bought an upholstered crib on Craigslist (not for a baby). The first thing I did with it was to turn one of the crib rails into a tool organizer for the quilt room (click the pic to see more about it). Well, now that I'm getting ready to re-do the guest room (finally!), it's time to finish my other crafts!
| 
|
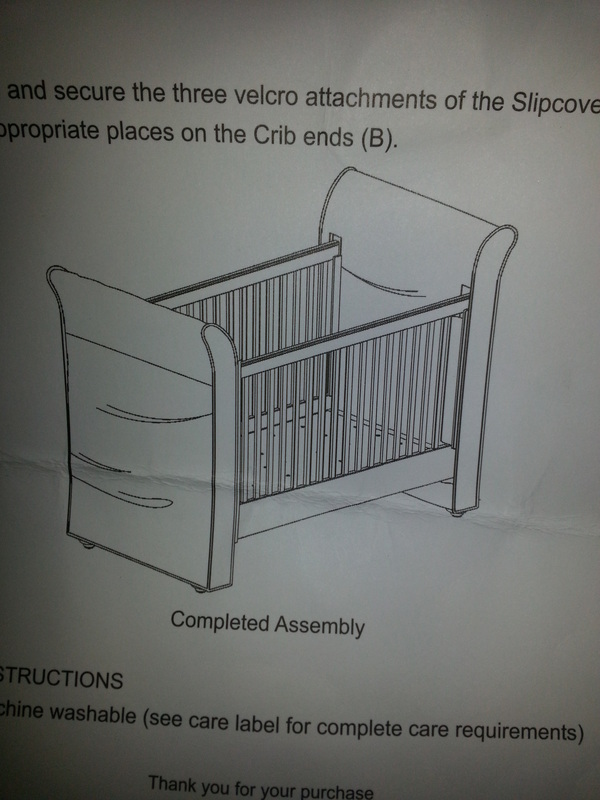
The last project was made from one of the crib rails and everyone knows what those look like. But my next project was made from the upholstered sides so it may be helpful to see an image of what the crib is supposed to look like fully assembled.
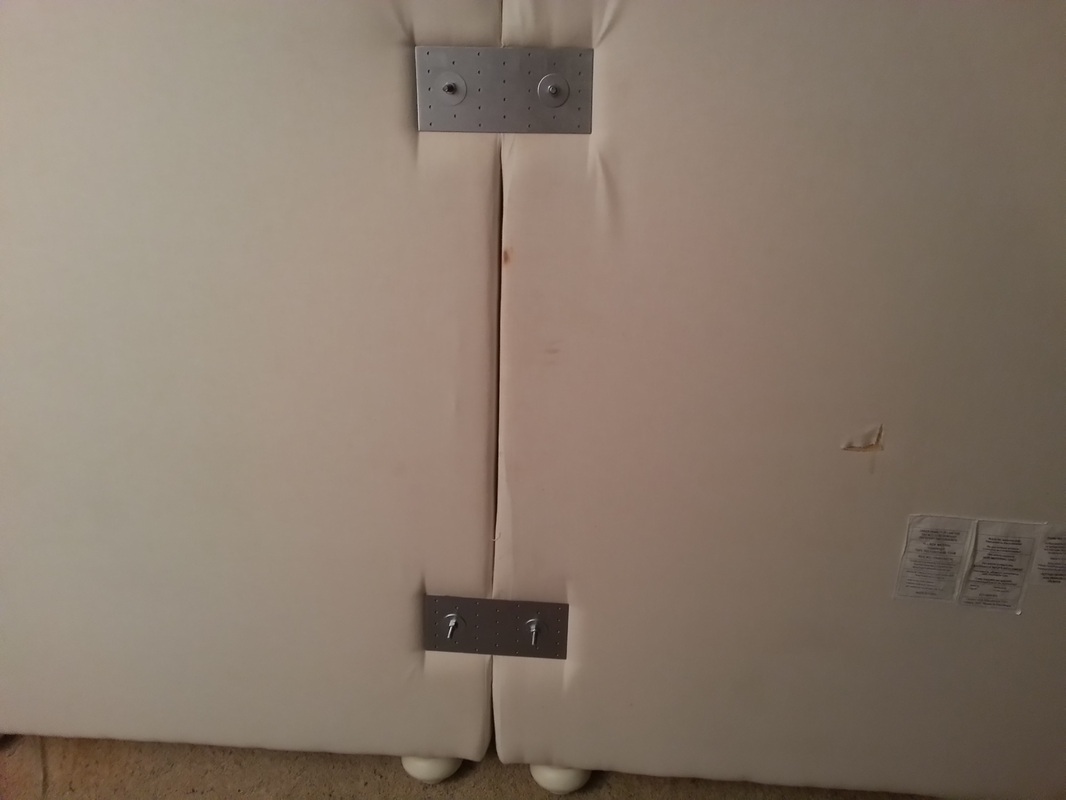
When I saw the picture of this crib, I had a hunch that the two upholstered ends just might make an awesome headboard for our guest room! Here are what the two upholstered sides actually looked like when I got them - they don't have a slipcover on them and are sitting right next to each other
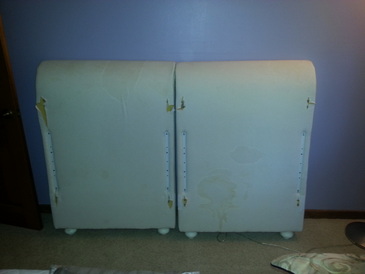
Do you see the tears in the white fabric where the yellow foam underneath is showing through? Those are holes that go all the way through the piece and would be used to connect the ends to the crib rails. It has really long bolts that come with it for just that purpose. I was thinking they might make nice mounting points to connect the two pieces. So we got a couple of metal plates from Home Depot along with some washers and nuts to screw the two halves together (on the back side). It's not the sturdiest contraption so you have to be careful when moving it but it holds the two pieces together well enough.
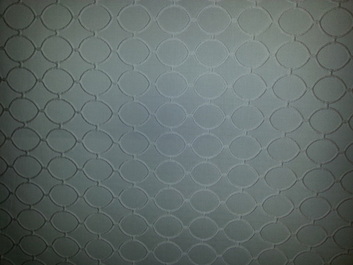
After that, all I had to do was cover it with fabric. My initial plan was to sew a slipcover, pull it over and then just staple the ends under the bottom edge. I was wandering around the store trying to decide between getting a solid color and a pattern. I liked the idea of a fun pattern on the headboard but the quilt I have planned for the bed will be busy enough and I didn't want the two to be fighting for attention. So when I saw that pretty gray fabric - solid color with raised texture, I just couldn't resist! I knew right away that was the fabric I needed (rare for me, usually I change my mind a hundred times).
I REALLY REALLY liked and it was rather expensive...so I was trying to think of how I could get away with using less of it. It occurred to me that there's really no way anyone will ever see the back of the headboard so I could probably get away with wrapping the front and sides of the headboard and stapling it right on the back. Doing so, allowed me to get away with only 2.5 yards of the fancy fabric - I probably would have needed double that amount to sew one that fit properly.
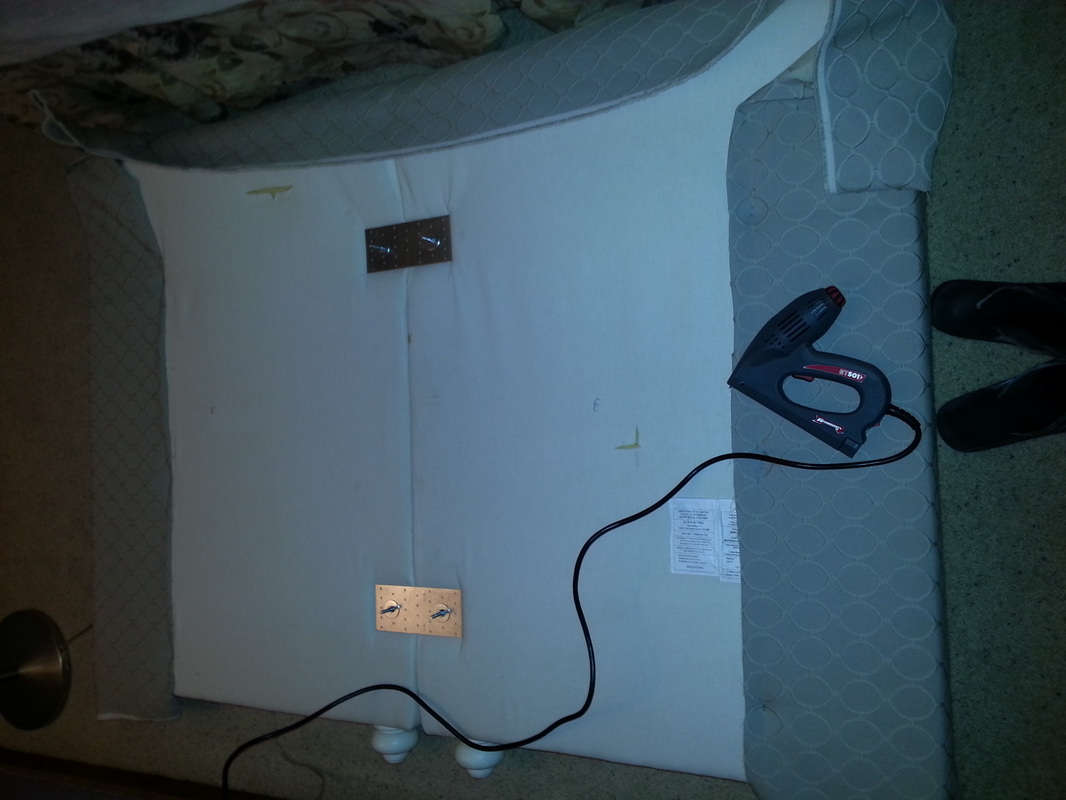
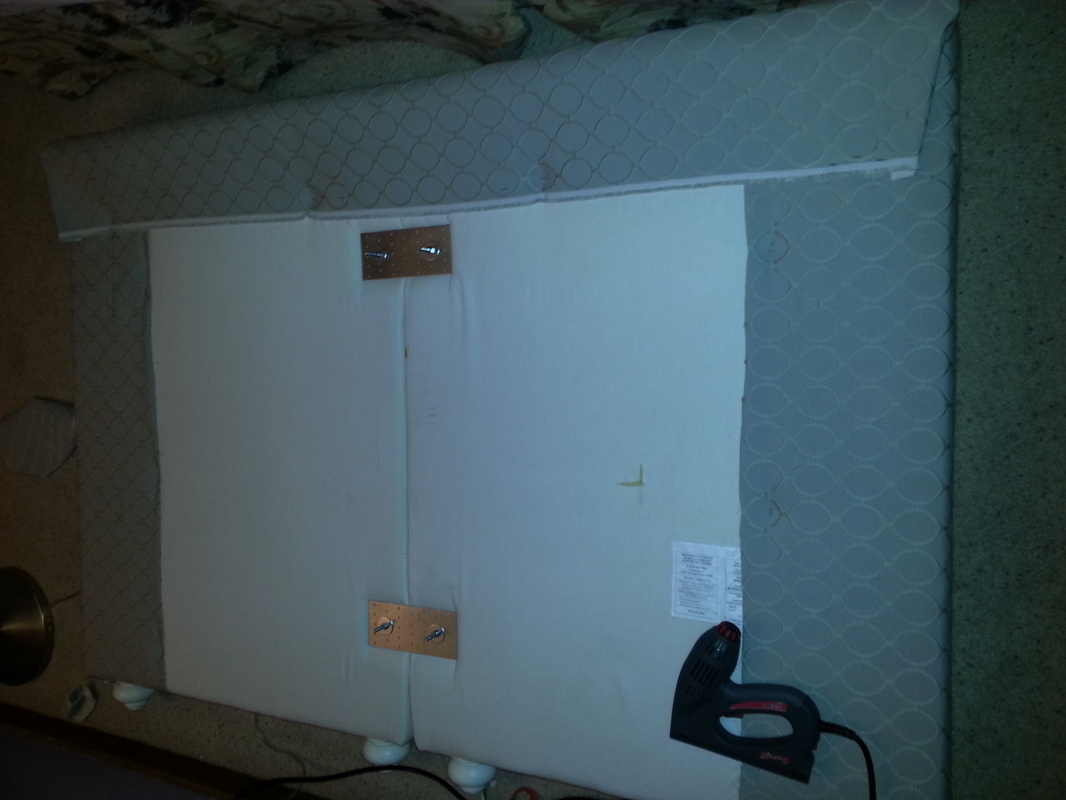
Once that was decided the project got really easy :) I centered the fabric over the headboard and laid it down on the floor. Then I used an electric stapler to tack it down - just stretched the fabric over each side, wrapping it like a present. You have to press kind of hard for the electric stapler to get the staple all the way through the decor fabric and padding and into the wood inside.
Once that was decided the project got really easy :) I centered the fabric over the headboard and laid it down on the floor. Then I used an electric stapler to tack it down - just stretched the fabric over each side, wrapping it like a present. You have to press kind of hard for the electric stapler to get the staple all the way through the decor fabric and padding and into the wood inside.
The corners can be a little tricky - I just carefully folded and re-folded the edges until I got something I liked (and then stapled it down).
And that's it!! See how easy that was?? And if you don't find an upholstered crib or headboard to start with, you could easily take a wooden one from Goodwill and just cover it with the high-density foam from Joann's first. You could probably even get a really neat shaped one and cover that with foam and fabric for a unique looking headboard. I thought about using a board across the base of the headboard to screw into the bed frame and connect the two but I'm not quite ready for that yet. My headboard is actually a little too big for a full size bed but I'd like to eventually get a King size bed for the master and move our current Queen size up to the bedroom. Once we upgrade the bed, then I'll consider screwing them together. Until then, I'll just wedge it between the bed and the wall and it should stay put.
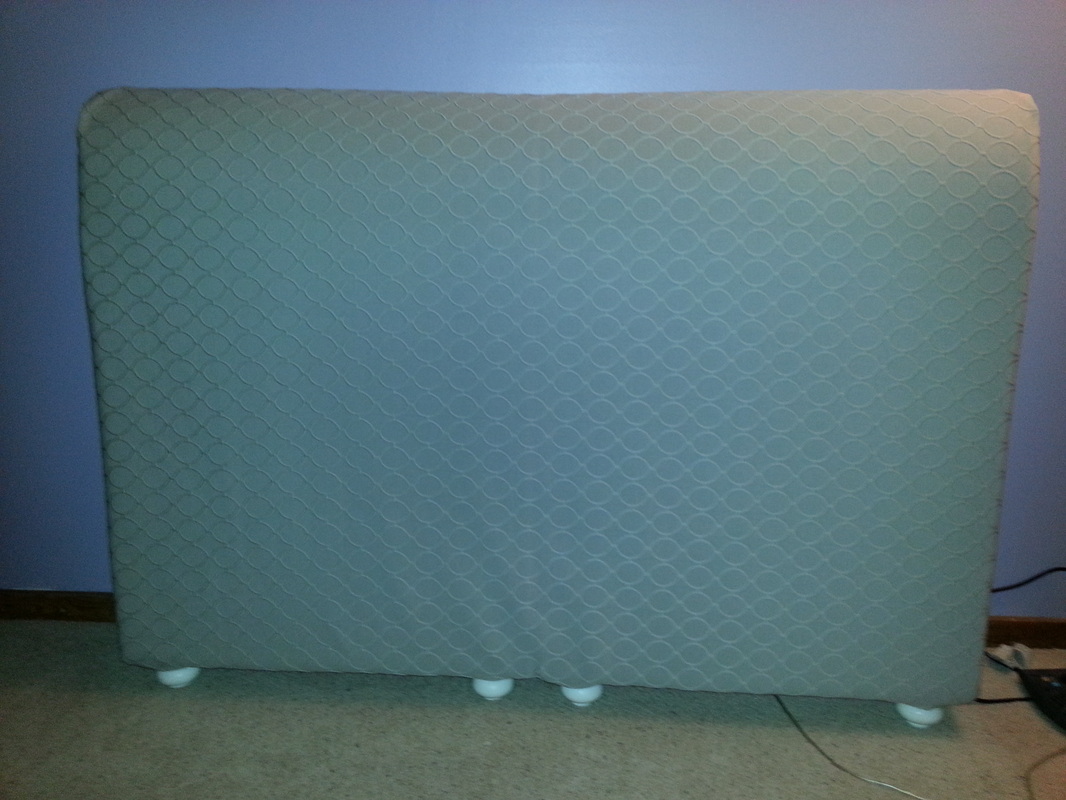
I'm not ready to show you the whole room yet but here's the finished headboard...waiting for a bed!
I'm not ready to show you the whole room yet but here's the finished headboard...waiting for a bed!


