Happy Fourth of July!! For this year, I got a fourth of July pedicure and everyone's been commenting on my cute red, white and blue toes, heehee. I wanted to do a manicure too but i just ran out of time.
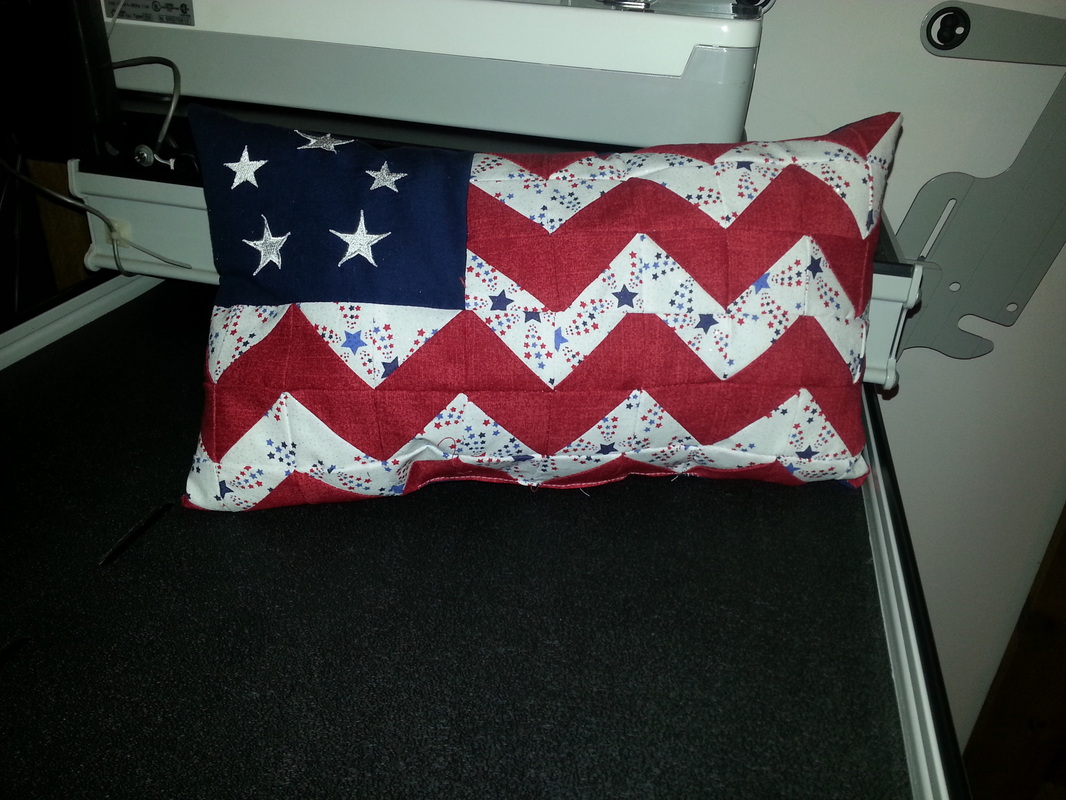
We did a shoebox swap for 4th of July and I made a super cute pillow for Doreen. It was pretty easy and it took me about 4 hours to make. Here’s a mini-tutorial for how to make it - click the "Read More" button to get the full tutorial.
We did a shoebox swap for 4th of July and I made a super cute pillow for Doreen. It was pretty easy and it took me about 4 hours to make. Here’s a mini-tutorial for how to make it - click the "Read More" button to get the full tutorial.

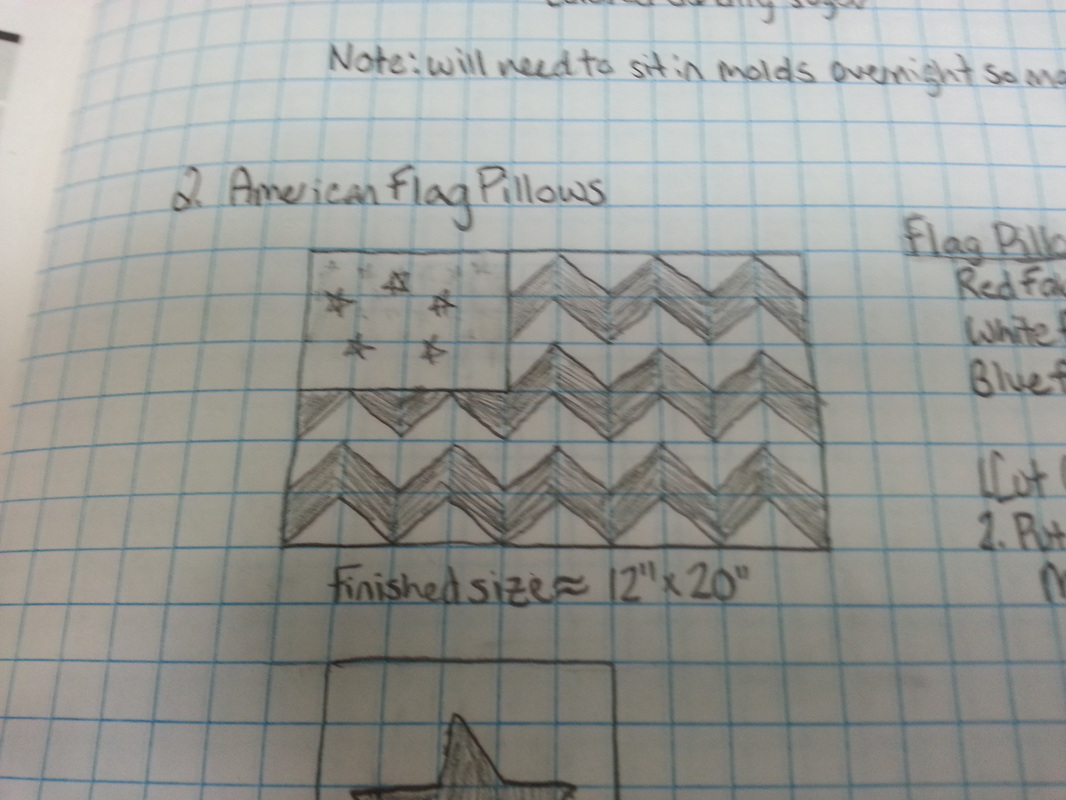
Like everything else, all my projects start as an idea based on a picture i saw somewhere online and then I sketch it out on some graph paper.
Supplies
(24) 2.5” x 2.5” squares red fabric (a fat quarter will make 2 pillows)
(24) 2.5” x 2.5” squares white or cream fabric (a fat quarter will make 2 pillows)
(1) 8” x 8” square blue fabric (for the stars area)
(1) piece backing fabric. I’m using dark blue and it’s around 15” x 25” (I’m guessing the pillow will be around 12” x 20” once done)
Poly-fil, a pillow form or something to stuff inside the pillow
Optional: additional blue fabric to create borders around the pillow (or make it close “envelope style” so you can take it on and off a pillow form)
Instructions
After you cut the squares to size, draw a diagonal line from one corner to another on the wrong side (back) of every white square. This line is NOT your sewing line.
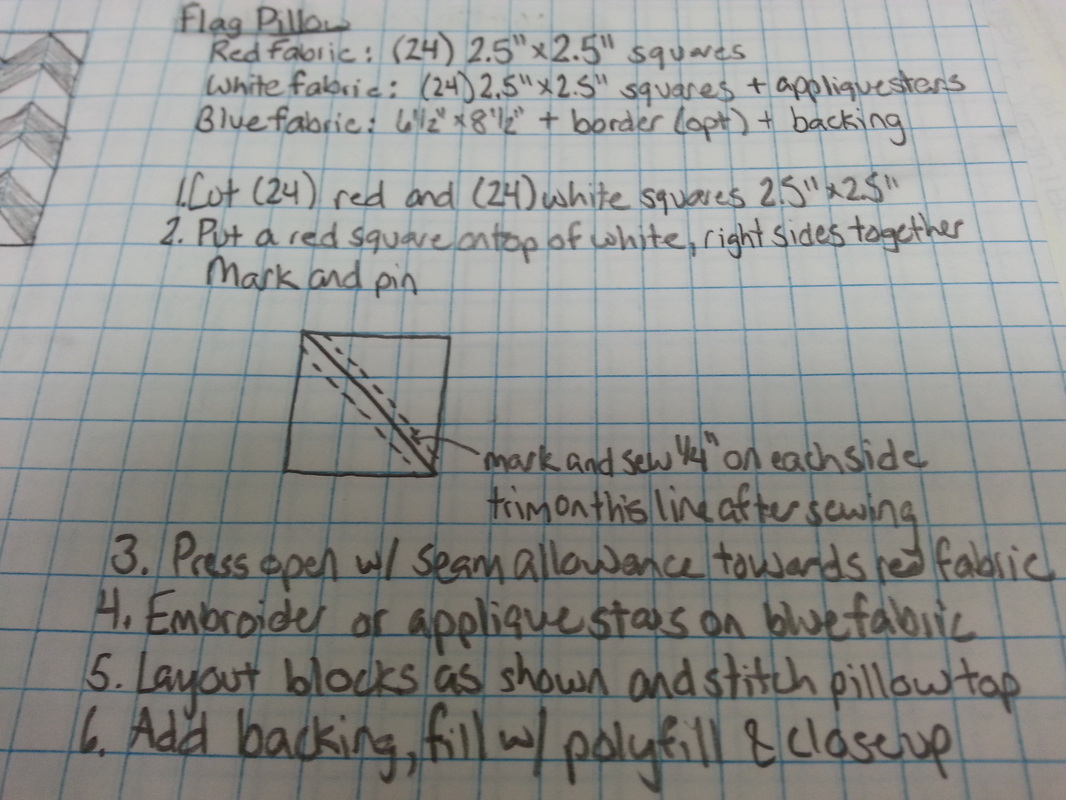
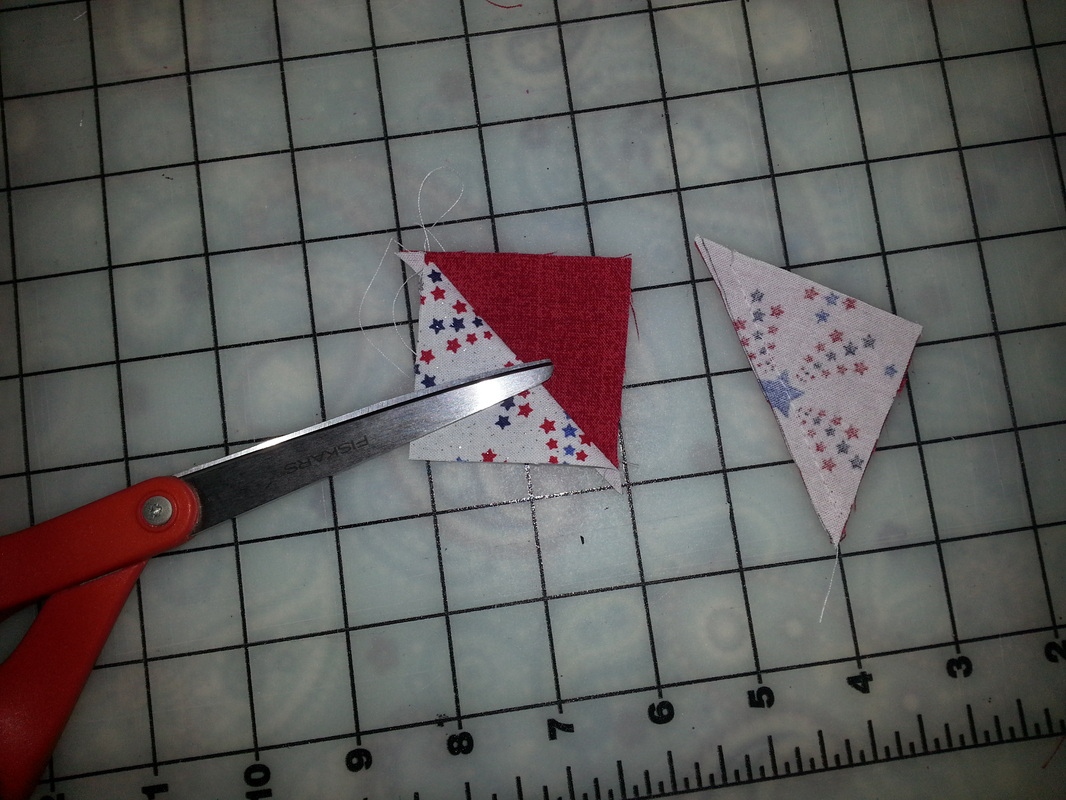
Align a white square and a red square with right sides together, pin if desired (I didn’t pin any of these to save time). Sew a line ¼” away from the diagonal line and on each side of the diagonal line. Using your rotary cutter, cut all 24 blocks along the diagonal line you drew so that you end up with 48 half-square triangle (HST) blocks. Press the blocks. I pressed all the seams towards the red fabric because that’s been ingrained in my head but I think it would have been easier to press the seams open so they don’t stack up so much. Trim off the little corners/ears that are sticking off each side. Repeat with all 24 blocks
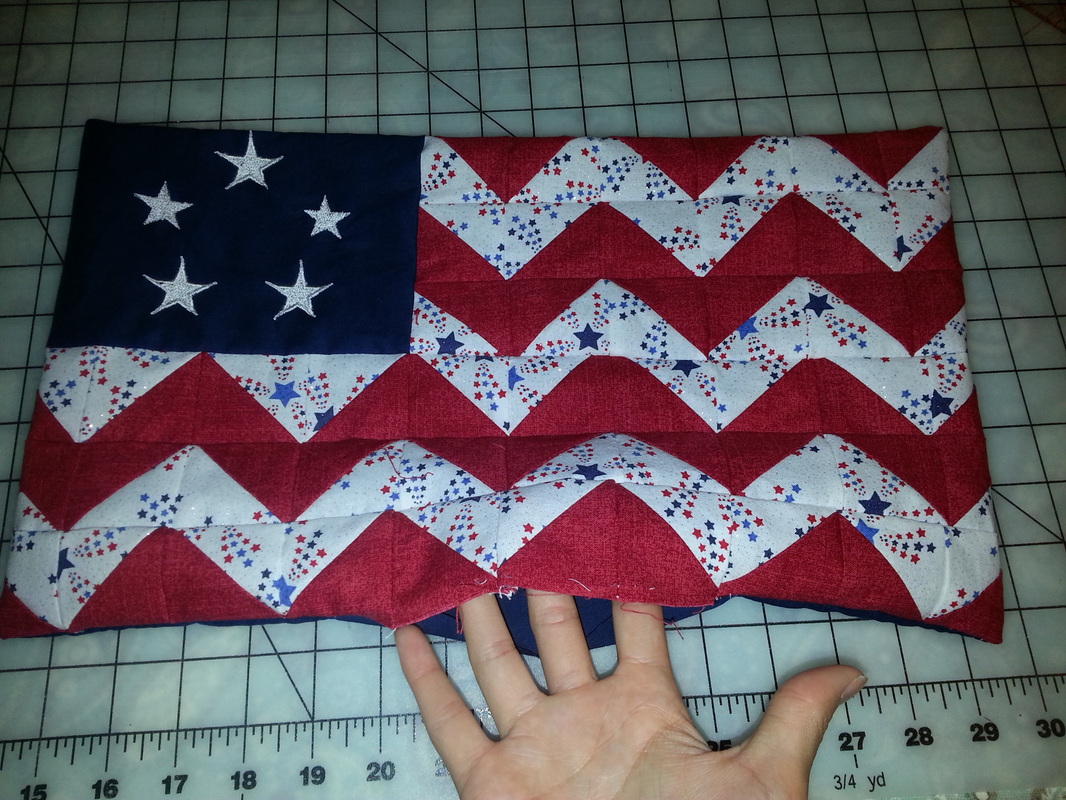
Align the blocks as shown in the picture below:
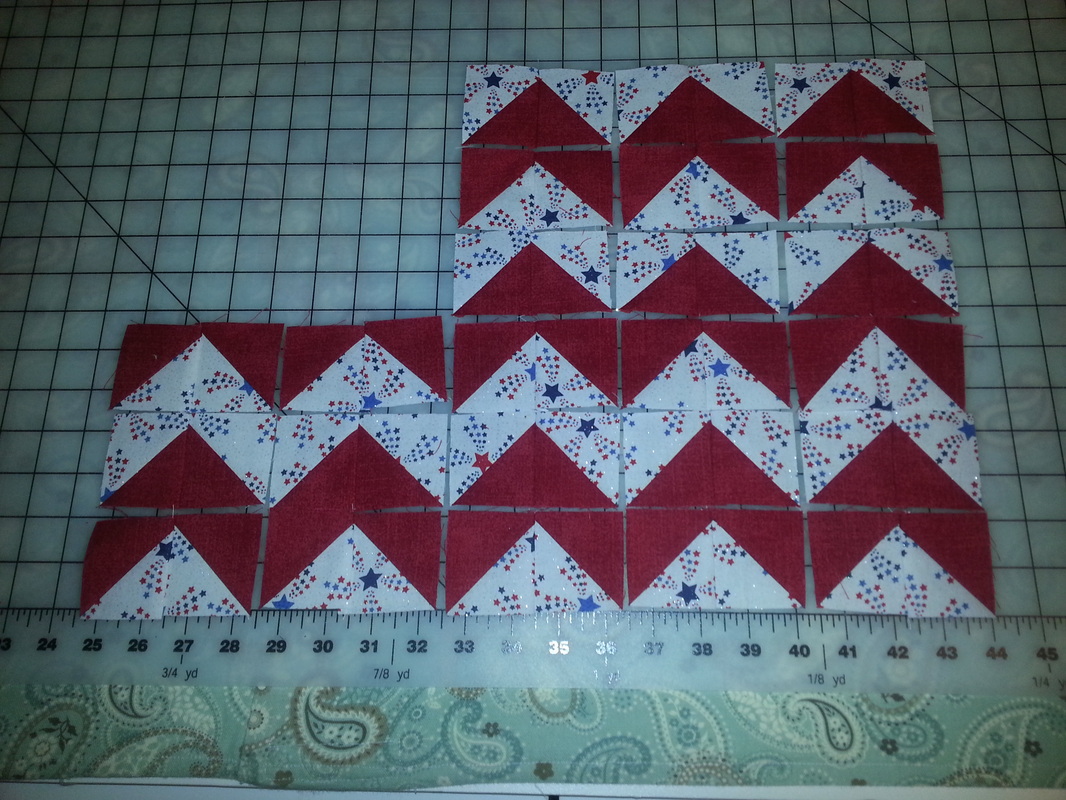
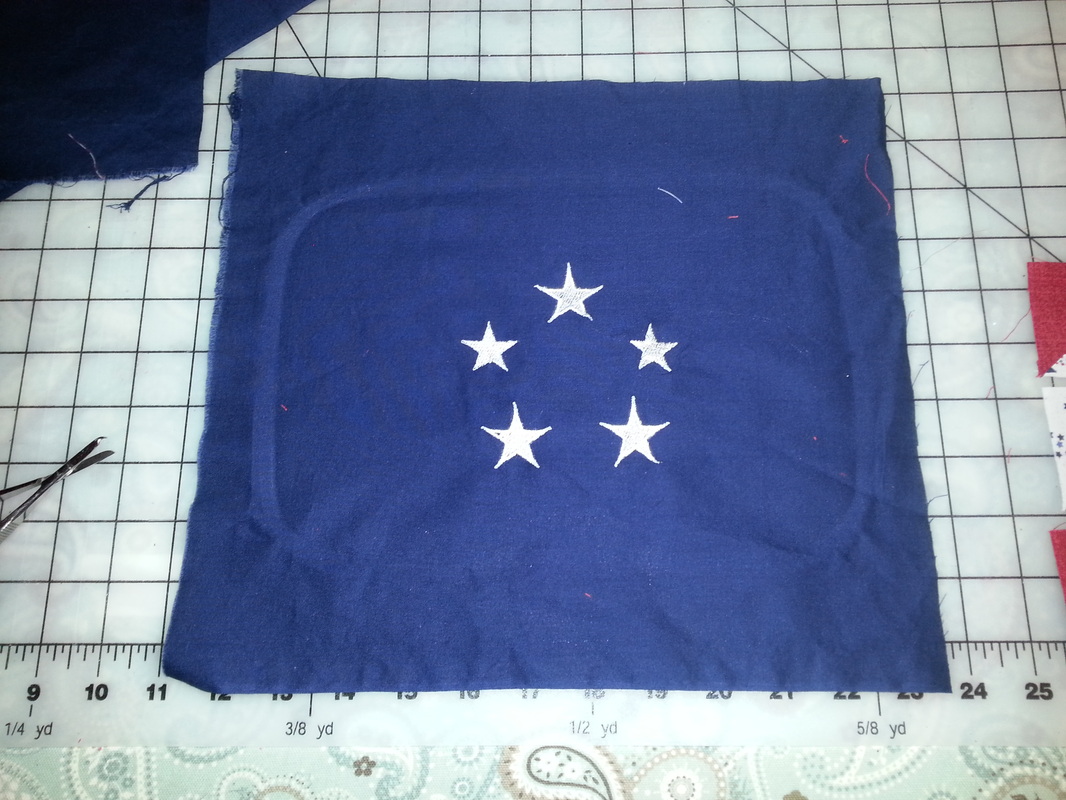
Sew all the blocks together in each row. Sew, embroider or applique some stars onto your blue fabric. If you buy a blue fabric with stars printed on it then you may not need to do this. But mine was just a plain blue so I sketched up a little design with 5 stars in a circle (I didn’t have time to lay out all 50 stars, LOL) and saved it. Here’s the file in PES format if you have an embroidery machine that can take PES (if you want the file in another format just leave a comment below and I’ll convert it and send it to you).
| 2013-07-01_5stars.pes |
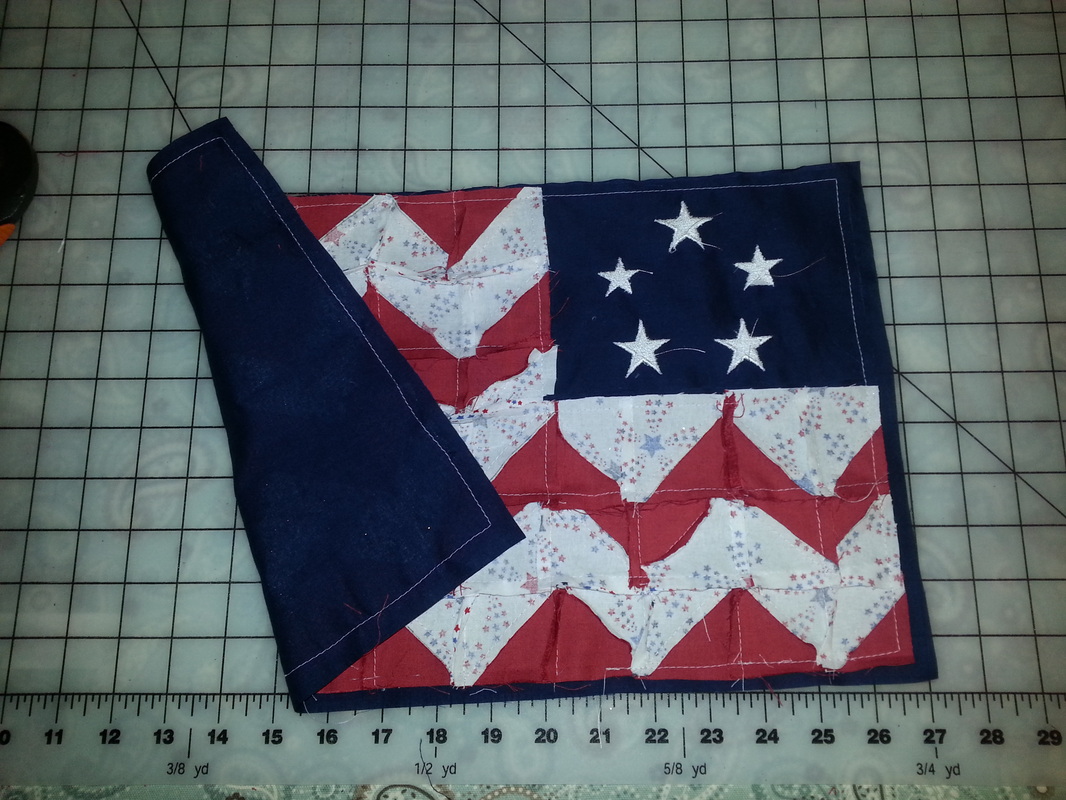
Finish sewing all the rows of the flag together and then your pillow top is done! Try not to sew two of the rows together wrong like i did in the pic below, LOL. I had to rip it out and resew which was annoying because I had already trimmed the finished flag so when i resewed it the points didn't come out quite as nice. Oh well.
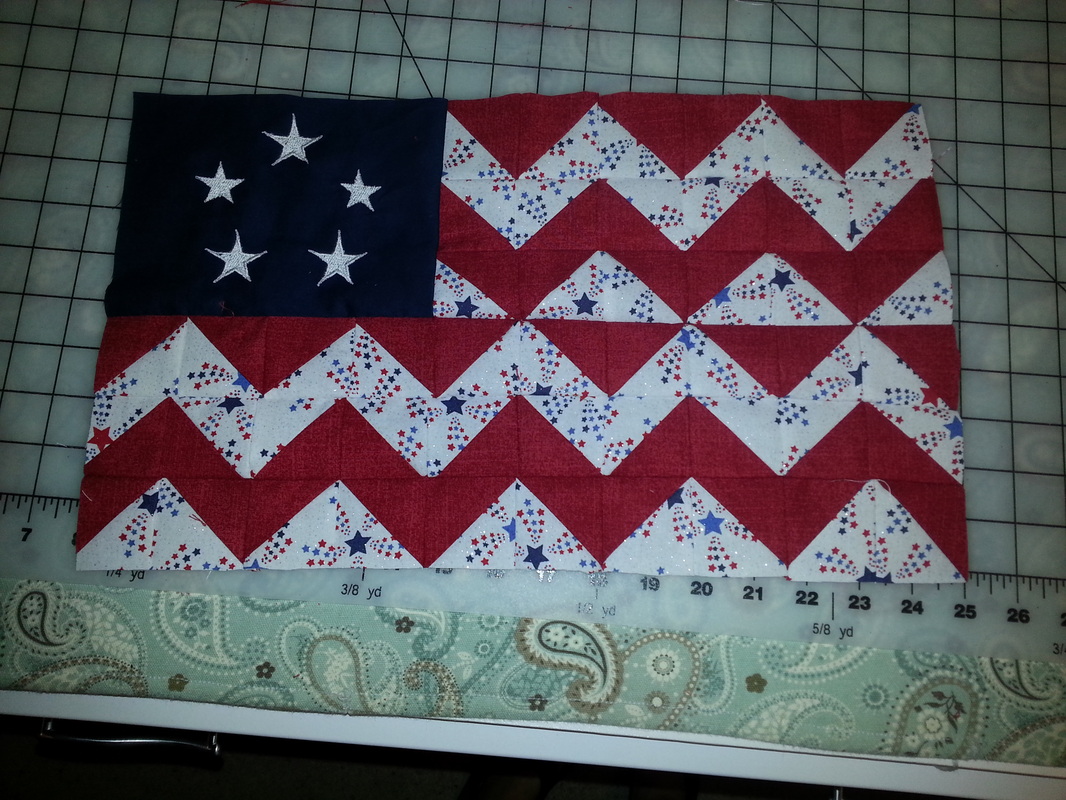
After I fixed the row i sewed wrong, I cut a rectangle of blue fabric the same size as the pillow top, layered them right sides together and sewed around the edge with a ¼” seam allowance. Leave a few inches open on one side for turning it inside out and stuffing.
Stuff with polyfil and then sew the opening closed.
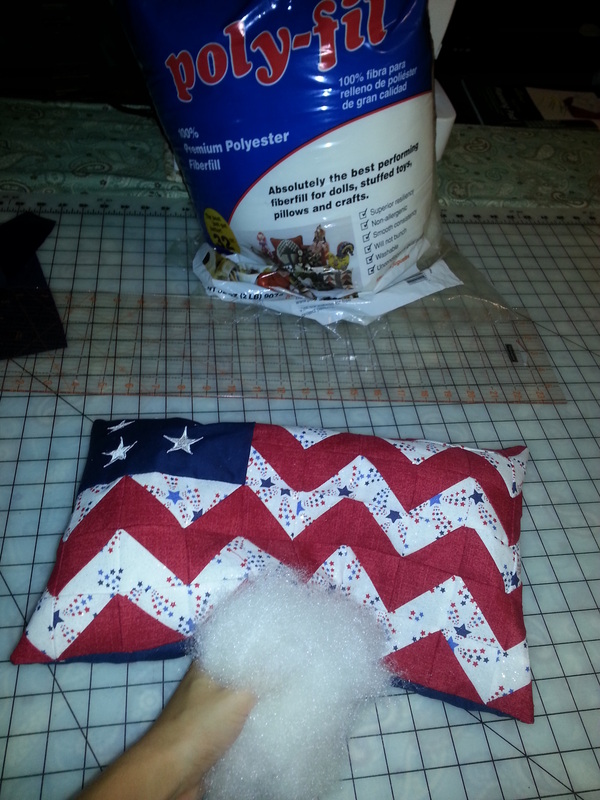
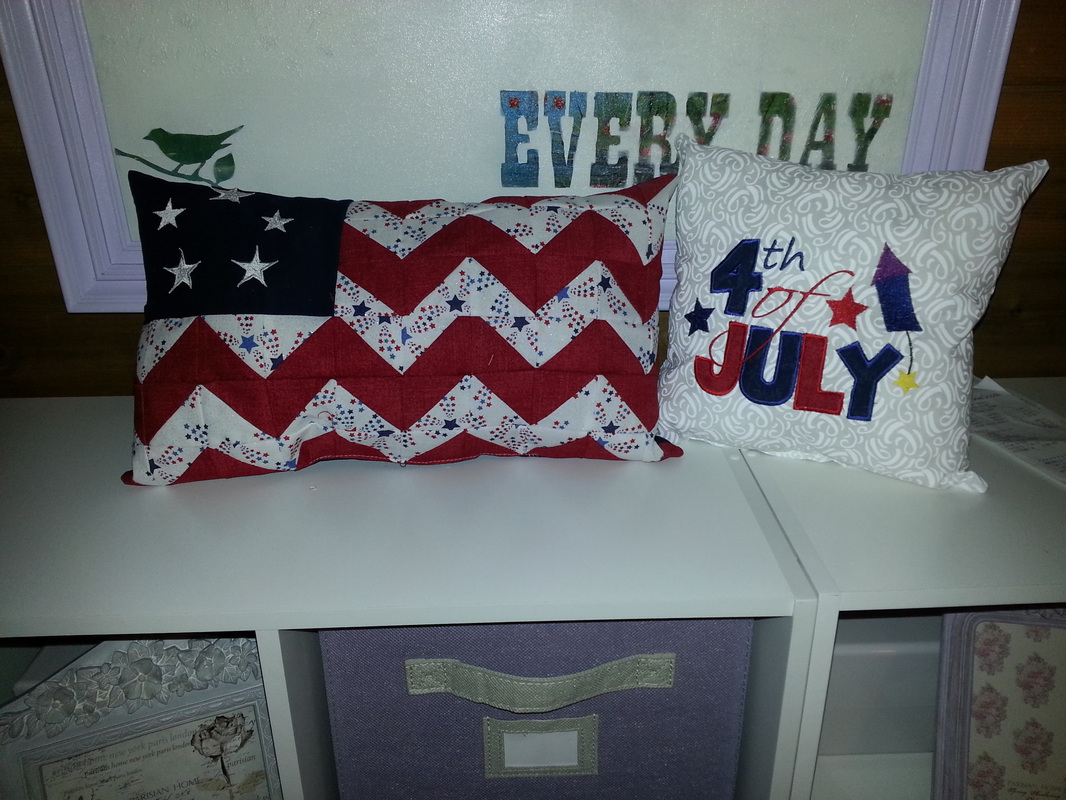
Ta-da! Adorable 4th of July pillow! Now that I finished Doreen’s pillow I just have to finish making one for myself, LOL! I also used my handy dandy embroidery machine to make another small pillow to go with it!