A couple weeks before Addi's quilt was due, I was getting really frustrated with how unorganized my fabric was - spilling over and impossible to see what I might already have. So I pulled it all out and started organizing it but I quickly realized that it was going to take way more time than I had that weekend. The problem was that when I pulled all that junk out of the cabinets...suddenly it cluttered the entire upstairs and i had no room to work on Addi's quilt! I cleared enough space to piece the top but once i was ready to put it on the quilting frame there was no way I could even get to the quilting frame. So I was left with two choices: either finish reorganizing and putting everything away...OR...stuff it in a closet or the cabinets, basically hide it. I had so much stuff I couldn't even figure out where to hide it so I was pretty much forced to finish the job and put it all away. LOL.
So let's start with why I was so frustrated with my fabric...
So let's start with why I was so frustrated with my fabric...
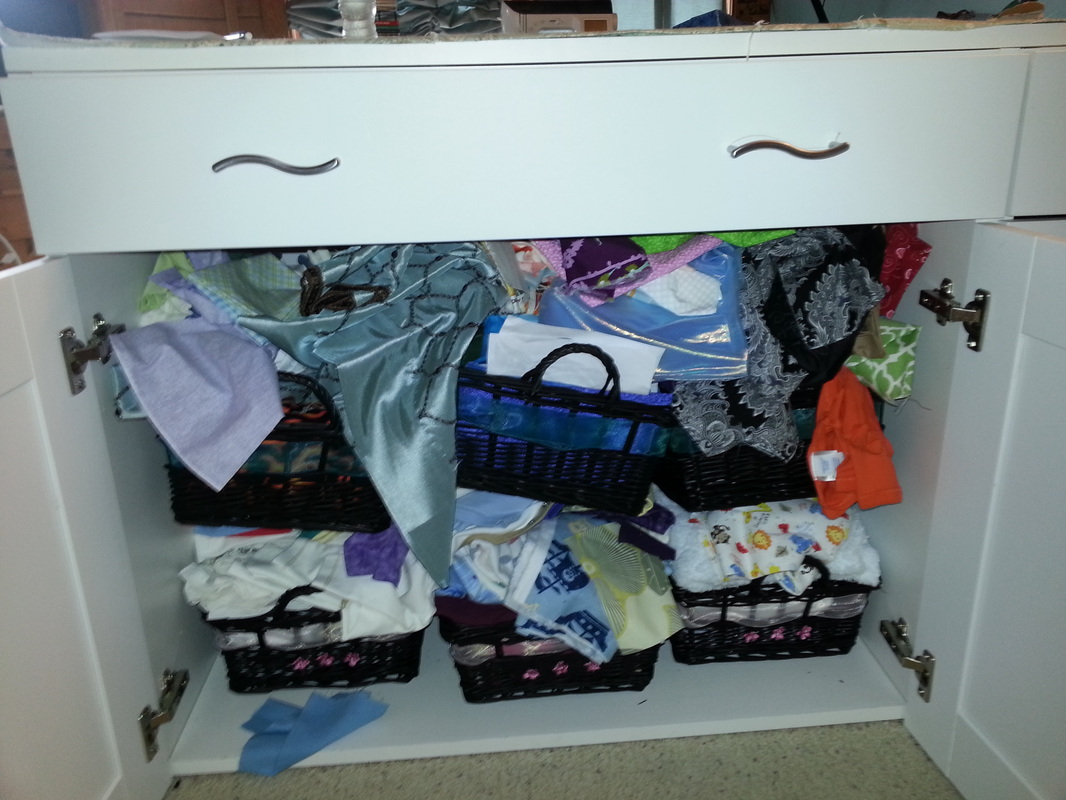
The first problem is that the shelf in the cabinet is only half depth. so as soon as the baskets started to get heavy, they would tip forward. And you can see how much fabric I had shoved in there - they were WAY too full. It got to the point where I couldn't even open the drawer above because the fabric was wedged in too tight. I read lots of different blog posts about how to organize your fabric and the one I found to be the most helpful was by Teresa at Fabric Therapy (click the picture to go to her full post):
Teresa talks a lot about how she sorts by size, color groupings, individual colors, designers or eras, etc. I don't think any two people will have the exact same fabric organization because everyone has different amounts and types of fabrics along with a different size and style of space to store them in. I decided the first thing I needed to do was separate the fabric by type: quilting cottons, flannel & baby fabrics, t-shirt scraps, home decor fabrics, etc.
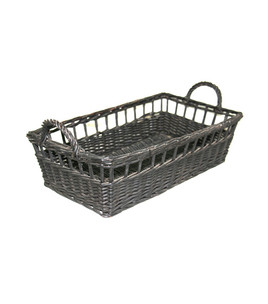
I started with my quilting cottons and general cotton fabrics since that's what I have the most of. Once I got them all separated, I sorted them by colors. All of my fabrics will be stored in these black wicker baskets from JoAnn Fabrics (I already had some around half of the ones I needed). I ended up cutting off the handles so that i could put the shelves in the cabinet closer together and fit a third shelf in, heehee.
I started with my quilting cottons and general cotton fabrics since that's what I have the most of. Once I got them all separated, I sorted them by colors. All of my fabrics will be stored in these black wicker baskets from JoAnn Fabrics (I already had some around half of the ones I needed). I ended up cutting off the handles so that i could put the shelves in the cabinet closer together and fit a third shelf in, heehee.
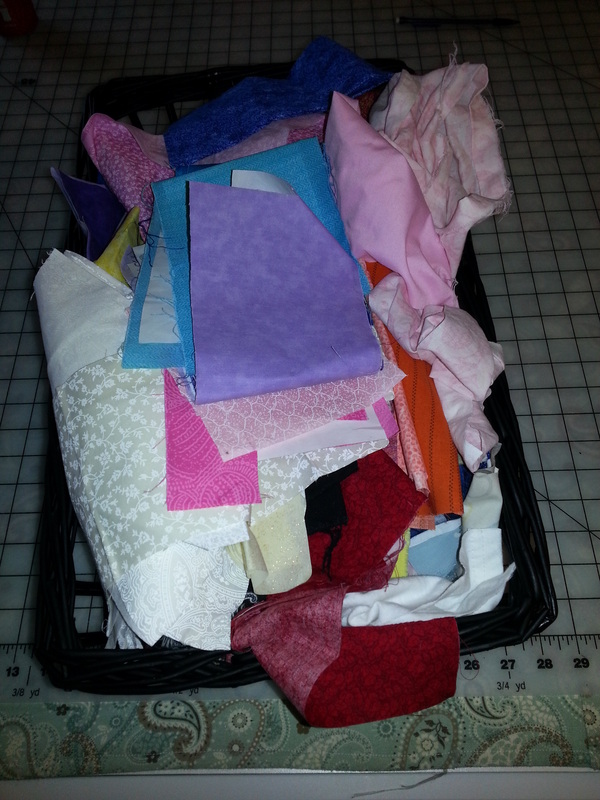
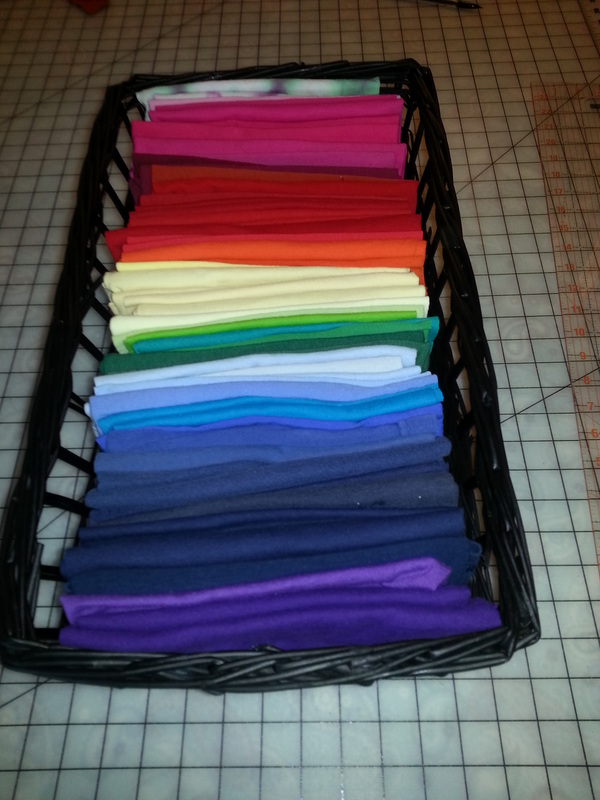
To fold the fabric, I figured out that a rectangle piece that was around 8" wide by 4" - 5" tall fit nicely in the basket so I just folded the fabric in whatever fashion was easiest for that piece and ended up the right size. If there were pieces that were too small or more like strips than fabric sections I put them in a separate pile to deal with later. Check out all my pretty baskets of quilting cottons!
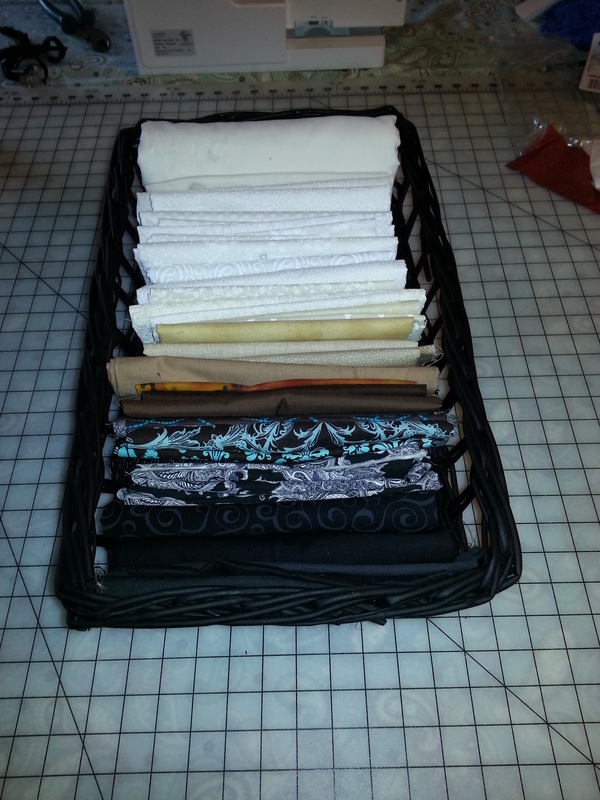
Top Left: Blacks, browns, tans/neutrals, whites
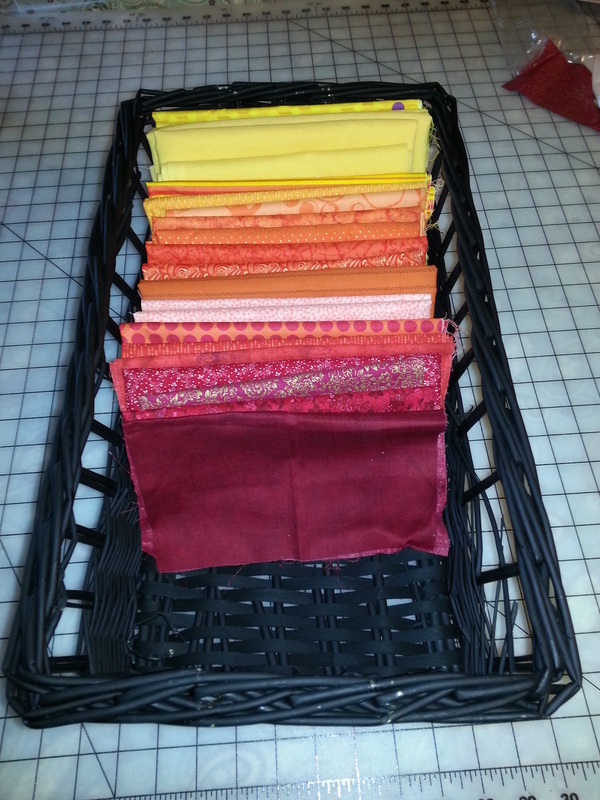
Top Middle: Reds, oranges, yellows
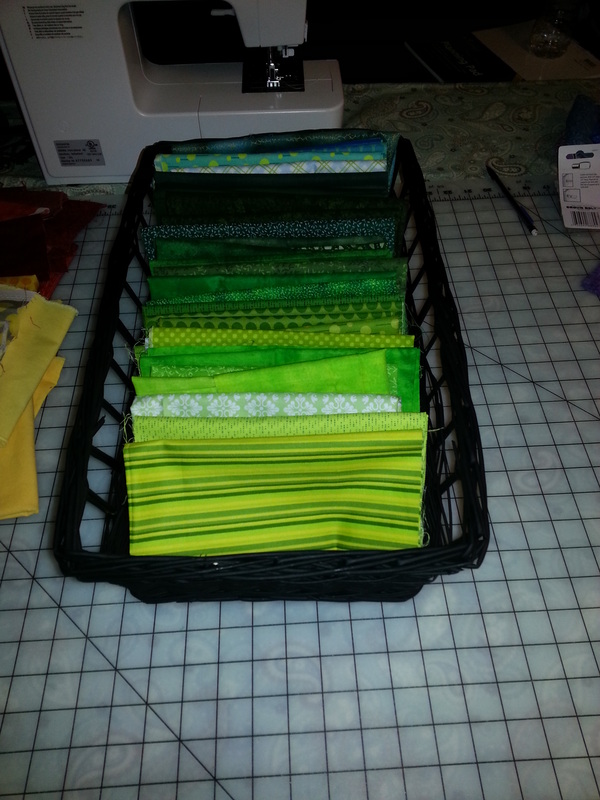
Top Right: Greens, teals
Middle Left: Special collections and favorites
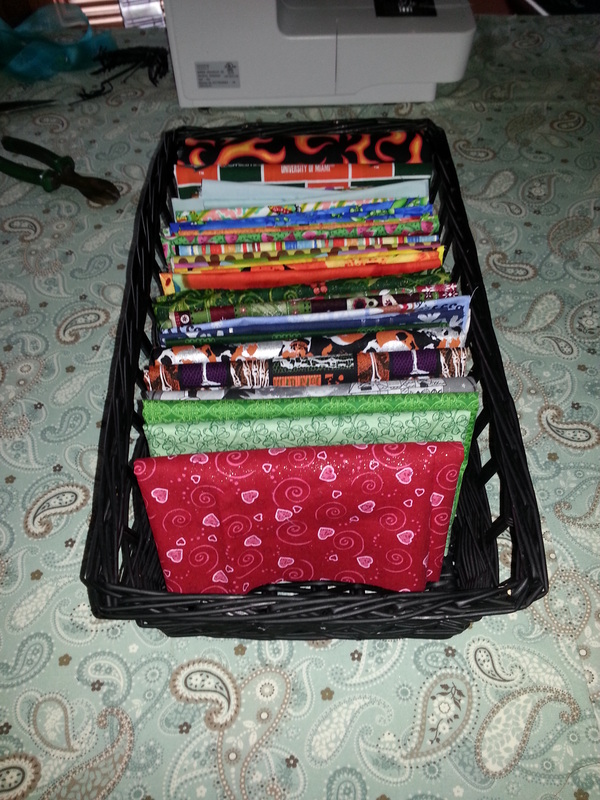
Middle Middle: Novelty & Holiday prints
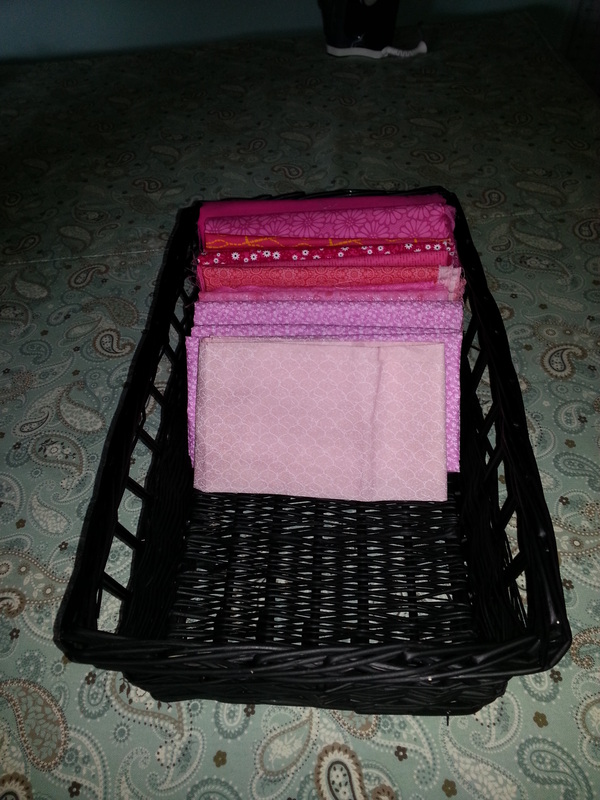
Middle Right: Pinks
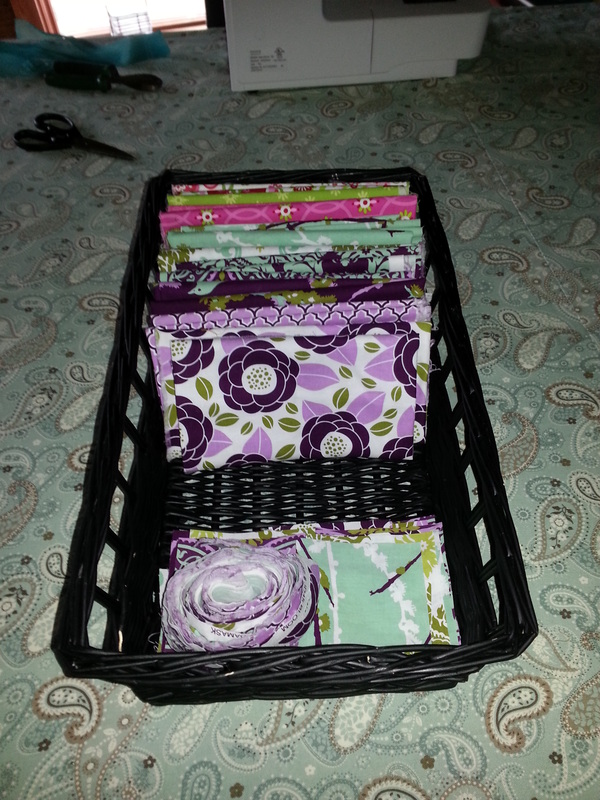
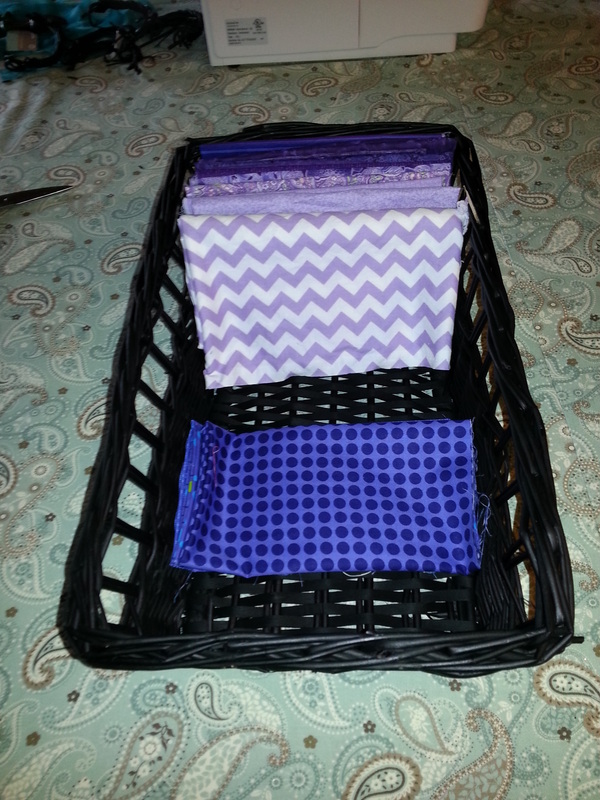
Bottom Left: Purples
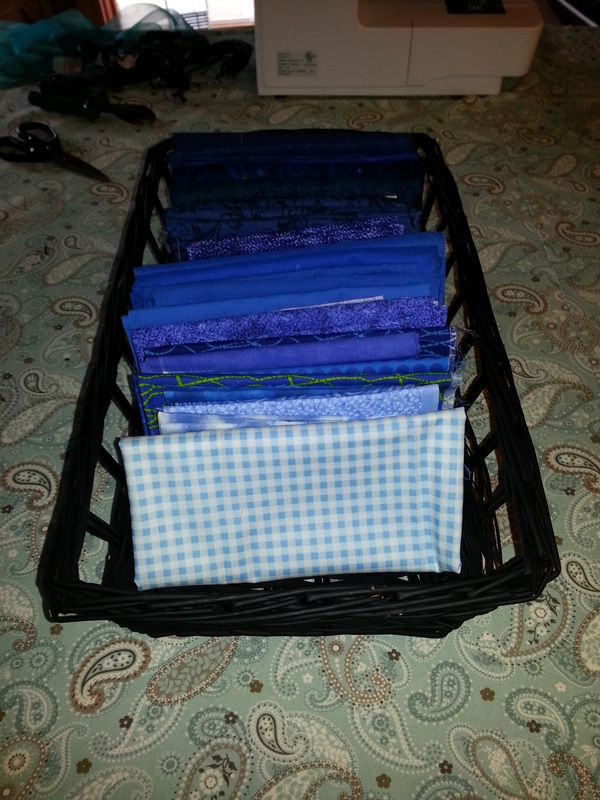
Bottom Middle: Blues
Bottom Right...Notice I didn't show you the ninth basket for my cottons. For the last basket, I want to use it to keep all of my strips and small pieces for applique (similar to how Teresa Did it). For now, I just separated any pieces of fabrics that were too small to fold or were long strips and threw them in the last basket.
Top Middle: Reds, oranges, yellows
Top Right: Greens, teals
Middle Left: Special collections and favorites
Middle Middle: Novelty & Holiday prints
Middle Right: Pinks
Bottom Left: Purples
Bottom Middle: Blues
Bottom Right...Notice I didn't show you the ninth basket for my cottons. For the last basket, I want to use it to keep all of my strips and small pieces for applique (similar to how Teresa Did it). For now, I just separated any pieces of fabrics that were too small to fold or were long strips and threw them in the last basket.
LOL it's a little crazy right now but my plan is to choose a couple of standard size strips and/or blocks and then neatly trim all those pieces to match the sizes I've picked. I might also try to choose an actual pattern or two so that I can slowly piece together some actual blocks and then one day I'll have finished quilts made entirely from scraps of other quilts (instead of just hoarding the scraps and occasionally using them for applique like I do now).
With those nine baskets done, I had filled my main cabinet and was ready to move onto the smaller cabinet that would hold 6 baskets. The plan was to fit ALL my other fabrics into the remaining six baskets but as soon as I started sorting the t-shirt scraps, I realized I had a lot more than I originally thought.
With those nine baskets done, I had filled my main cabinet and was ready to move onto the smaller cabinet that would hold 6 baskets. The plan was to fit ALL my other fabrics into the remaining six baskets but as soon as I started sorting the t-shirt scraps, I realized I had a lot more than I originally thought.
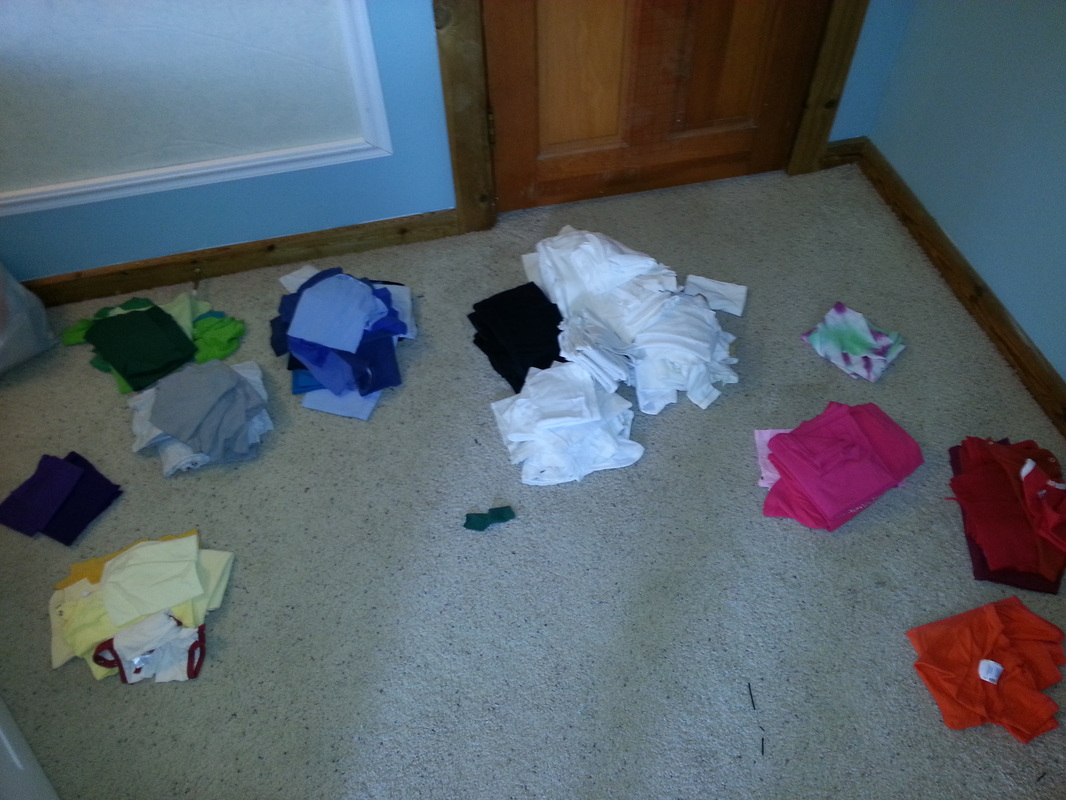
Similar to the cottons, I sorted the t-shirts by color and arranged them in the baskets. i did find I had a few scraps that were too small or had been damaged or stained and needed to be discarded. I ended up with one basket of white, black & gray scraps and all the other colors made a pretty rainbow in the second basket. Then I still had ANOTHER whole basket of just white tshirts, yikes!
After the t-shirts, I moved onto the baby fabrics. In two of the baskets I put all my flannels, sorted by color and then in the last basket I put super soft fabrics like Minky, chenille, etc. Here's all the baskets ready to go into the smaller cabinet:
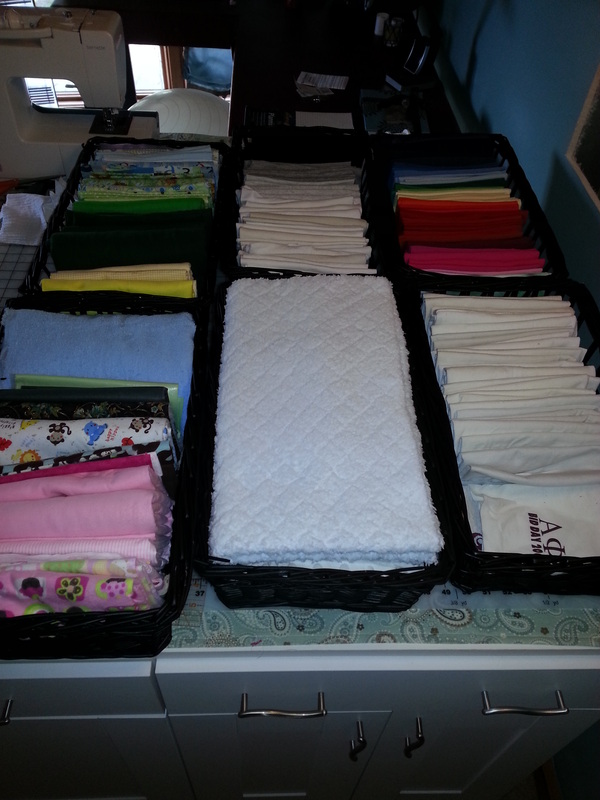
Finally I was ready to get all the baskets put away in the two front cabinets, yay!
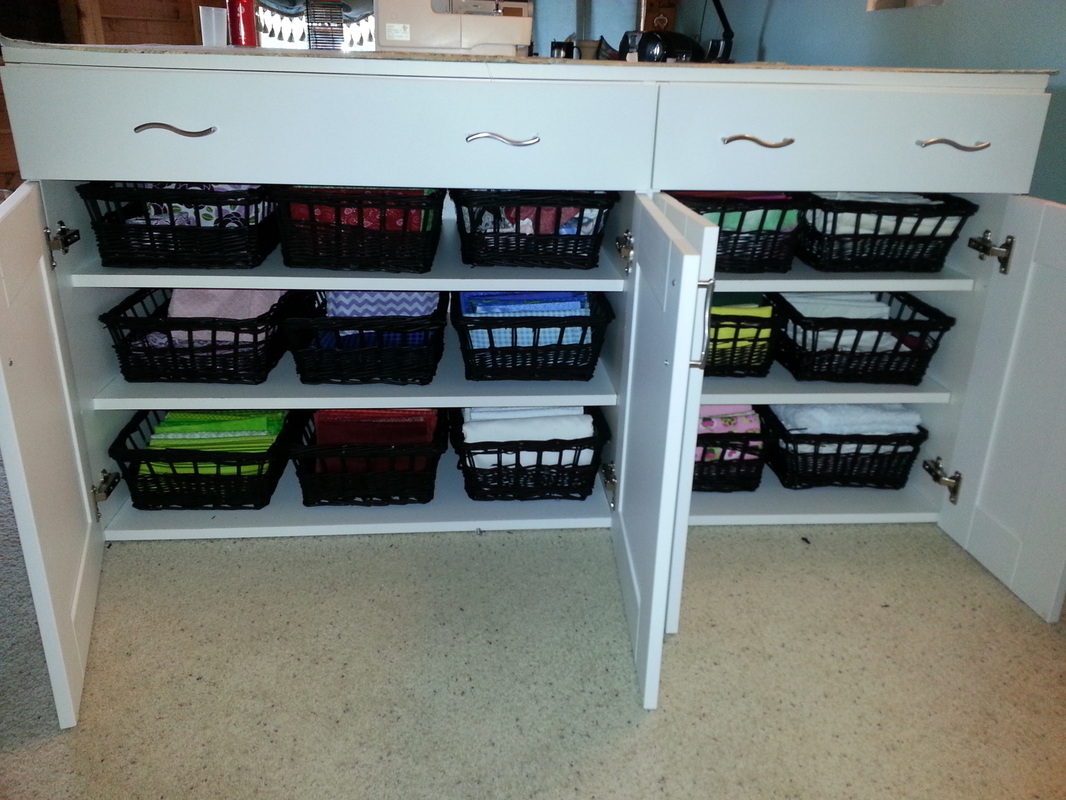
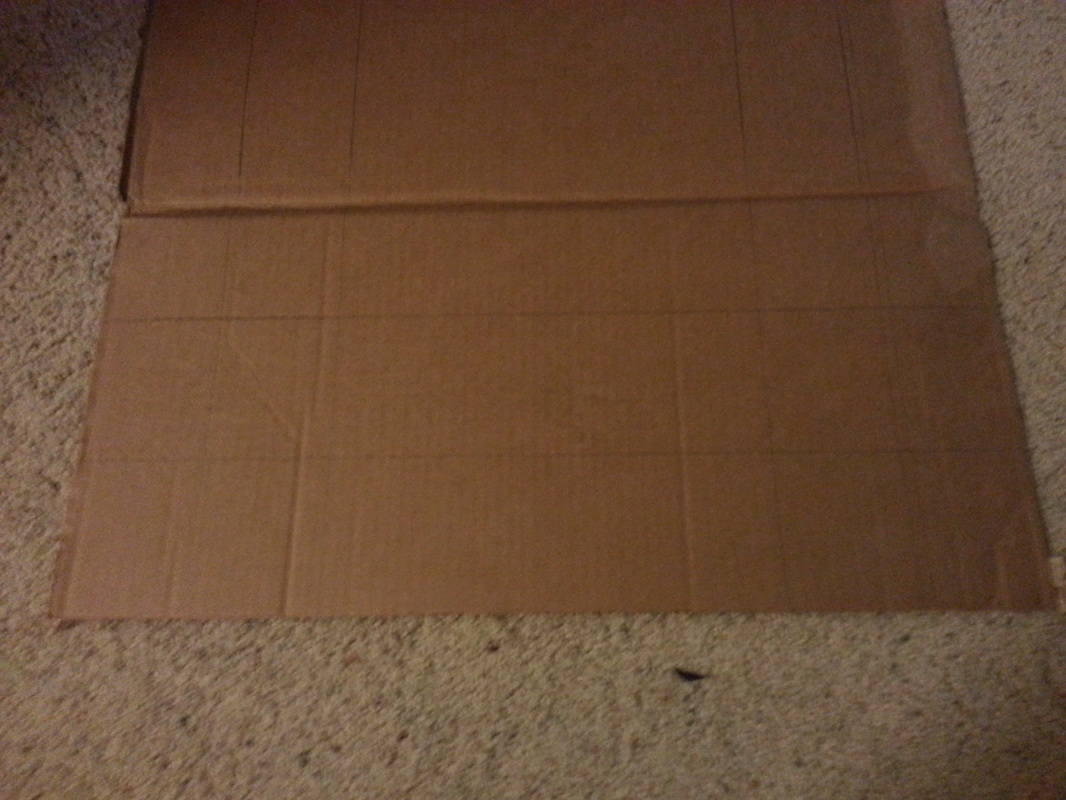
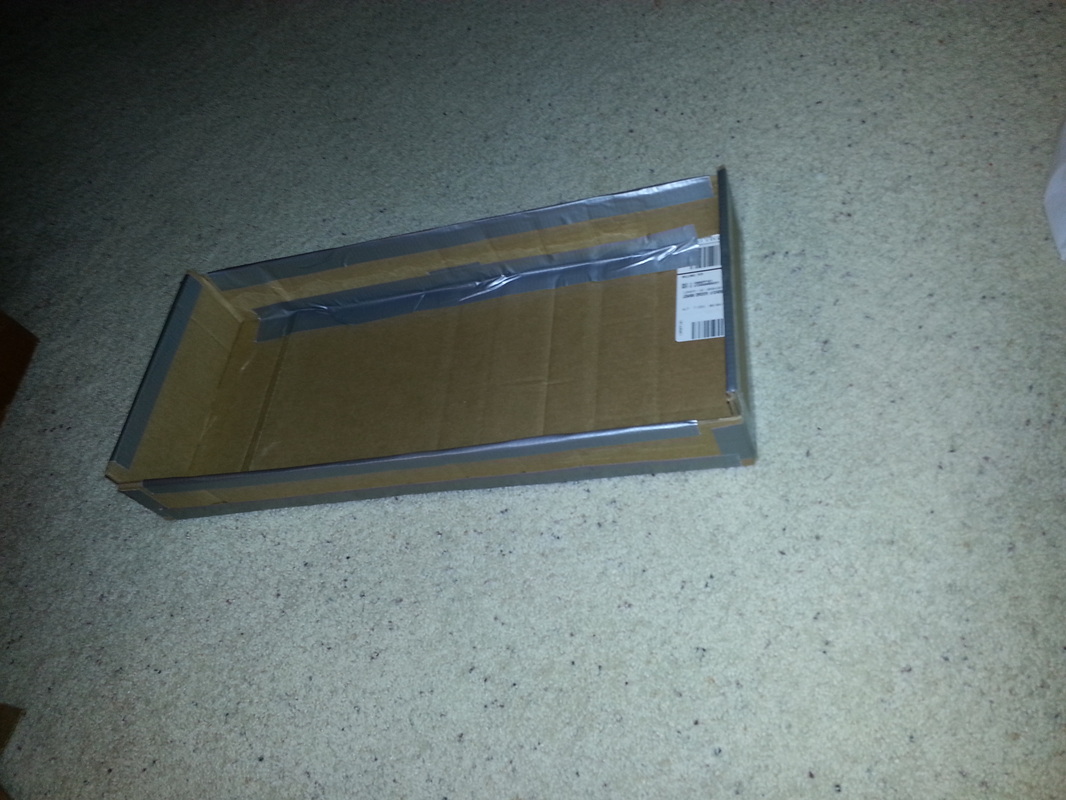
At some point I might make labels for the baskets but for now, you can mostly see what's in them from the front. Another project for another time. Since I had so much more baby fabric and t-shirts than I expected, I didn't even get to the home decor and other miscellaneous fabrics that I was hoping to get in there. On the back of the desk there is a very narrow cabinet so I decided I would put the rest of the fabrics in there. I had a long shelf to put in that cabinet but Ryan couldn't figure out how to install it for me since the cabinet is too narrow for him to fit his drill and drill bit inside to drill holes for the shelf supports. I looked at several stores for some narrow stacking plastic bins and couldn't find ones that were long and still as narrow as I needed. The day was getting later and I really didn't want to just leave those fabrics sitting out on the floor or shoved in the cabinet in a heap. So I took the cheap/ugly route and made two stacked shelves out of cardboard, pvc & duct tape.

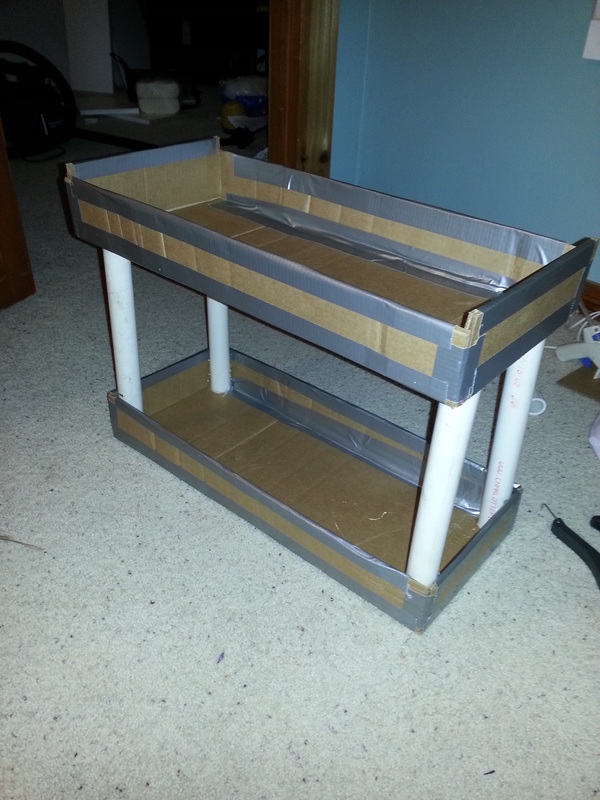

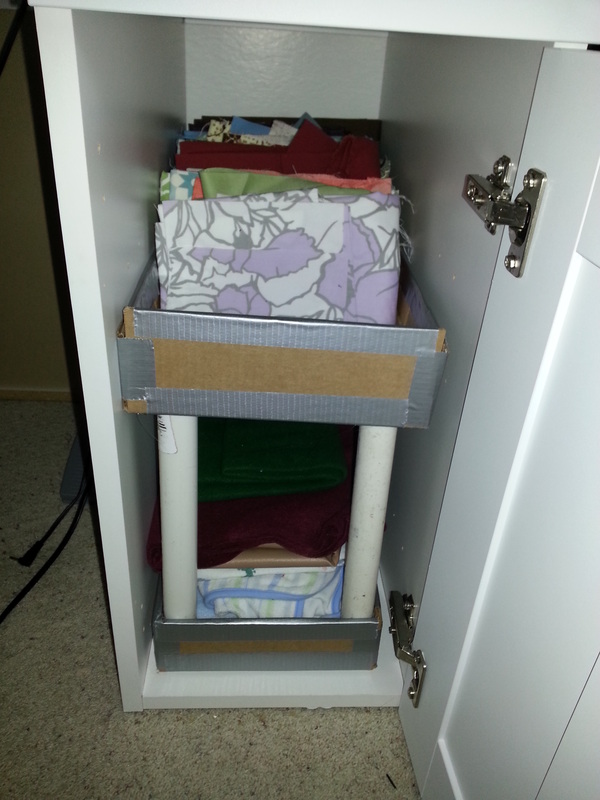
I'm hoping this isn't a permanent solution but if we don't find a better fix then I'll probably wrap the box and pvc with fabric so it doesn't look so awful, LOL. But at least it's holding my fabric neatly and out of the way. Plus it slides in and out of the cabinet pretty easily.
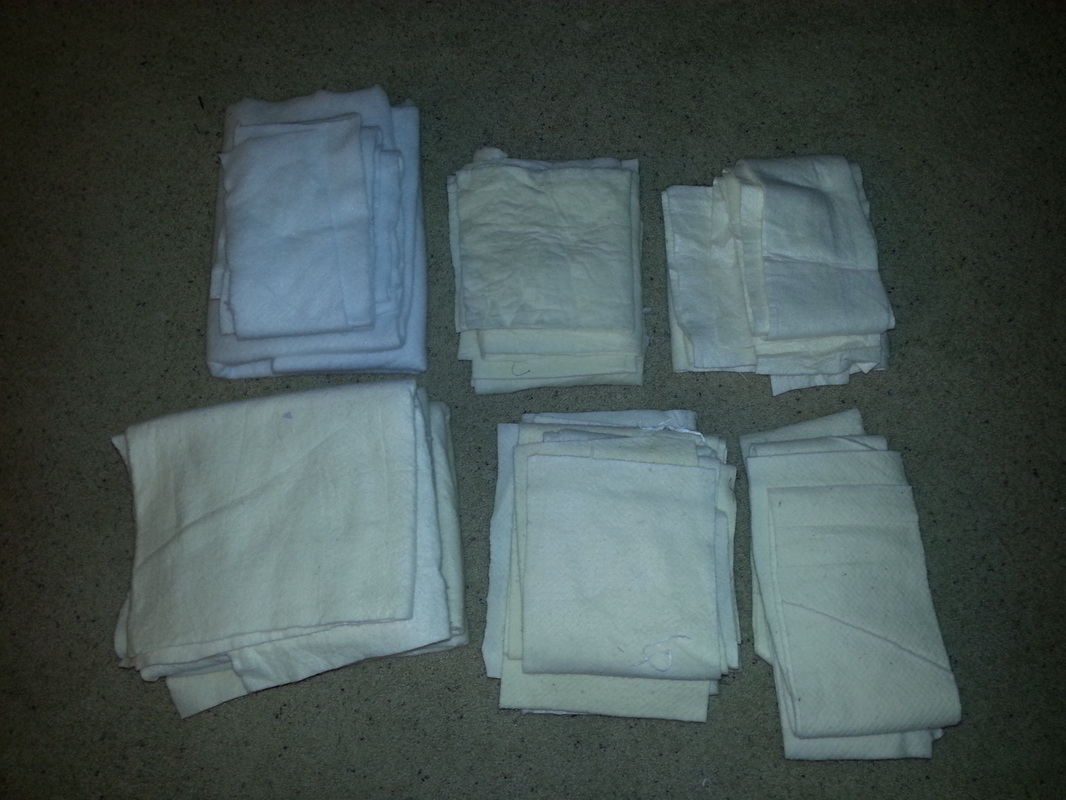
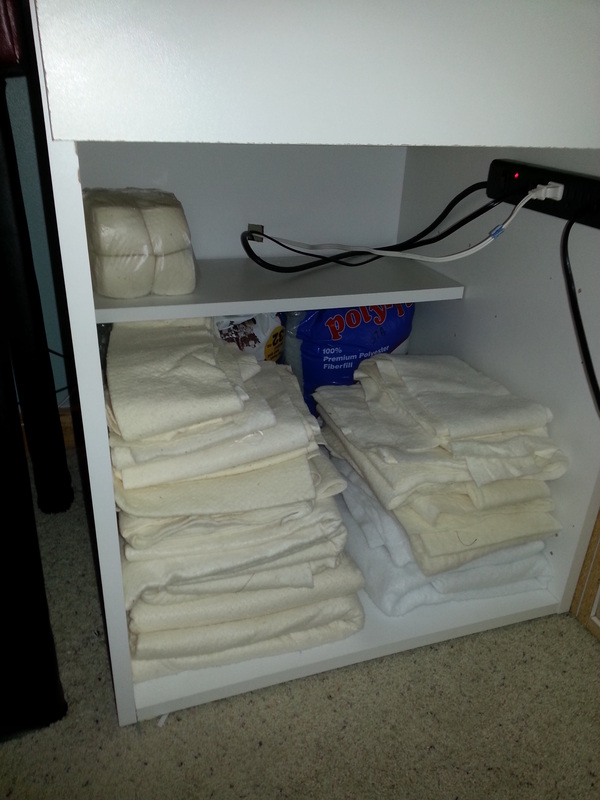
Last but not least, I had to organize my batting scraps. I have three sizes of batting scraps: really narrow strips that I use for test pieces or packing material, strips that are 8" -12" wide that can be used for things like pot holders or other small projects, and larger pieces that could be used to make placemats or tablerunners. I also happen to have three kinds of batting: cotton, bamboo and polyester. I sorted by size and type and folded neatly. Then I just put the batting into two neat piles in my hidden cabinet, with my poly-fil bags behind the batting scraps.
Last but not least, I had to organize my batting scraps. I have three sizes of batting scraps: really narrow strips that I use for test pieces or packing material, strips that are 8" -12" wide that can be used for things like pot holders or other small projects, and larger pieces that could be used to make placemats or tablerunners. I also happen to have three kinds of batting: cotton, bamboo and polyester. I sorted by size and type and folded neatly. Then I just put the batting into two neat piles in my hidden cabinet, with my poly-fil bags behind the batting scraps.
 |  |
Exhausted, I organized one last drawer, tidied up my workspace and headed downstairs to relax for a bit.
 |  |
I still can not believe what a dramatic transformation it seems like, getting all the fabric organized. When my workspace is cluttered or dysfunctional, it really hinders my creativity. In the back of my mind, all I can think about is the mess and clutter. When it's clean, I feel like I'm finally free to work on what I need to (and what I want to!). Quick recap of my quilting fabrics...
Before:
Before:

After:

I'd love to see any organizational transformations you guys might have done - if you have a blog post about one, post it in the comments below so we can all get ideas from each other!


