Did you know that embroidery machines can also do applique? Not just embroidery! I started playing with my embroidery machine to make Greyson’s quilt and I realized it had this awesome capability that is going to let me make some adorable onesies and tshirts. Don’t know what I’m talking about? Regular embroidery is where the machine uses just thread to create a design. For applique, there is actually another layer of fabric stitched onto the base fabric and then a satin stitch or other nice stitch is applied around the edge.
I have done some machine applique before but I typically avoid it because I have to maneuver the fabric very carefully to get the perfect satin stitching around the edge of the shapes. It is really time consuming and is never quite as perfect as I want it to be. But now, my embroidery machine is smart enough to do it for me! Here’s how it works:
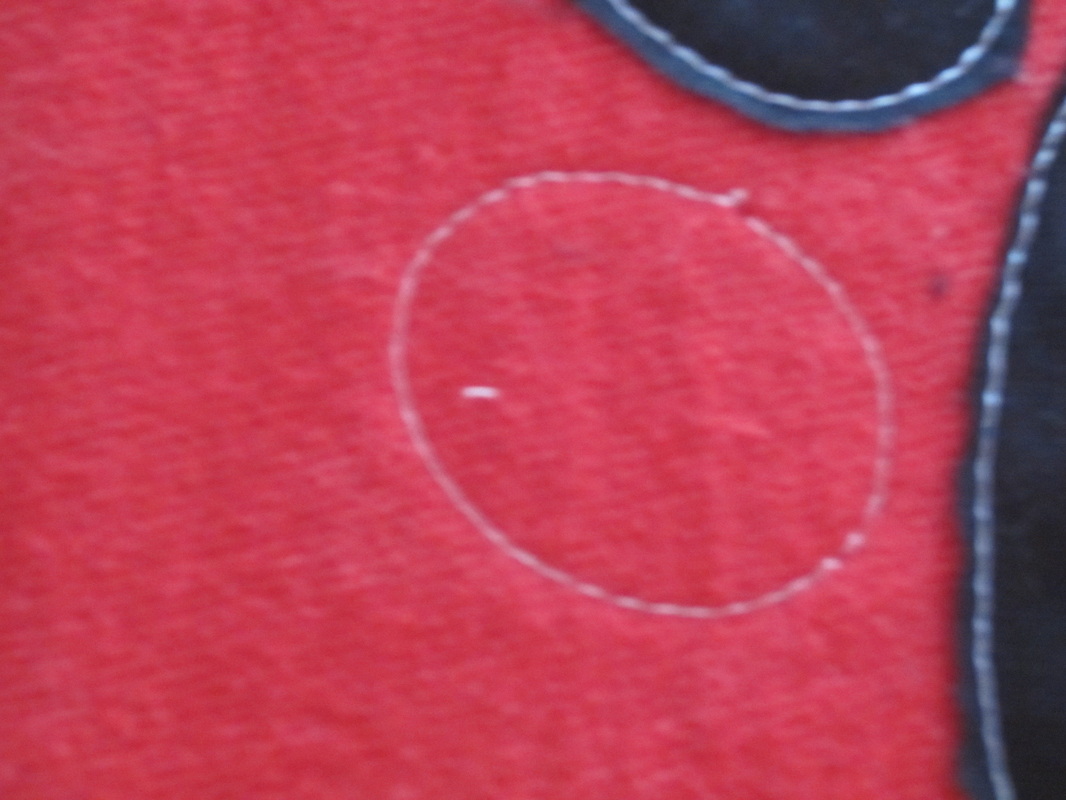
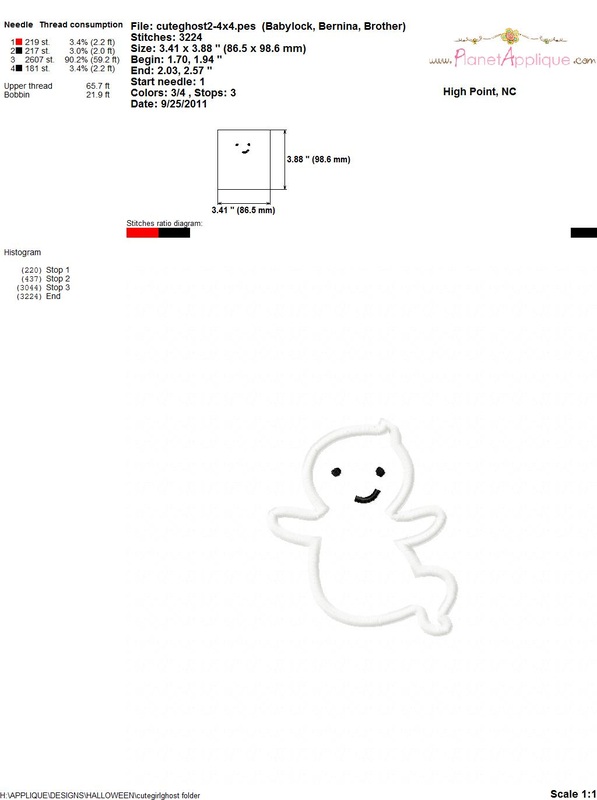
First, find an embroidery machine applique pattern compatible with your machine. My embroidery machine takes a PES file. I went to www.planetapplique.com and downloaded a free applique pattern to test it out (there are lots more to buy too but I just wanted to try something simple). On Planet Applique, all of the designs (free or purchased) are provided in all the most common embroidery machine file formats so you shouldn’t have any problem finding something that would work for another machine as well. After I downloaded the pattern, I copied the design file onto the embroidery machine (connected by USB to my laptop). Then I disconnected my embroidery machine from my laptop and selected the pattern I just added. Put the base fabric (shirt, pillowcase, etc) into the hoop you want to use and setup/size the design for your hoop. Once the fabric is ready, tell the machine to start stitching and it will stitch a light outline of the shape that will be stitched first.
First, find an embroidery machine applique pattern compatible with your machine. My embroidery machine takes a PES file. I went to www.planetapplique.com and downloaded a free applique pattern to test it out (there are lots more to buy too but I just wanted to try something simple). On Planet Applique, all of the designs (free or purchased) are provided in all the most common embroidery machine file formats so you shouldn’t have any problem finding something that would work for another machine as well. After I downloaded the pattern, I copied the design file onto the embroidery machine (connected by USB to my laptop). Then I disconnected my embroidery machine from my laptop and selected the pattern I just added. Put the base fabric (shirt, pillowcase, etc) into the hoop you want to use and setup/size the design for your hoop. Once the fabric is ready, tell the machine to start stitching and it will stitch a light outline of the shape that will be stitched first.
Lay whatever fabric you want to use for the applique over the stitched outline – making sure that your fabric piece completely covers the outline. Start stitching again and it will stitch the same outline except on top of your applique fabric.
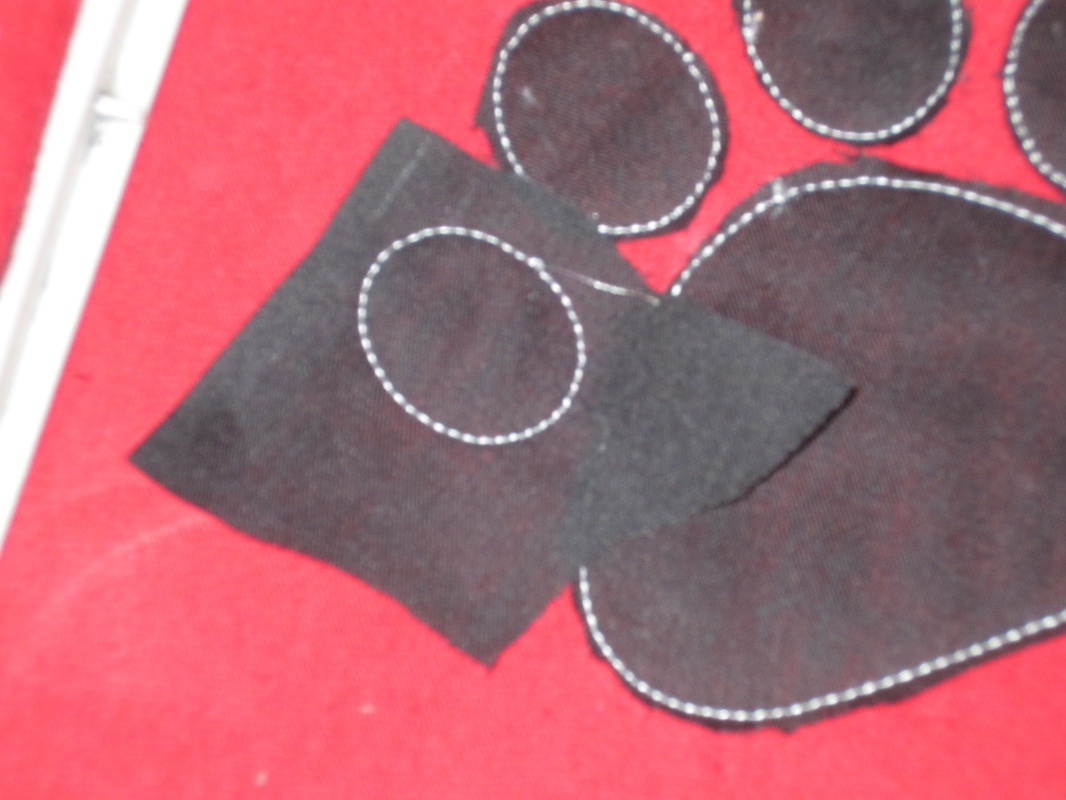
Remove the hoop from the machine and cut the excess applique fabric – cut it as close to the line of stitching as possible without cutting the stitching. My scissors weren’t quite small enough to get real close to the stitching line so I will need to buy smaller ones or curved ones.

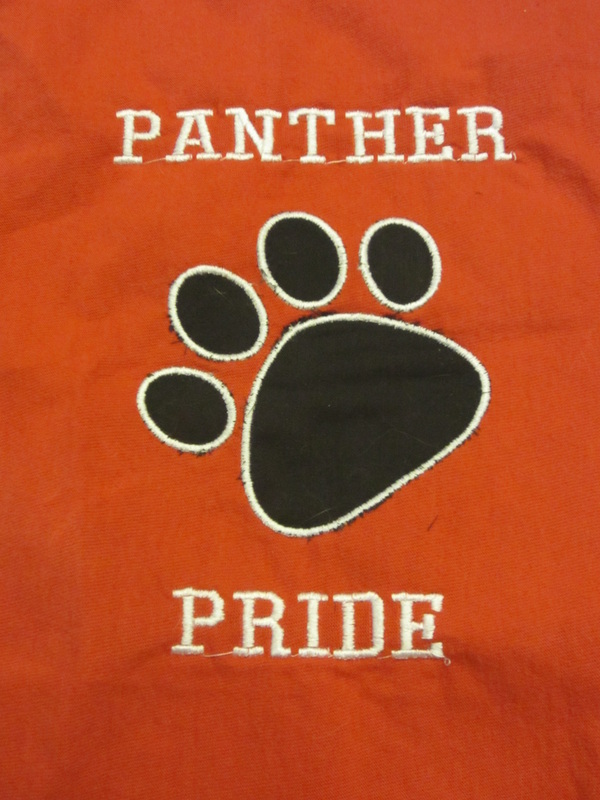
Put the hoop back in the machine and resume stitching and then it does all the pretty satin stitching around the edges and makes it look perfect! You can see a few black thread poking out through my satin stitch but that’s because I didn’t have small enough scissors. If I had been able to cut closer to the stitching it would have come out perfect. Once it was done I just added a little text above and below to make a cute little sample.
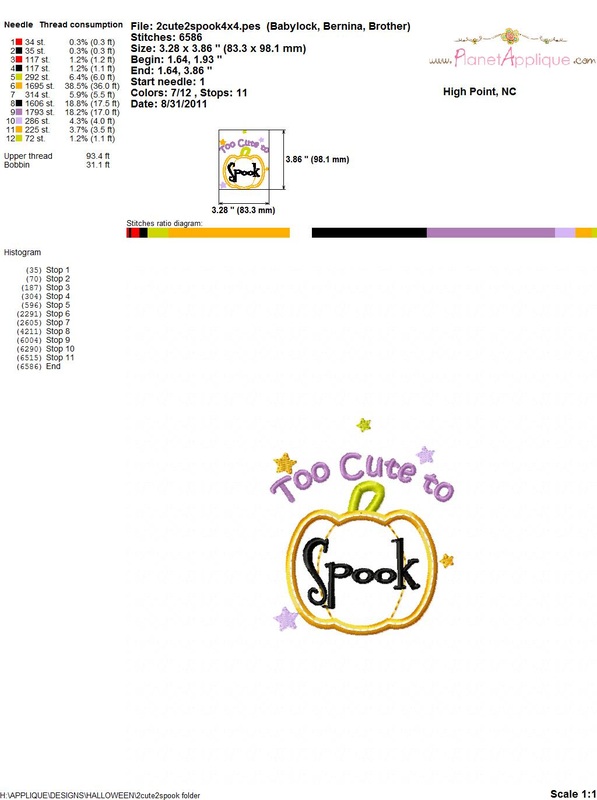
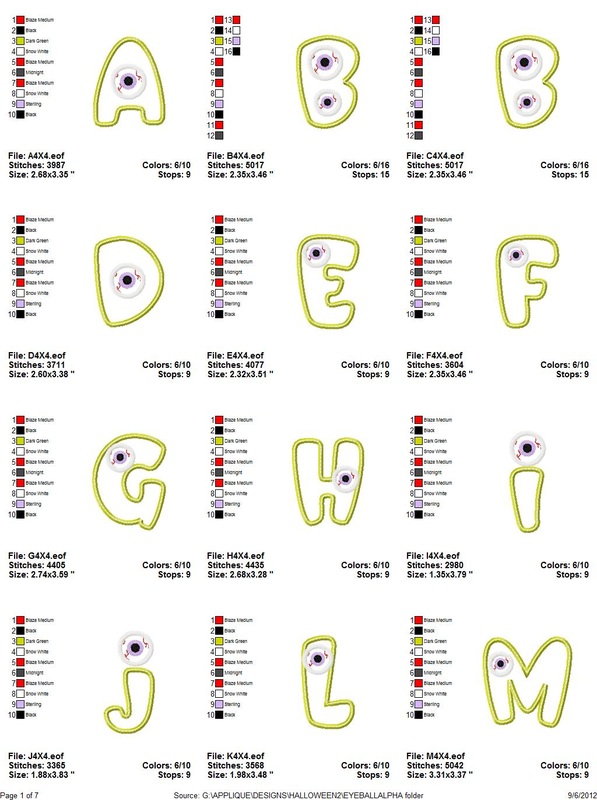
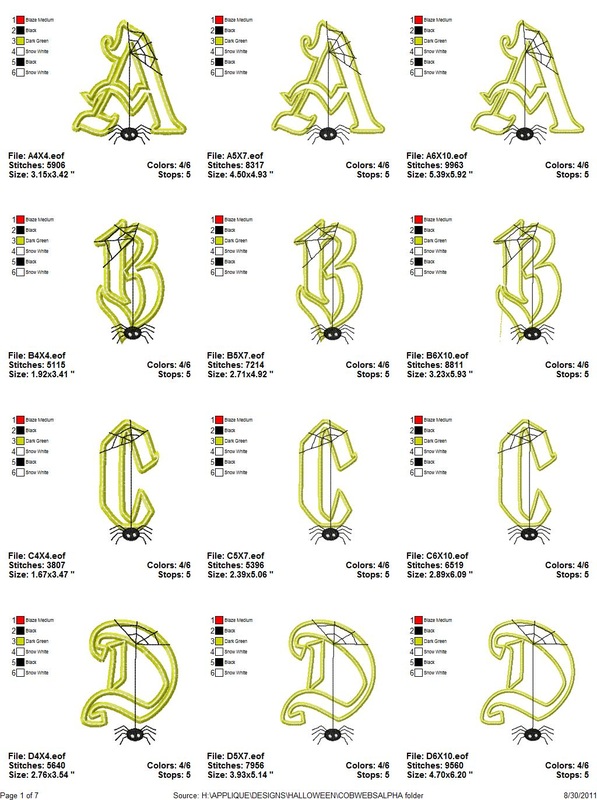
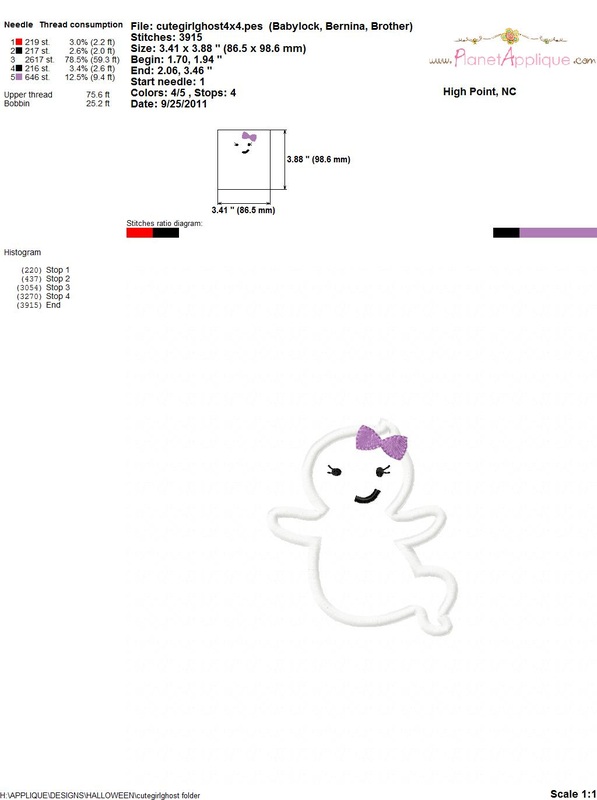
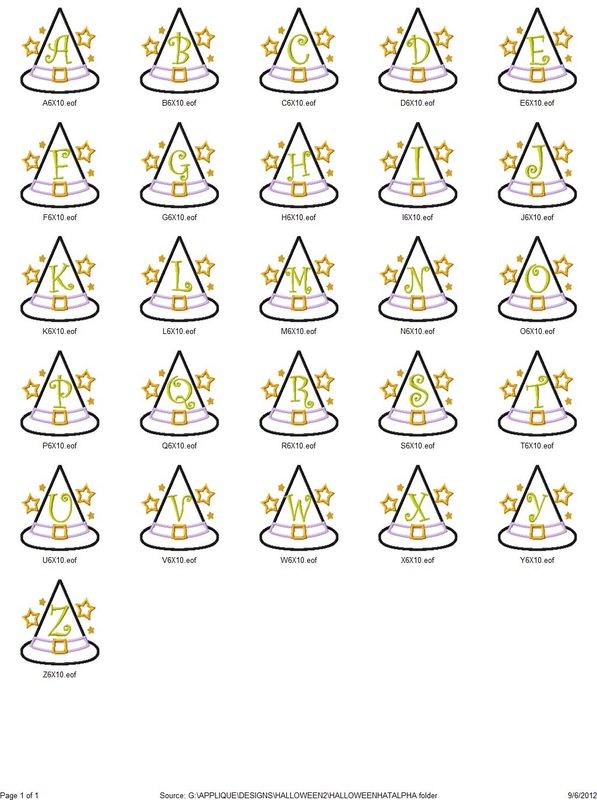
This entire thing only took about 10 minutes and with very little work on my part so I could be working on other things while the machine is stitching. I am so excited to use this to try to make some Halloween outfits for my nieces and nephews and I will also be offering the same Halloween outfits on my Etsy site. Watch out for new listings soon! Here are the base applique designs I purchased to make outfits with, aren’t they cute?
   |    |


