One of the things that was so fun about Bonnie & Steve’s BCx Bootcamp was that we got to use lots of tools that weren’t just standard bars or dumbbells. I already told you I bought some Bodylastics Resistance bands but I also wanted to have some sand bags and a slosh pipe without buying expensive equipment.
Slosh Pipe
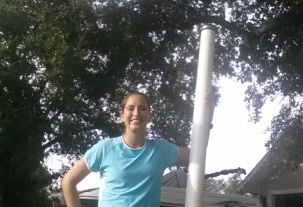
First, I’ll tell you about the slosh pipe since. Basically you take a large PVC pipe from Home Depot and fill it with sand or water and cap the ends. That’s it! A longer or larger diameter pipe will make it much harder to balance. You don’t want to fill it all the way up with water – maybe only half way, so that it sloshes back and forth. For my slosh pipe I used the following:
PVC Pipe: 4” diameter x 7ft long
I picked 4” because I wanted to be able to hold it in my hands easily and I have small hands. I limited the length such that I could stand it up in the garage to take up as little room as possible.
2 Rubber 4” PVC end caps with hose clamps
Water
Here’s what it looks like when it’s done
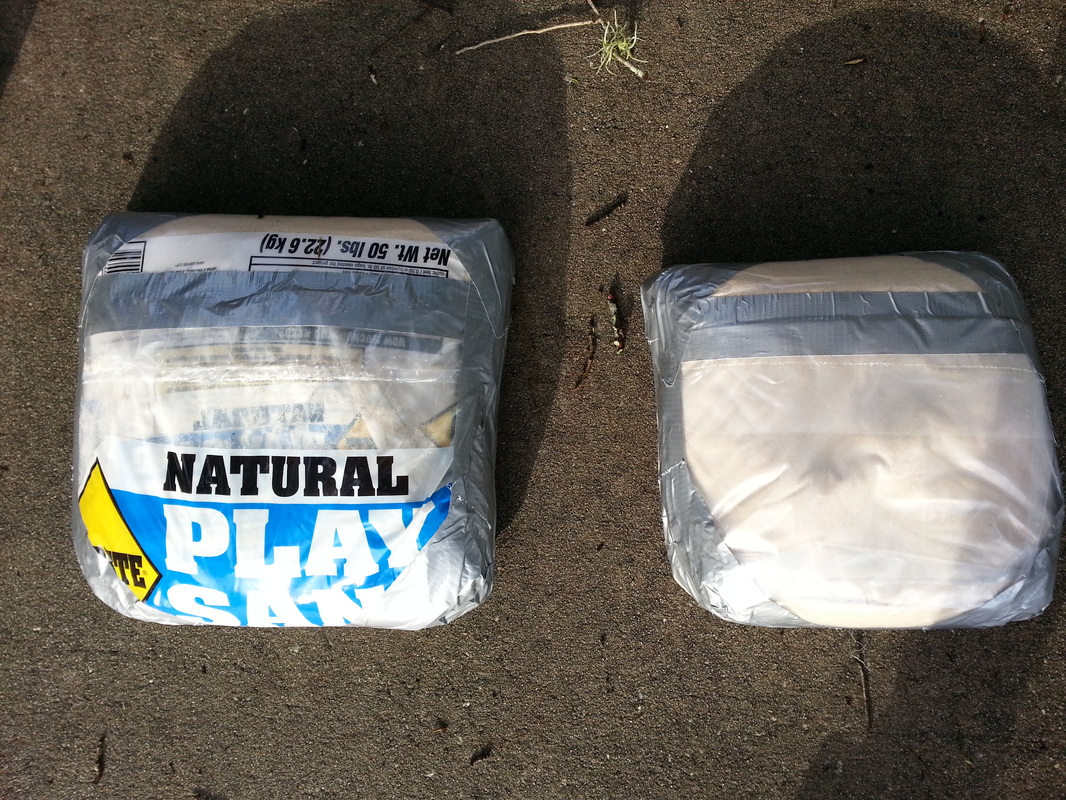
Sand Bags
Making the sand bags was really easy and inexpensive too! First gather your supplies:
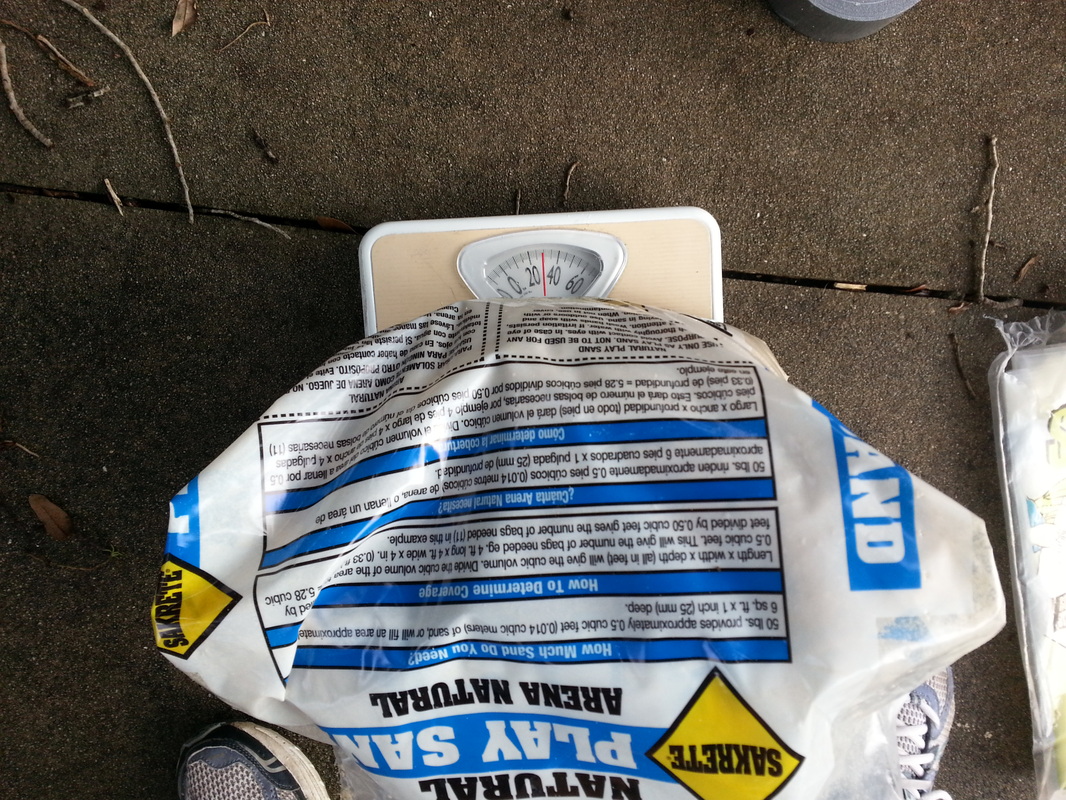
50lb bag of Play Sand from Home Depot or Lowe’s
Plastic or canvas Sand Bags
Duct Tape
Bathroom Scale
Scoop
Making the sand bags was really easy and inexpensive too! First gather your supplies:
50lb bag of Play Sand from Home Depot or Lowe’s
Plastic or canvas Sand Bags
Duct Tape
Bathroom Scale
Scoop
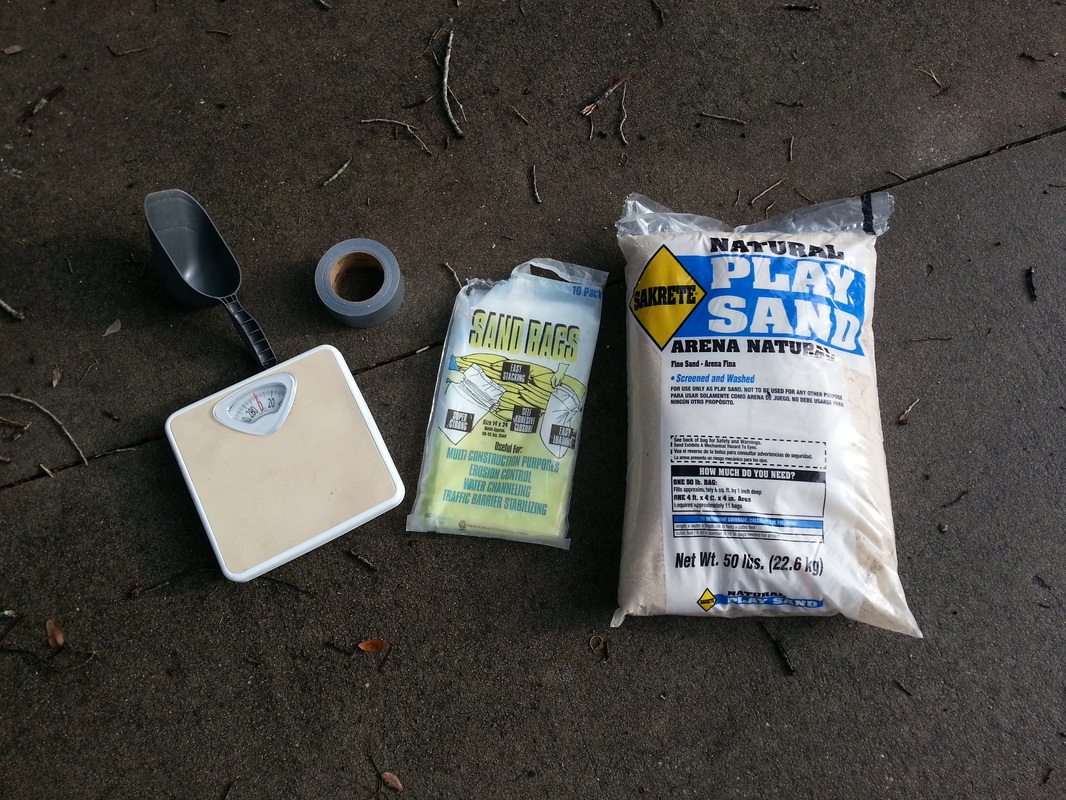
I decided to make 2 different weights: one 30lb sandbag and one 20lb sandbag. But you could do two 25lb sandbags or break it up into whatever weights you want to. Set your sandbag on the scale and use the scoop to scoop sand into it until you reach the desired weight:

Since I was using exactly 50lb of sand, once I had set aside the 20lb sand bag there should be 30lb left in the bag it came in. I weighed the bag to double check and then just used the bag the sand came in.
Close up the bags and tape the openings shut.
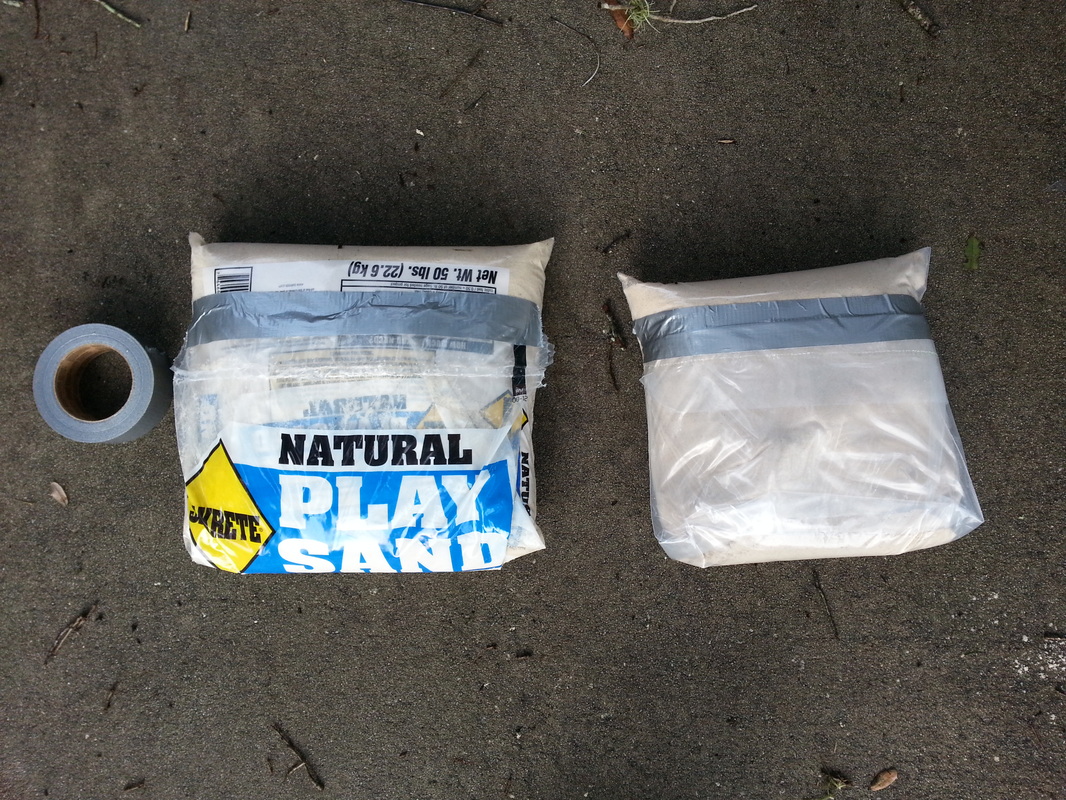
Tape all the edges for extra support
Keep taping until it looks like it’s ready for the drug runner’s to come get it:
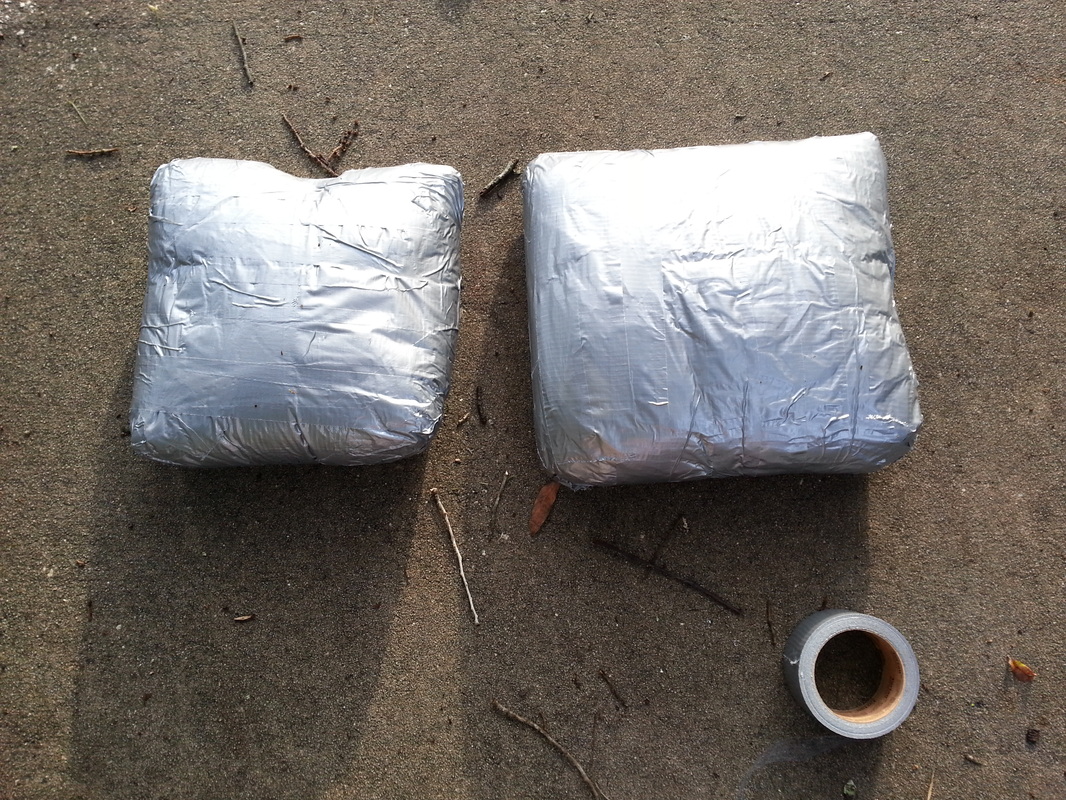
And then test them to see if they are sturdy enough (I recommend doing all of this outdoors, LOL). You could probably get away with less duct tape but I’d rather use a little extra tape than have one of them bust open and dump sand all over my face/head/hair when I have it pressed over my head, haha.


