I was going to buy some cute European style Roman Shades online for the guest room but when I was walking around Joann Fabrics waiting to get the headboard fabric cut, I saw the cutest purple and green fabric and knew I wanted to try and make the shades myself!
I bought this kit from JoAnn's ($20) that includes some tape you use for dowel rods and the curtain strings, a spool of curtain string, and mounting brackets and hardware. I also bought 2 yards of the decorative fabric ($12) and 2 yards of blackout cloth ($7).
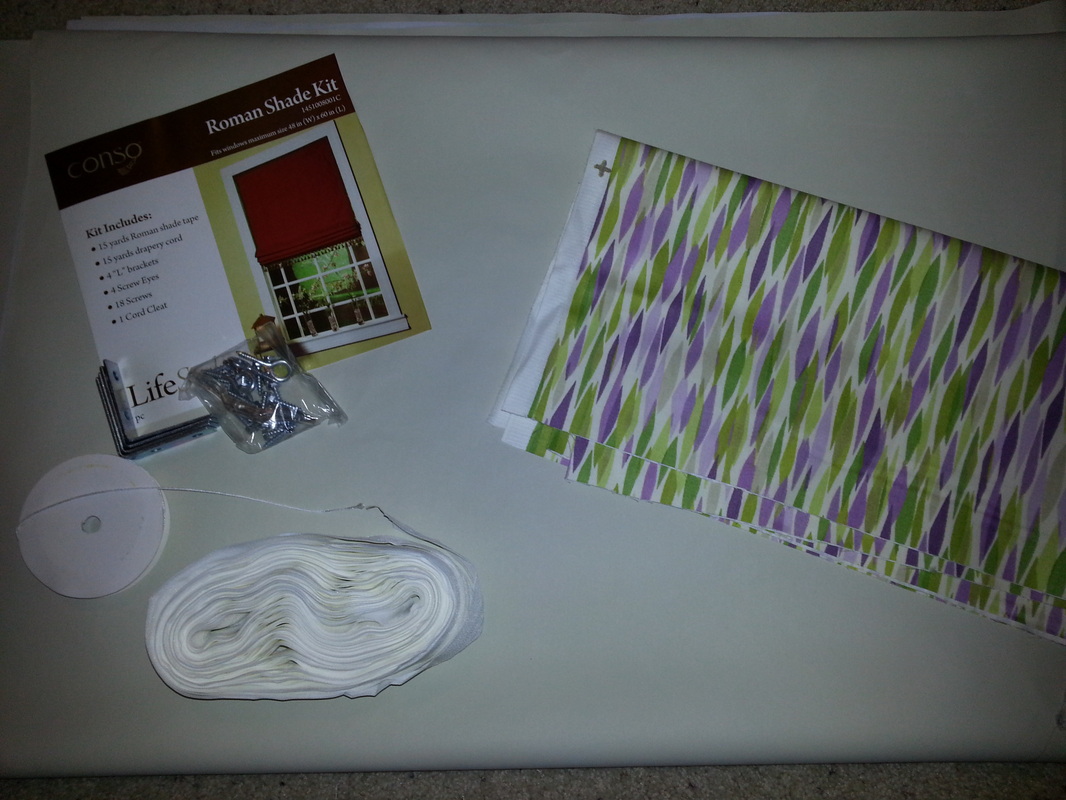
Fortunately, before I went to the store I had measured the window size and happened to have it written on the same page as my shopping list. My window is an odd size, 46" x 46" so buying a custom roman shade would have been over $100 to get a decent one (like the ones in my quilt room). So for $40 I was pretty excited - and nervous about how well they would come out. I cut the decorative fabric to 47" wide by 56" long. I wasn't sure exactly how much length I would need to attach the curtain to the mounting piece so I just cut it extra long, just in case.
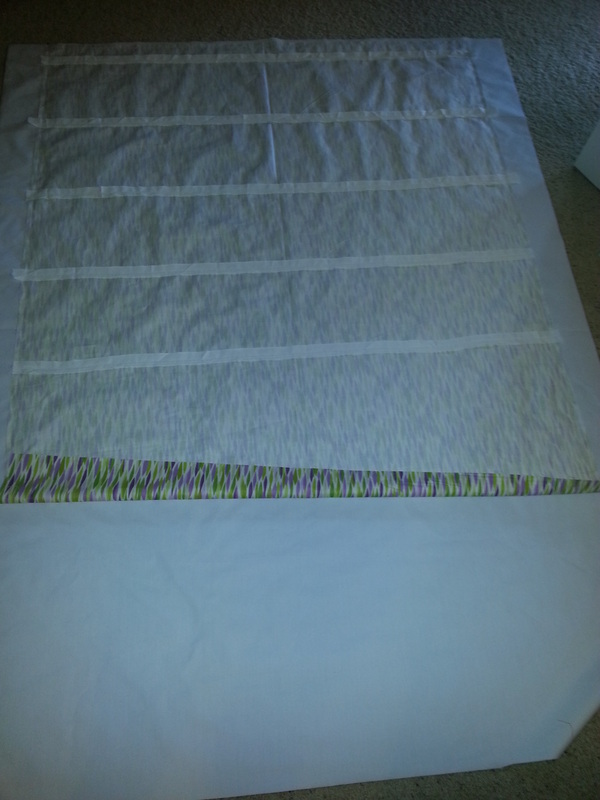
I sewed a piece of the shade tape to the decorative fabric, horizontally and about 2 inches up from the bottom. When you sew it, make sure the opening for a dowel rod is towards the bottom edge of the curtain or it won't sit right. Sew another strip of the shade tape around 6" - 9" away from that. You can use whatever spacing you want between the strips, just be consistent. I also found it helpful to go ahead and use the walking foot to make sure nothing shifts. Continue to sew the strips on for the full length of your shade.
Next, layer the decorative fabric and the lining or blackout fabric, right sides together. Sew along the sides and bottom with a 1/2" seam allowance (leave the top open).
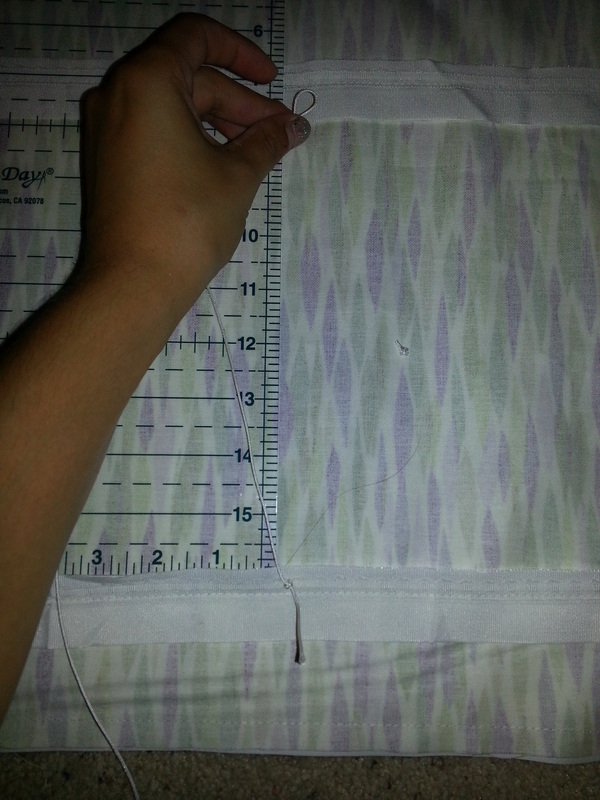
Trim the excess blackout clot material, flip right side out and top stitch around the edges. After you top stitch the edges, flip it inside out again. Now it's time to run the curtain strings. Decide how many strings you want - I used three, one on each end and one in the middle. I recommend cutting each one around 2 - 3 times the height of your window. Decide where exactly you want the strings to be. I did the outside strings each ~3 inches from the edge and then the third string was dead center. Use a ruler to line up the string and feed it through the tiny loops in each strip of tape.
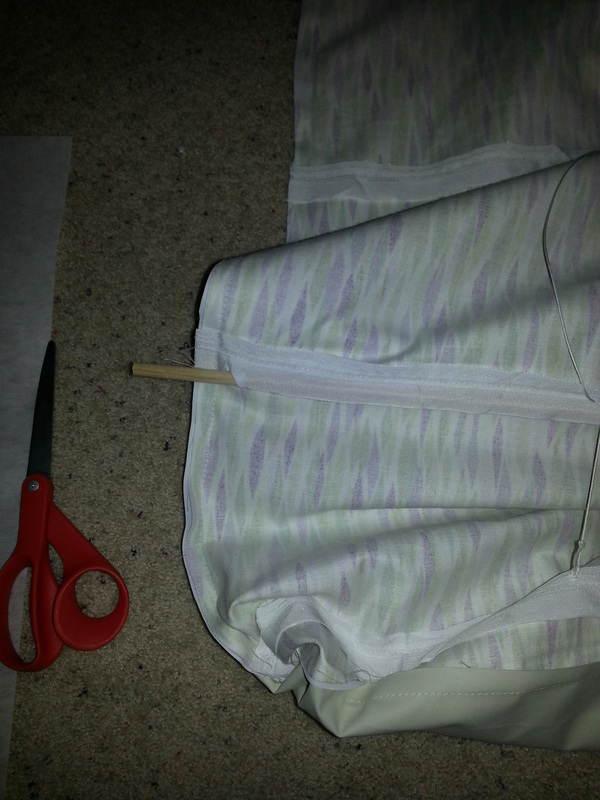
Once you've run all the strings from the bottom of the shade to the top, insert a wooden dowel rod in each section of tape. Originally I was thinking I could go without the dowels for a more relaxed look (or only using one at the bottom) but it didn't work out at all so I recommend using the dowels.
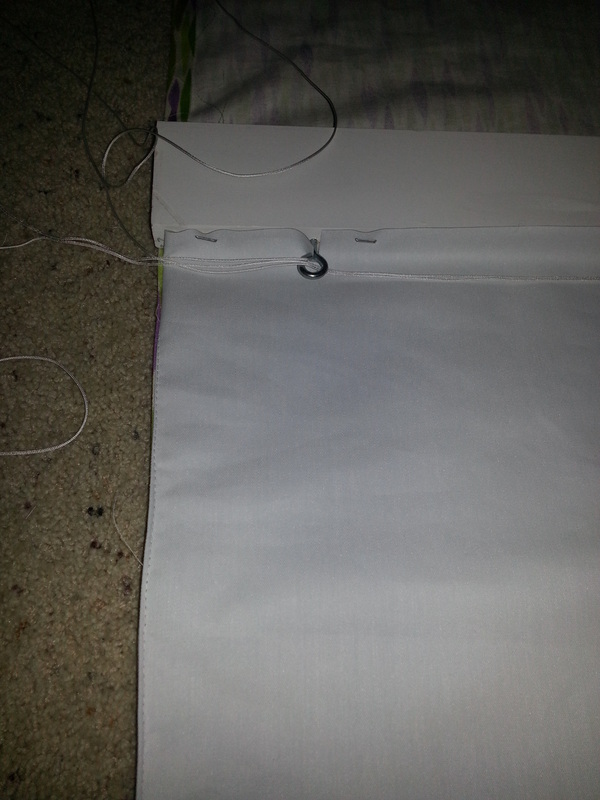
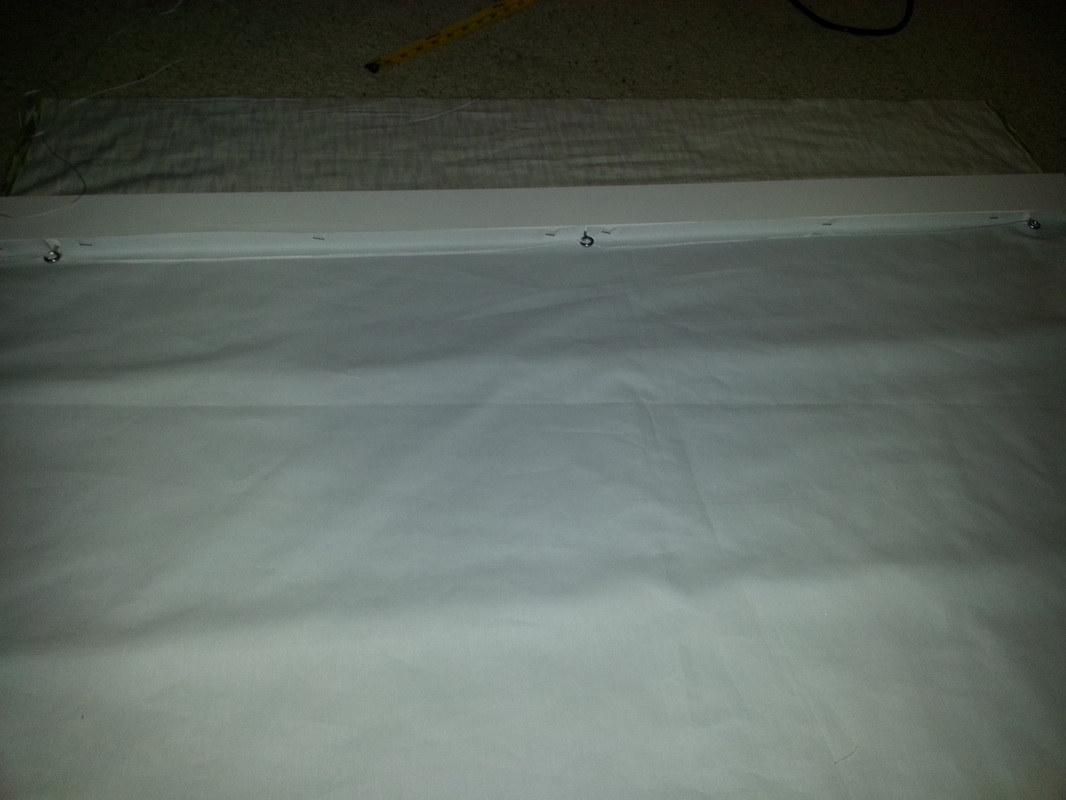
It may not seem like it but you're really almost done now! You need a board that is the width of your window (or slightly smaller to mount it inside). The thickness of the board depends on how much room you have - our window frame in the center is only a little over an inch away from the face of the moulding so I used a 1" x 3" x 46" board. On the bottom/underside of the board, you need to screw in the eye hooks (included in the hardware kit). You need one hook for each line in your shade. Run the strings from the shade through the eye hooks and then pull them all to one side. Then staple the lining fabric to the underside of the board, around the hooks.
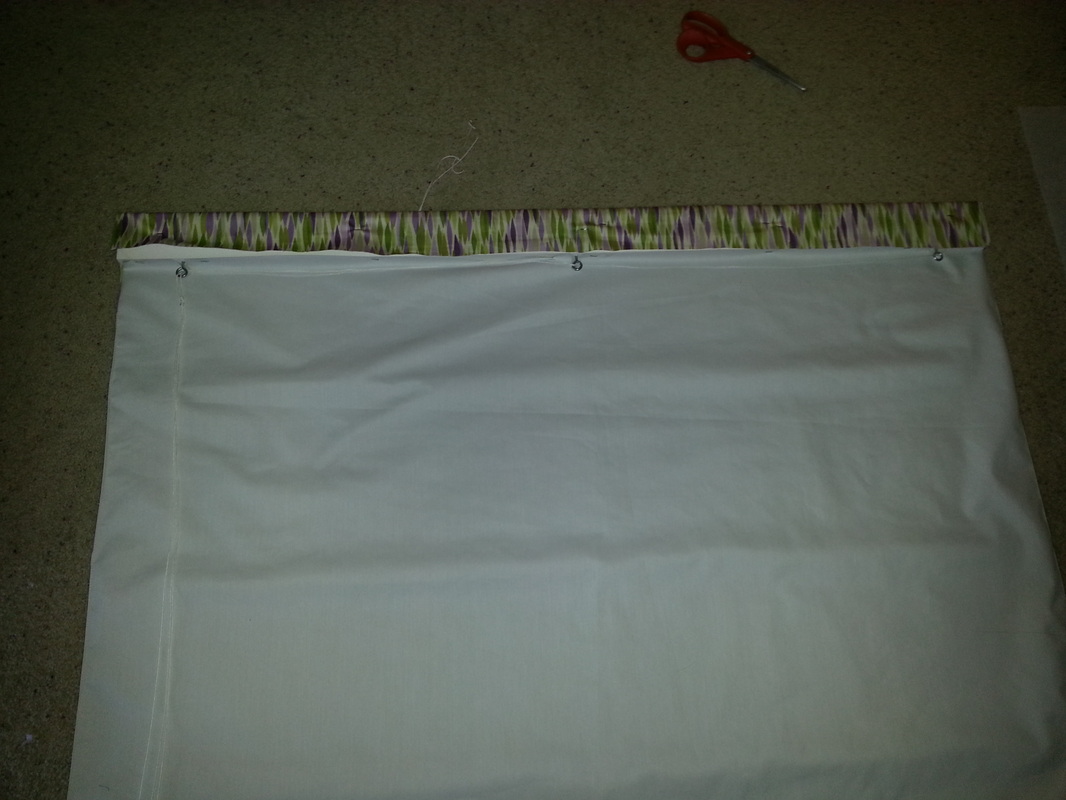
Now wrap the decorative fabric (the extra is laying face down in the photo above) around the board and staple down.
Since the shade is fully extended and the fabric is relaxed, this is a good time to knot the lines together if you would like. Just make sure they all are pulled equally tight and none are loose so it pulls up evenly. Once you've wrapped the fabric, you can mount the shade to your window using a simple "L" bracket (these also come in the kit or you can get them at Home Depot).
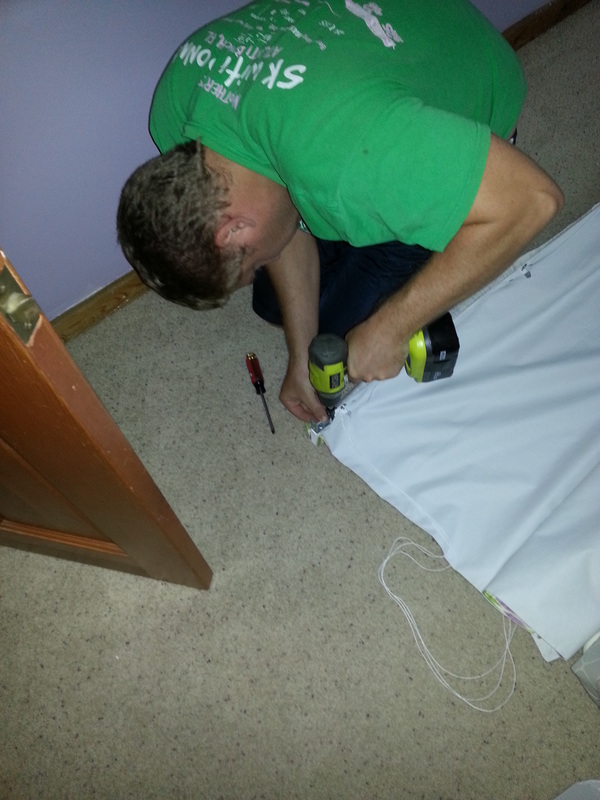
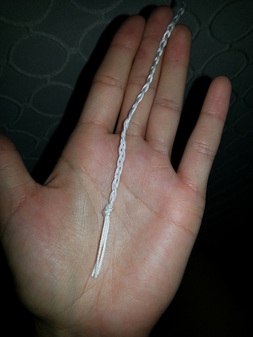
I was able to convince Ryan to mount them for me (I did all the rest). I get so nervous screwing things into our wood trim since it's hard to fix or replace. Once you screw them into your window frame, check to make sure it raises and lowers properly. I also braided the excess cord and then melted the ends with a lighter to make sure it doesn't fray.
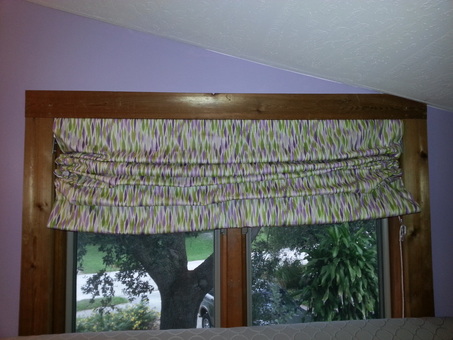
That's it, you're done! Keep in mind that they won't be as easy to open/close since there is no spring or mechanism to help you raise the shade but it is still pretty smooth. They may not be as fancy as storebought ones but they were much cheaper (especially if you have odd sized windows like us and have to buy custom ones) and I LOVE the fabric - so cute!
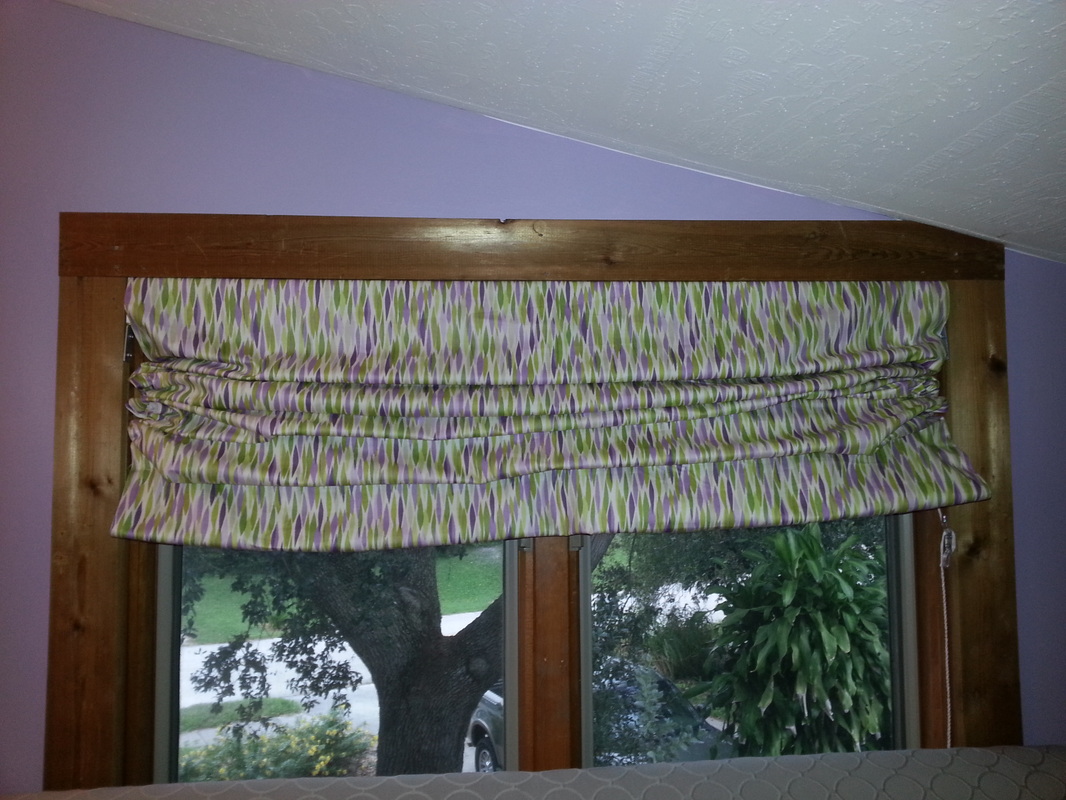
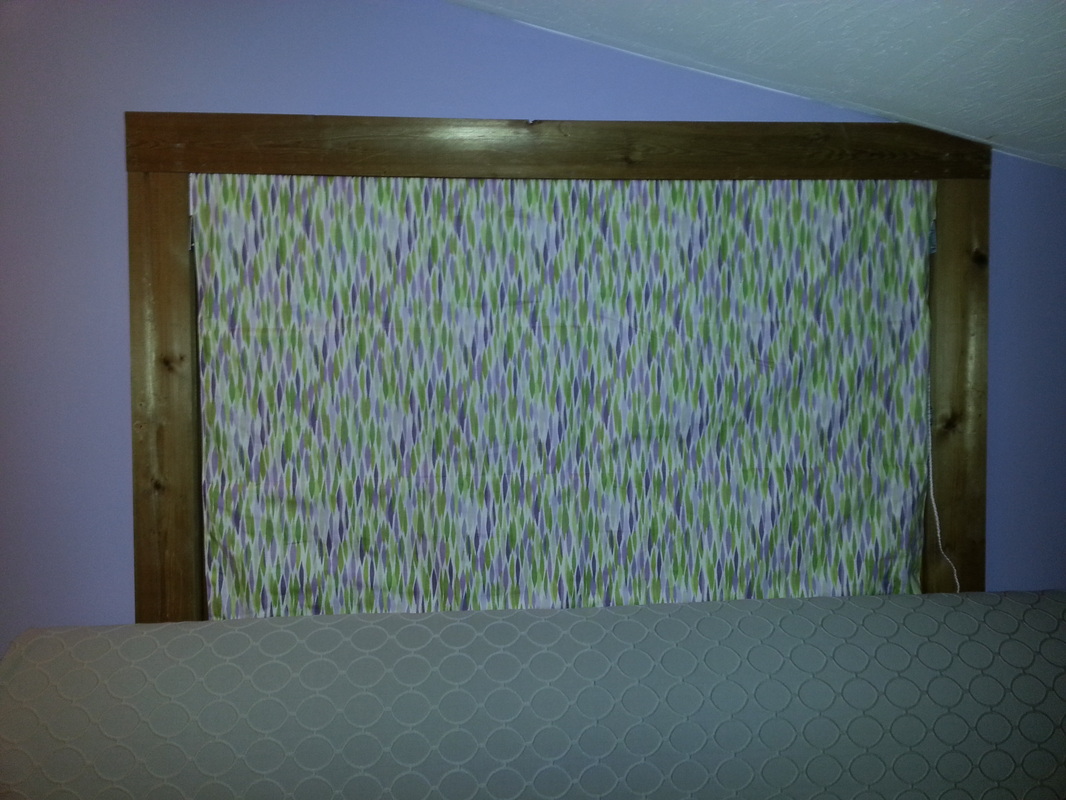
It always cracks me up how the windows in the upstairs were built such that they couldn't put a full trim board around it. LOL. Before, when I had drapes up there it was really a challenge to get the rod up without hitting the ceiling. The roman shades are a much better fit and much lighter for that room. You might also notice the new upholstered headboard I told you about. I thought it was taboo to put a bed in front of the window with the headboard blocking it but when I was looking at pictures online it seems to be fairly common now, LOL. I can't wait to finish up the guest room and show you the whole thing!


