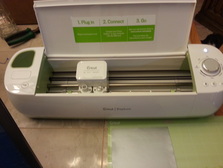
I was one lucky lady this Christmas. Not only did we get to spend time with ALL of our parents and siblings over the past month, I also ended up getting some pretty neat toys :) One of the cool new toys I got is a Cricut Explore! Basically it's an electronic cutting machine. You can connect it to your computer and use the Cricut Design Space on their website to make a design. Then the Explore can cut the design out of paper, vinyl, fabric and more!
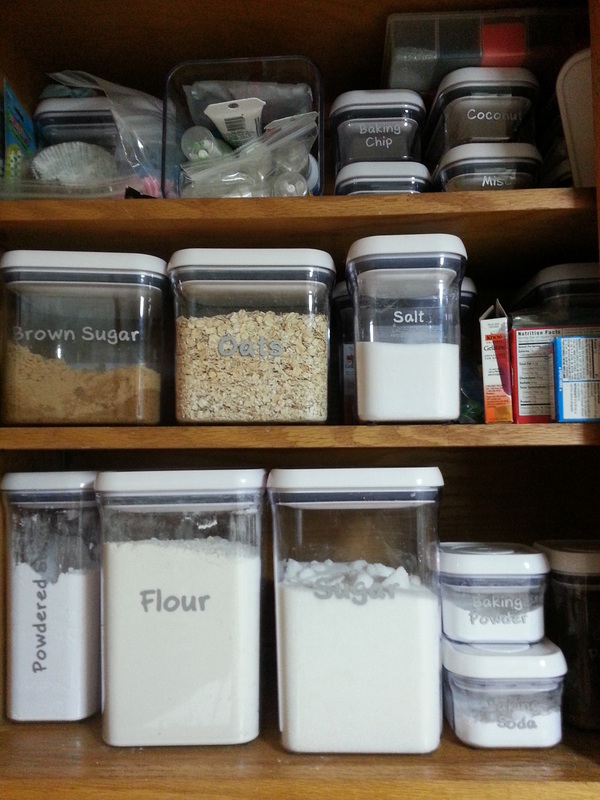
It came with some sample materials include a sticker (duck tape) sheet, adhesive vinyl and cardstock. I knew right away what I wanted to do with the vinyl and I figured it would be the perfect project to test it out! Here is my baking cabinet before I got the Explore:
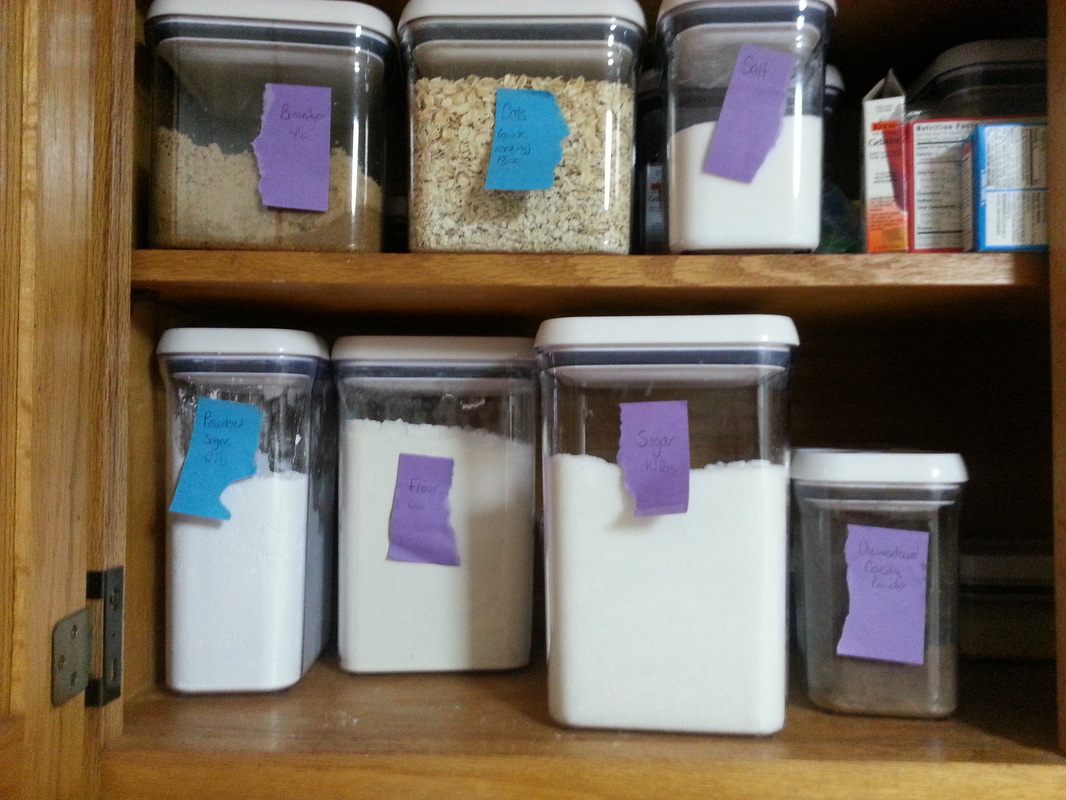
I reorganized my baking cabinet using all those pop top containers and I was really happy with them. But I didn't really have any way to label them so for the time being, I used sticky notes...and that was almost two years ago, LOL. Anyways, first thing I did was get out the vinyl (I would have preferred black instead of silver but I wanted immediate gratification so silver will do fine). The green cutting mat it comes with is actually kind of sticky so you press it down on the mat and it grips it.
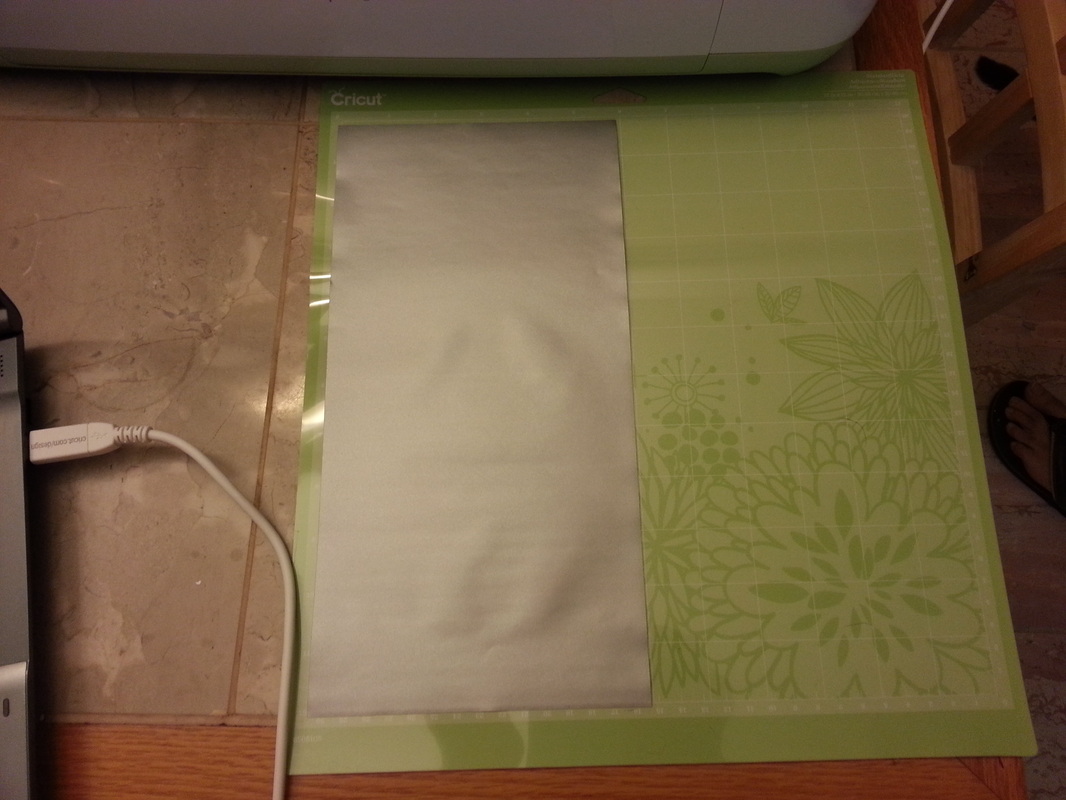
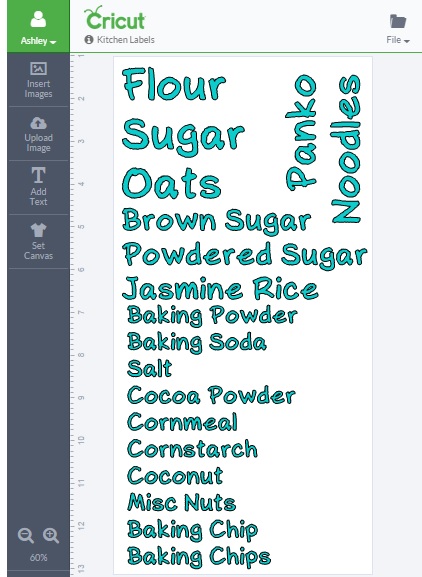
Next I went on Cricut's website and used their new design space to type up all the labels I want and get them to fit on the 6" x 12" sheet of Vinyl that they gave me. The machine actually has a knob that you turn to select what material you will be cutting and then the machine figures out the blade depth and other settings required for that specific material. neat huh? Once I was done making the layout, I sent the design to the cutter and hit start on the machine. I didn't realize it on the computer screen but the font i picked actually has a very rough edge (instead of smooth lettering) so it took a little longer to cut out. But I'd say it was done with the whole sheet in about 8 - 10 minutes. when it was done, I carefully pulled off the excess vinyl, leaving just the letters on the backing sheet.
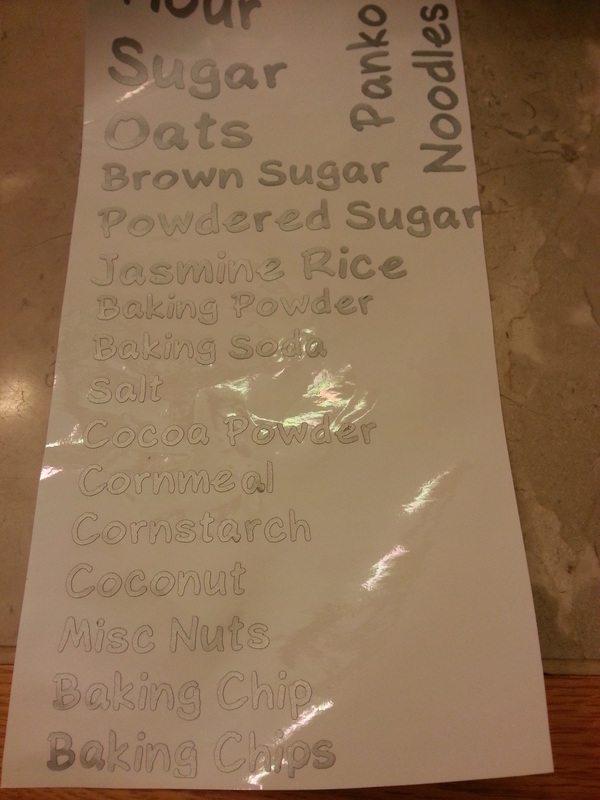
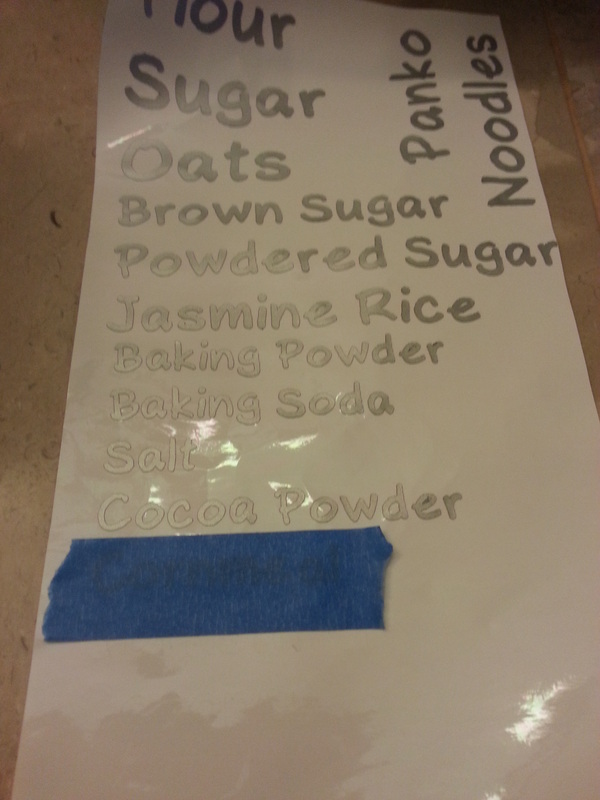
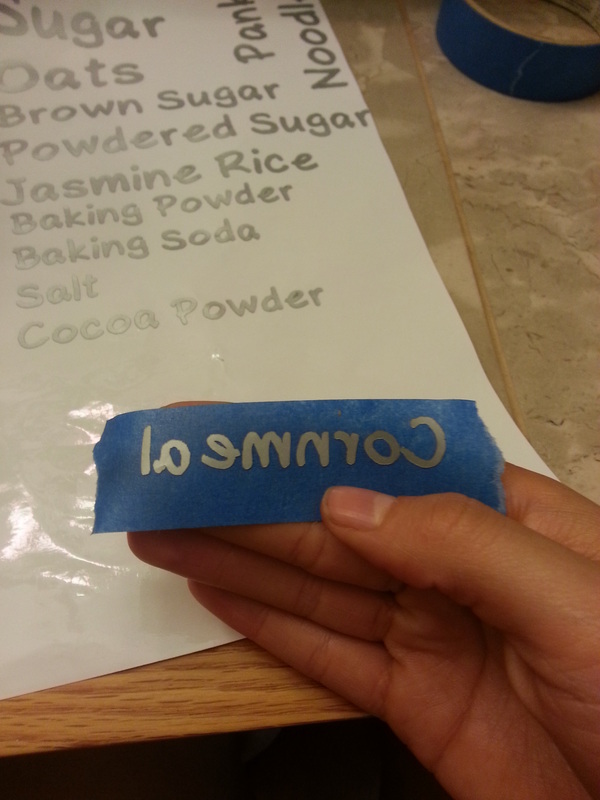
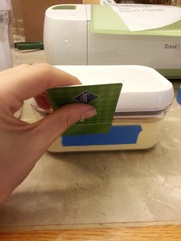
Peeling the backing off wasn't too hard but I did have to be pretty careful around the smaller lettering. I think they call that "weeding" the lettering. Cricut has some little tools you can buy to help with that. I might pick some up if I'm going to do a lot more small lettering. To transfer the lettering, I put a piece of painter's tape (or masking tape) down on the letters and pressed down on the letters gently. Then just pull the tape up and all the letters should come off the backing and onto the blue tape.
| 
|
Once the lettering is on the tape, just position the tape on the container or whatever you are putting the lettering on. Use a credit card to really press down on all the letters. When you peel the tape off, fold the tape all the way over 180 degrees and pull it parallel to the surface you are putting it on. Go slowly and make sure each letter is coming off the tape and going onto the new surface.
| 
|
I just kept transferring all the lettering until I had my full pantry/cabinet labeled, yay!