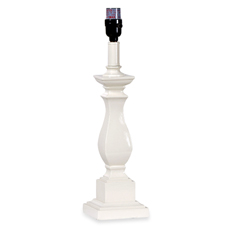
After I finished my cute little framed canvas/quote, it was clear I needed to finish the decor on the top of the bookshelf. I had the hardest time finding a lamp I liked and the ones I did find were SOO expensive. I was hoping for under $20 but after about ten different stores, I finally just picked one up at Bed Bath & Beyond for $40 that was close to what I wanted. It wasn't exactly what I wanted though so I decided to modify it. Note: if you're going to modify a brand new lamp (or anything), make sure you check to see if it's working BEFORE you do any modifying because you won't be able to return it (fortunately I remembered). Here's the lamp i got:
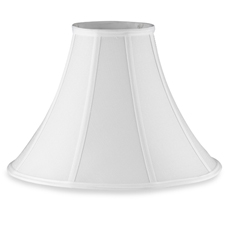
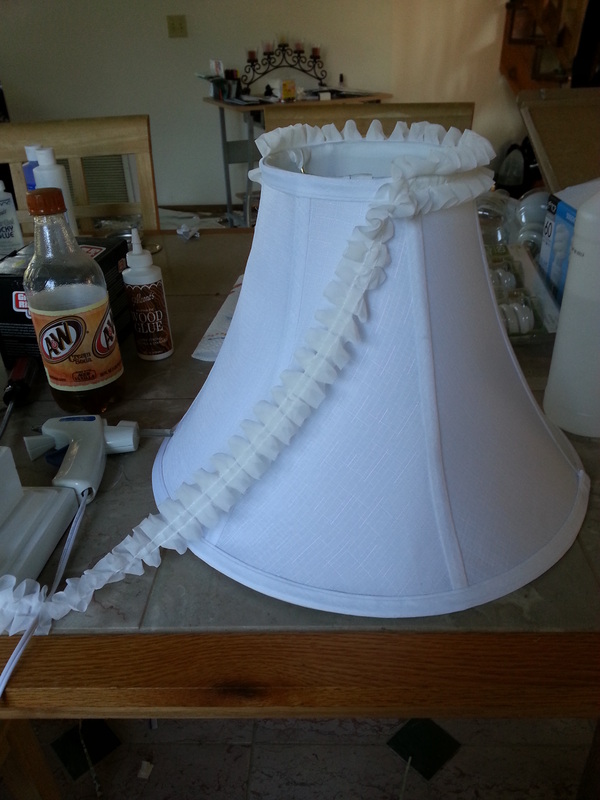
Very boring. I didn't want anything too crazy though so I just got some cute ruffled fabric at Joann Fabrics and added it to the top and bottom. Some people hate ruffles but I think they're girly and cute - I had to restrain myself from putting the ruffles all over the entire shade (I almost did, LOL). Here's the lamp shade in progress (I just hot-glued the ruffles on).
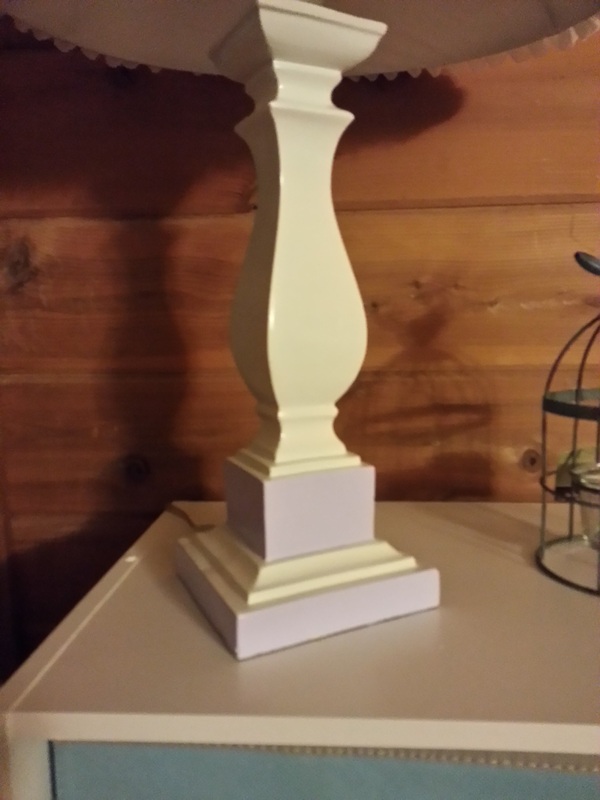
For the lamp base, I wanted to tie it into the other decorations so I was going to paint it purple like the canvas frame but i was afraid if I painted it all purple it would disappear next to the frame. So I decided to just add a little bit of purple accent at the base to make the base of the lamp stand out from the white bookcase it's sitting on but not so much as to disappear into the adjacent purple frame.
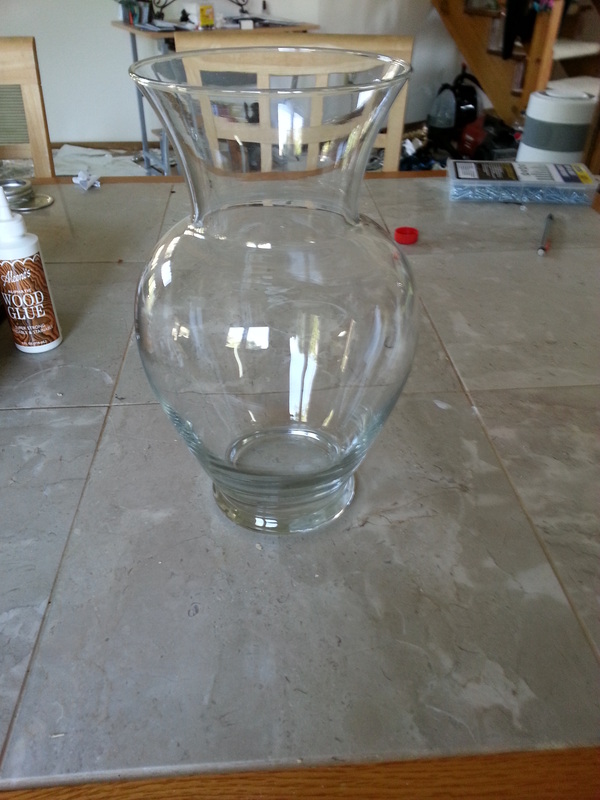
For the other side of the bookcase, I wanted to add a vase with fake flowers. I had this nice vase leftover from the wedding florist...
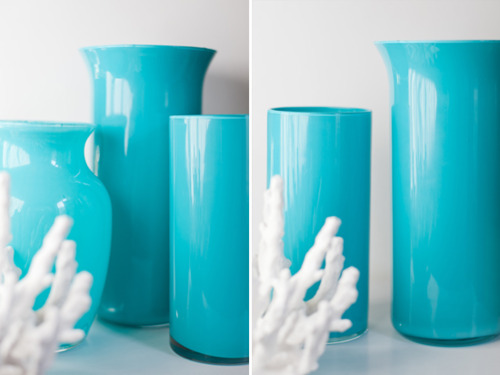
But again, I wanted more color! With the wood paneling on the wall behind the bookcase, color really pops and looks much nicer than just seeing the wood alone. i saw a tutorial on Pinterest for painting glass vases and here is my inspiration:
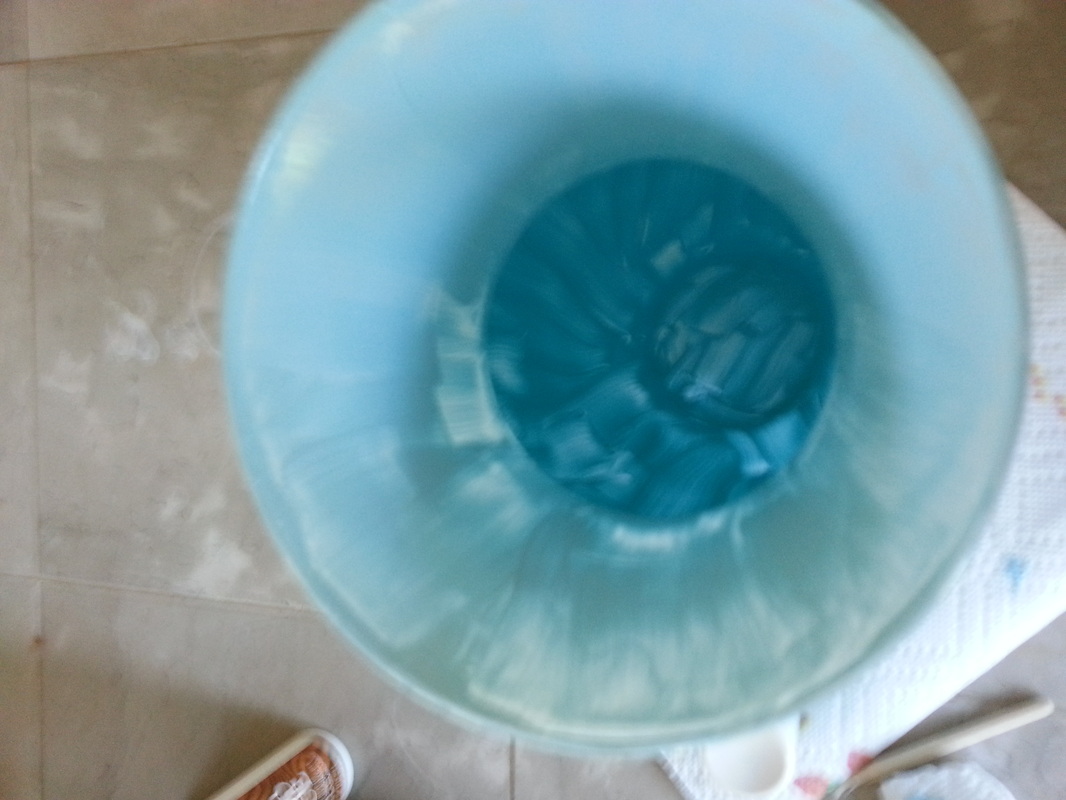
The paint they used is called PermEnamel but I didn't see any at Joann Fabrics so I decided to try out the Martha Stewart "multi surface" paint - it says you can use it to paint on glass. I did wipe out the inside of the vase with rubbing alcohol before I started painting (like in the tutorial linked above) but I didn't use any primer or surface preparation like they did. On the inside, it looks pretty bad - you can see all the brush marks and uneven thicknesses (it's pretty hard to get an even coat while your hand is inside a vase).
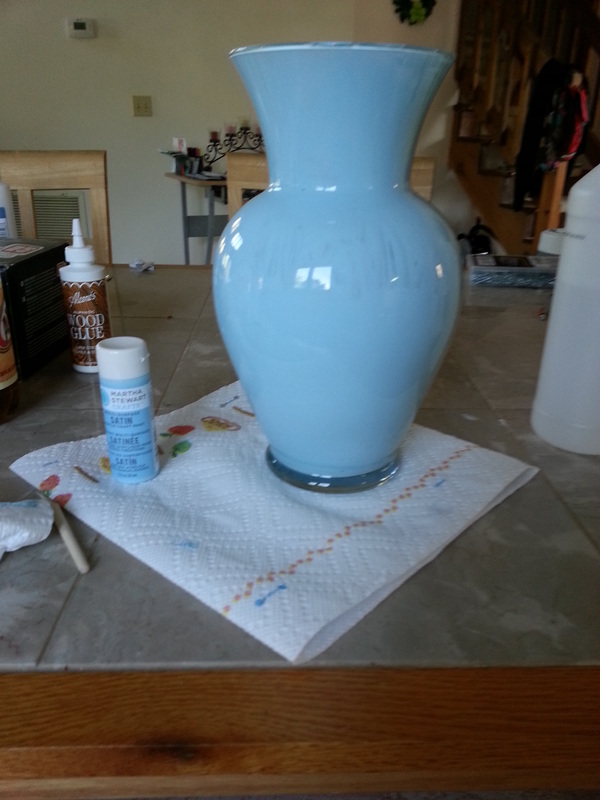
But on the outside, it came out surprisingly well. here's the outside after only one coat (you can really only see brush marks in the area where I had a really hard time painting because of the angle of the paint brush).
After adding a second coat of paint and some fake flowers it looks pretty darn good. Besides the lamp and the vase, I also added couple small decorations and now that wall of the quilt room is prettified and ready for reveal. As a reminder, here's what it started out like:
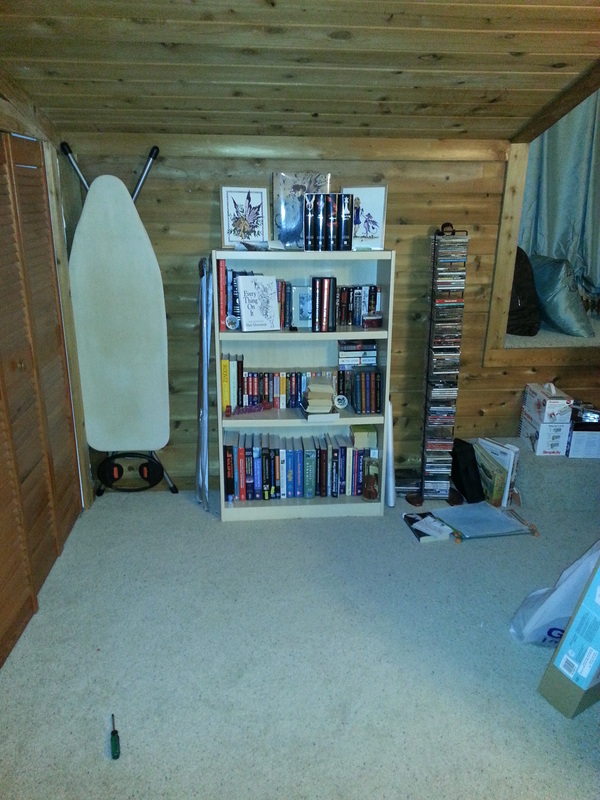
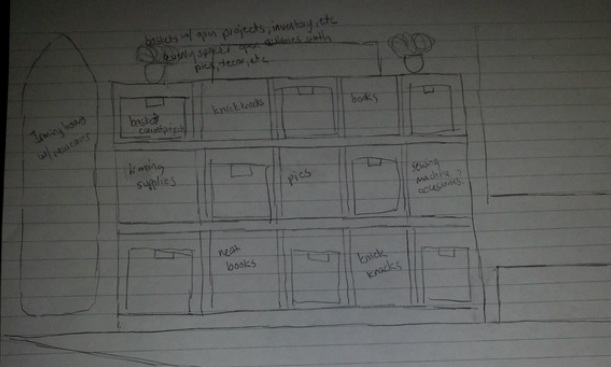
And here's the sketch of what I originally thought it would look like. The biggest difference is that my bookcase ended up being longer width than I thought it would be (so my ironing board doesn't fit there) and shorter height than I thought it would be (so I had room for the lamp and canvas instead of just one decoration).
And Finally, bum ba da dum....here it is:
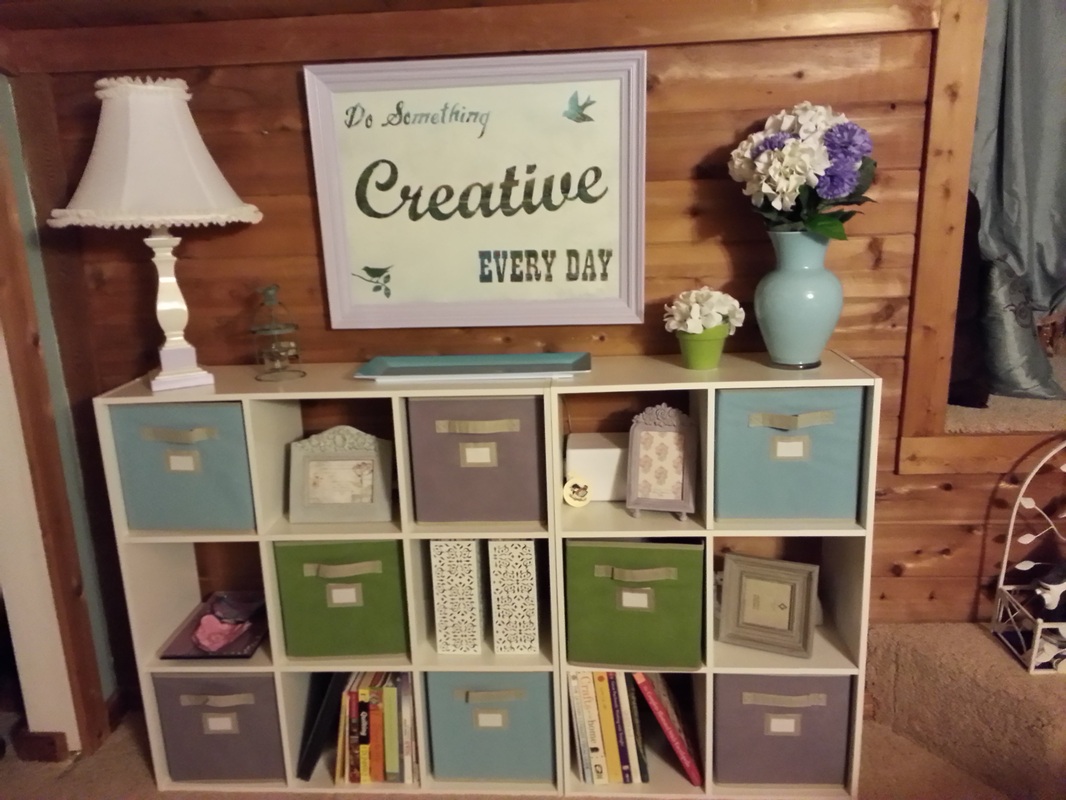
Isn't it soo cute?! Totally pinterest worthy :) I am so happy with how that wall came out and I can't wait to finish up the rest of the room so the whole thing looks that pretty (although that's going to be a ways away...). Yay for a pretty entrance when you walk into the quilt room!!!
I'm still nit-picking a few things - I'm not entirely satisfied with the flowers I put in the vase and the birdcage thing seems to disappear into the wall a bit (and I need to put photos in those three frames). Maybe Melissa will help me tweak it a bit next time they are visiting :) But overall, still very cute :)
I'm still nit-picking a few things - I'm not entirely satisfied with the flowers I put in the vase and the birdcage thing seems to disappear into the wall a bit (and I need to put photos in those three frames). Maybe Melissa will help me tweak it a bit next time they are visiting :) But overall, still very cute :)


