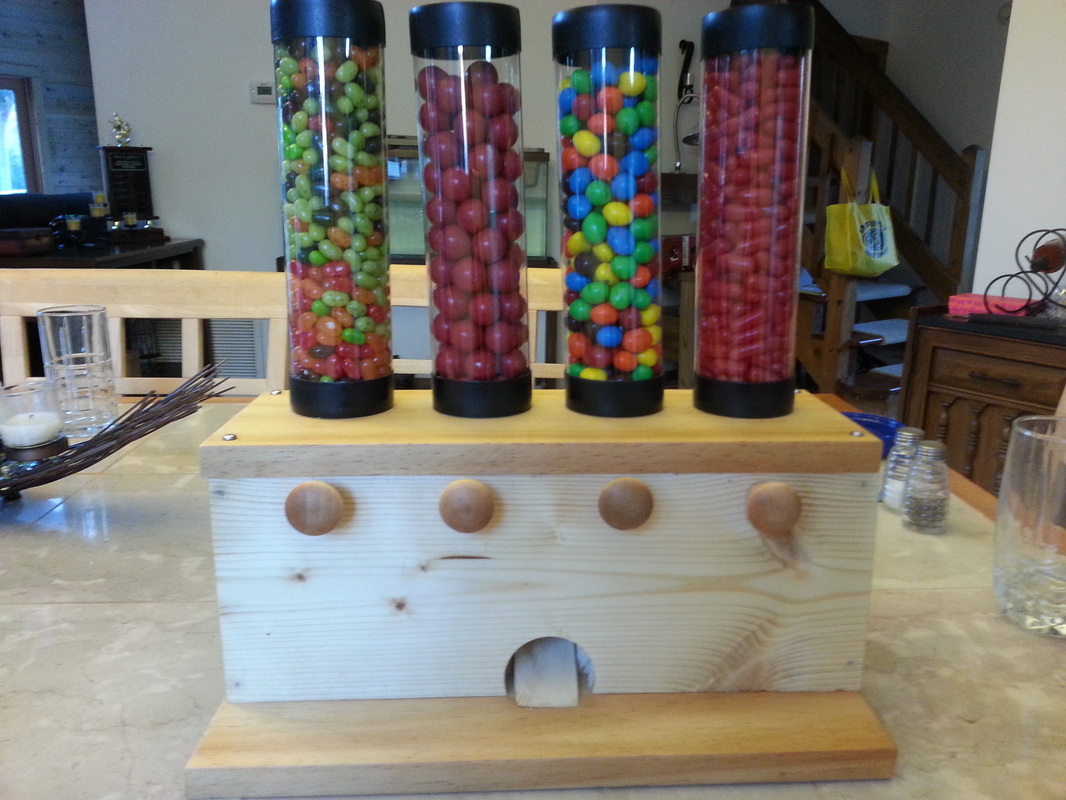
Ok this one's going way back in time...it doesn't feel that long ago to me but this year has been flying by! For Valentine's Day this year I wanted to make something fun for Ryan. Anyone who knows my husband knows that he is a candy fiend! I thought it would be fun to make him a wooden candy dispenser. I saw some online that used a mason jar but I wanted to take it a step further...
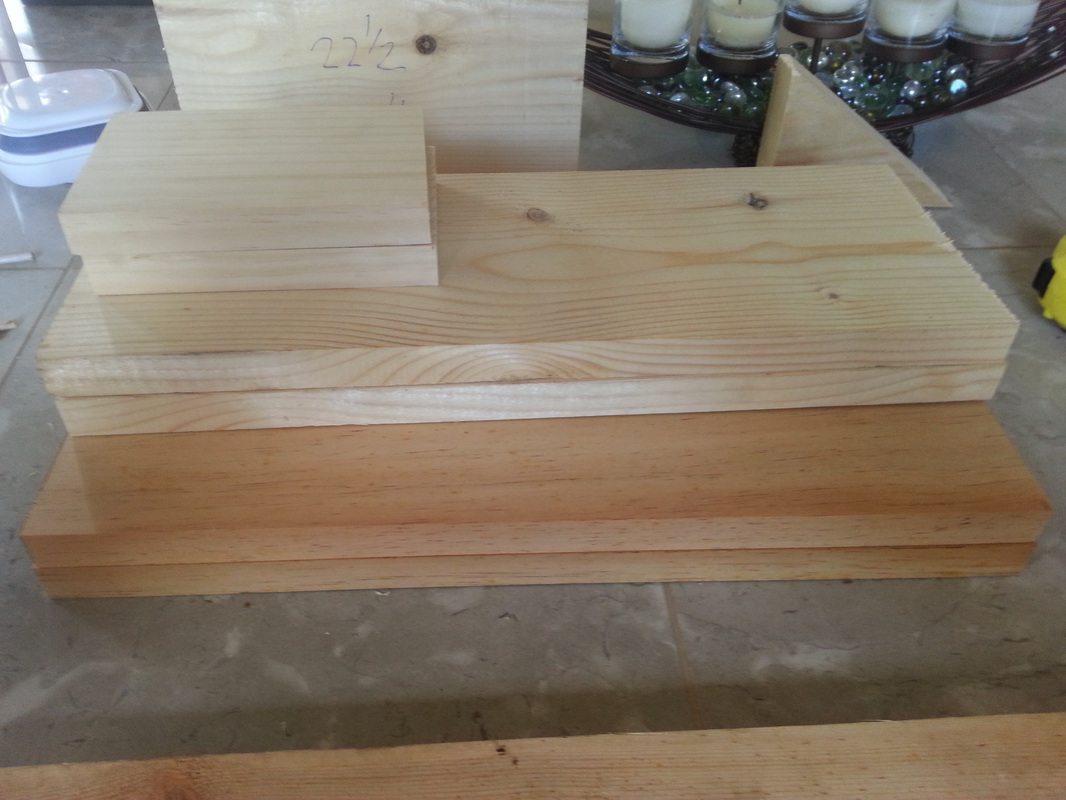
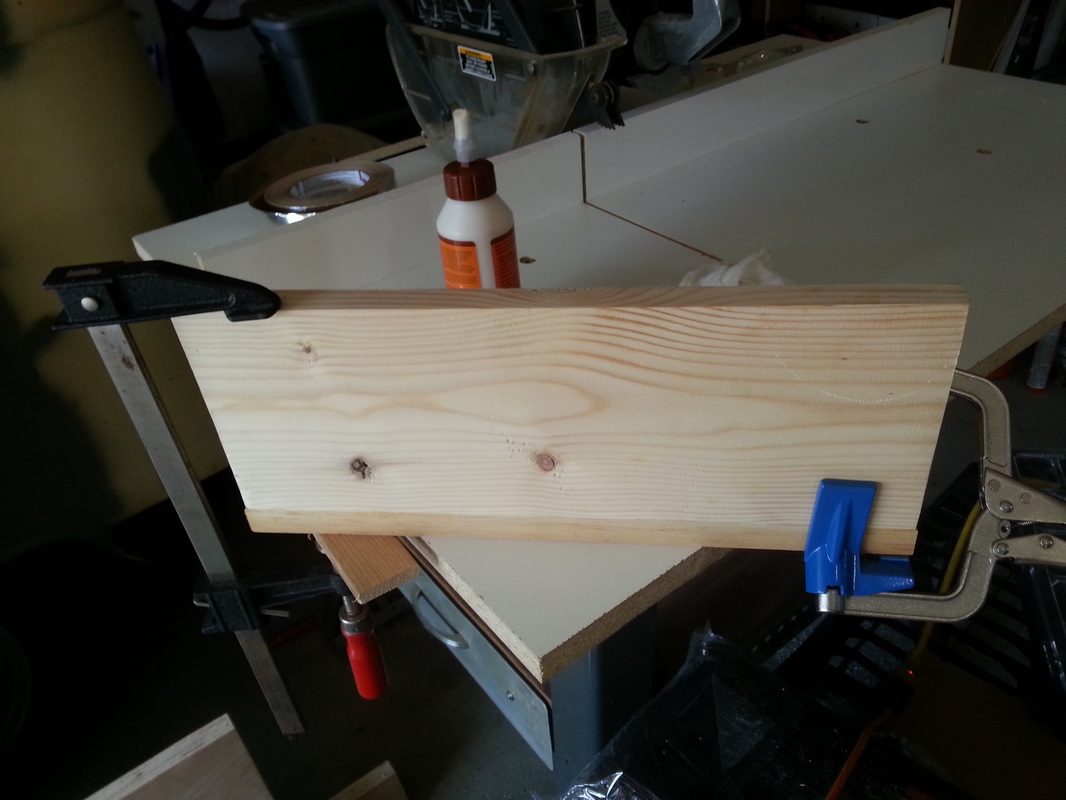
First off let me say that I don't normally do any woodworking or other similar crafts. I didn't have a pattern or plan from online. No one helped me make it. So Yes I know that it's clunky and heavier than it needs to be and yes I definitely made some mistakes. But YAY for designing this in my head on the fly and using my husband's power tools without hurting myself or breaking anything. LOL. Here's what I started with...First I decided on a rough overall dimension and then cut the boards for the bottom and the back.
 | 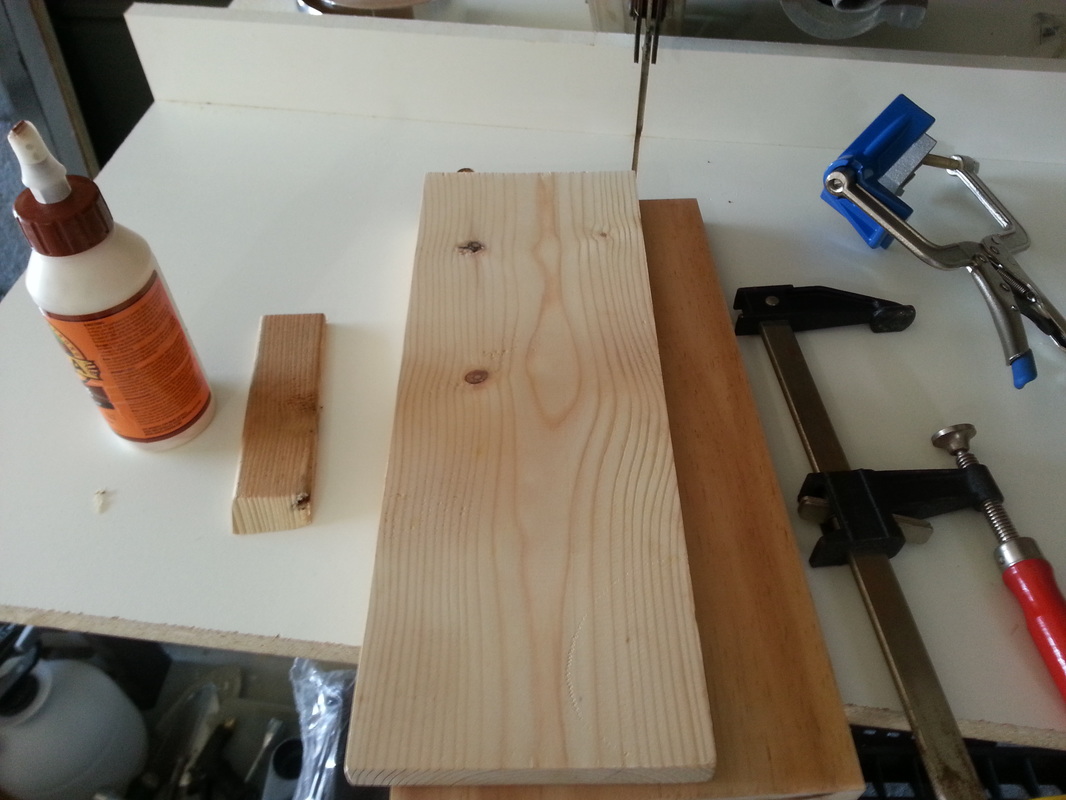 |
To put the box together I decided to use a little wood glue and the air nailer. To hold the two boards together and perfectly at 90 degrees, I used a great little tool called the Kreg Corner Clamp. Kreg makes lots of small tools that make jobs SO much easier.
 |  |
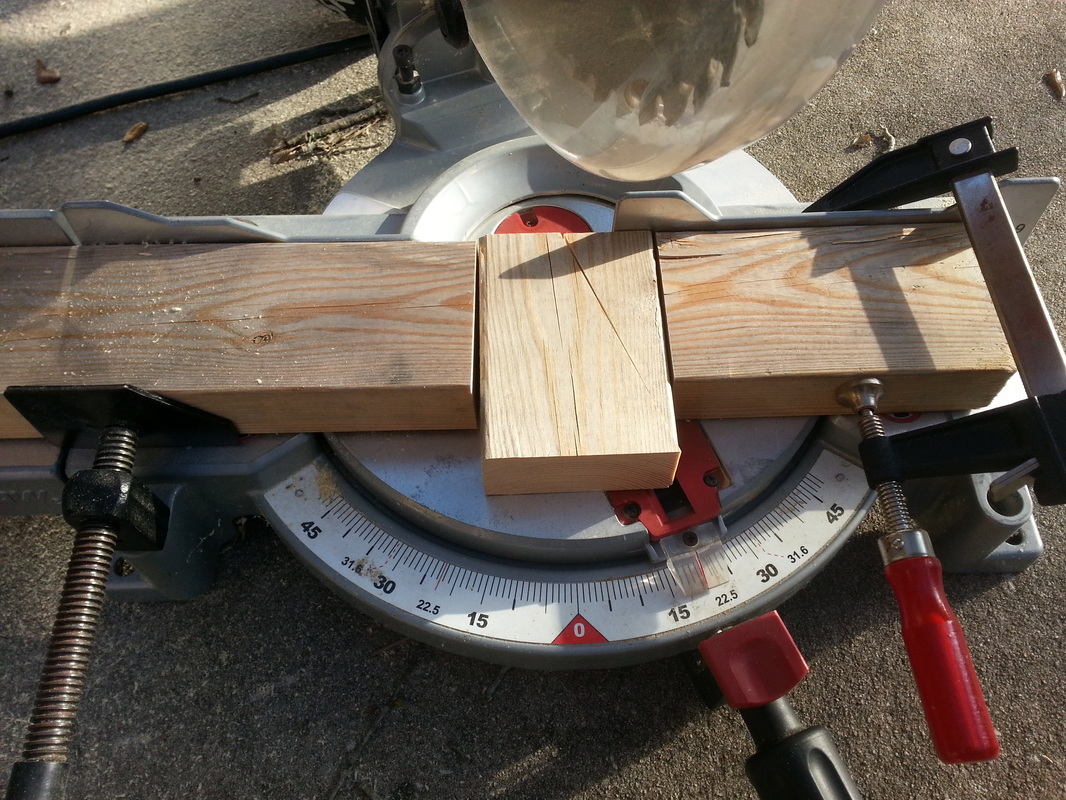
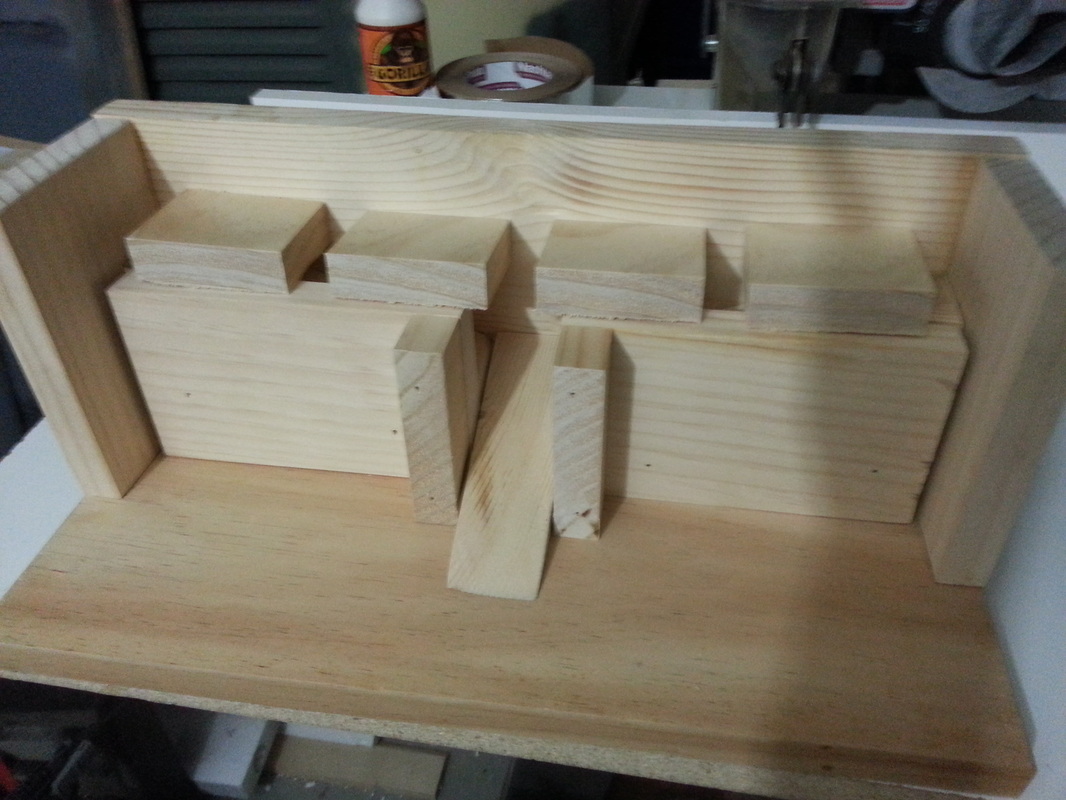
At this point I knew I wanted three or four candy jars on the top and you would pull a lever to let candy drop down out of the jar onto a ramp, where it would roll down and out an opening. I did some quick math and realized I could use a 2"x4" and cut it with a miter saw.
 | 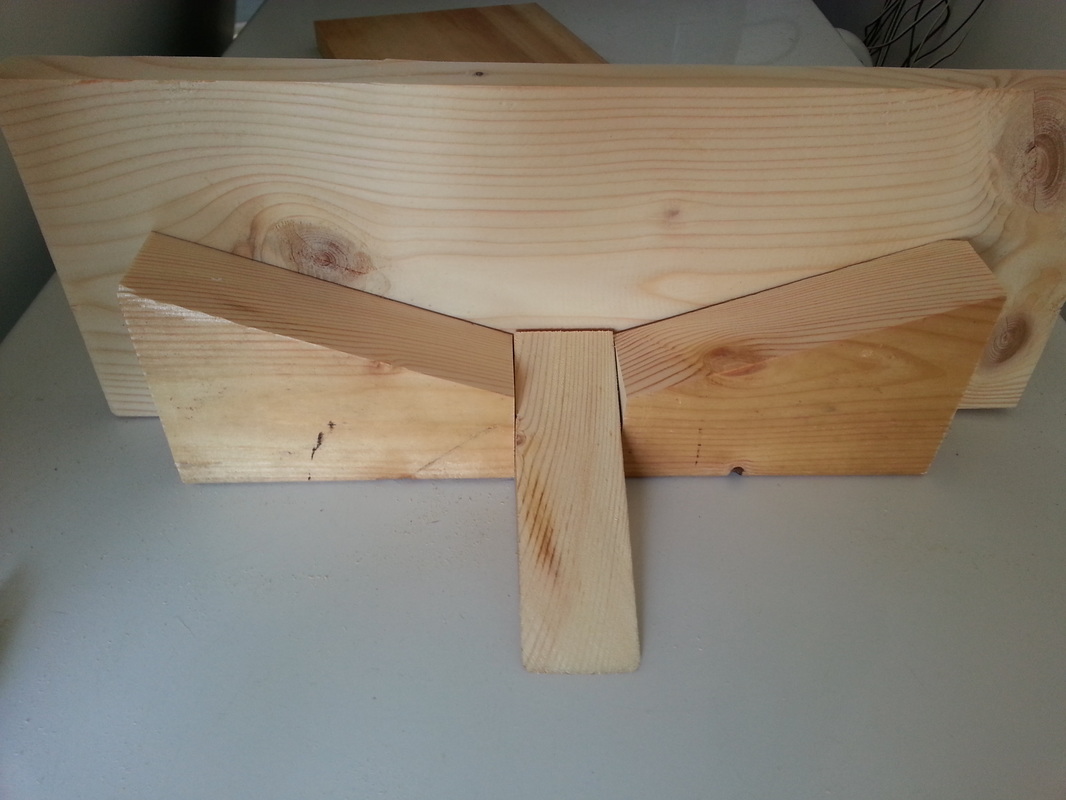 |
I cut the pieces and just set them against the back board to see if the candy would roll down the sloped pieces...they did :) I used the Kreg corner clamp to put together the back, sides and bottom boards. I put glue between the boards, clamped, wiped excess glue and then put in finish nails.
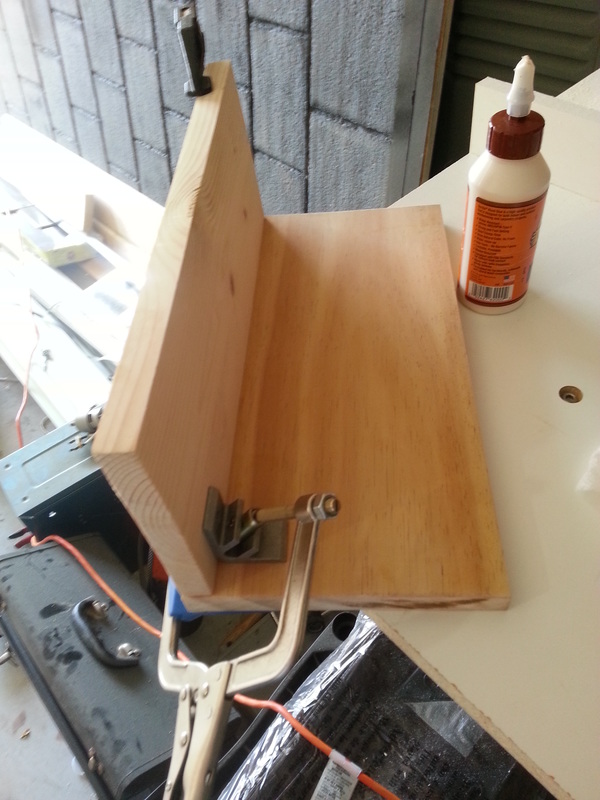
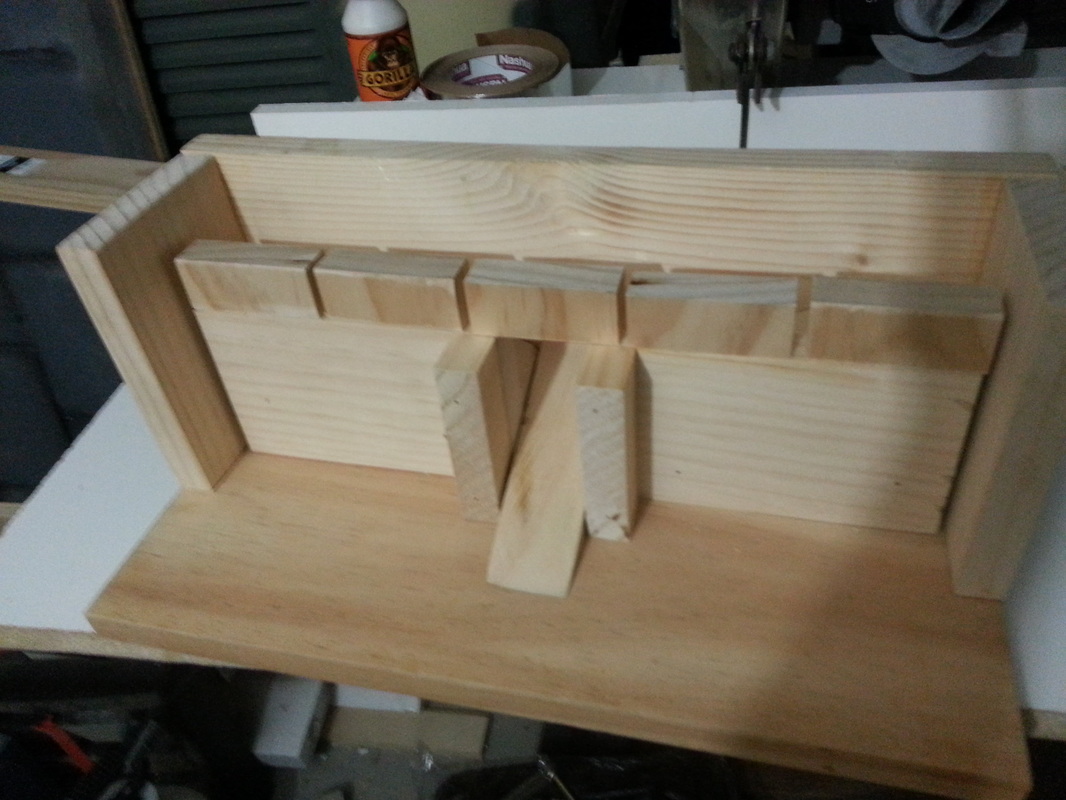
To keep the candy from falling off the side ramps, I put a little wall in front of the side ramps.
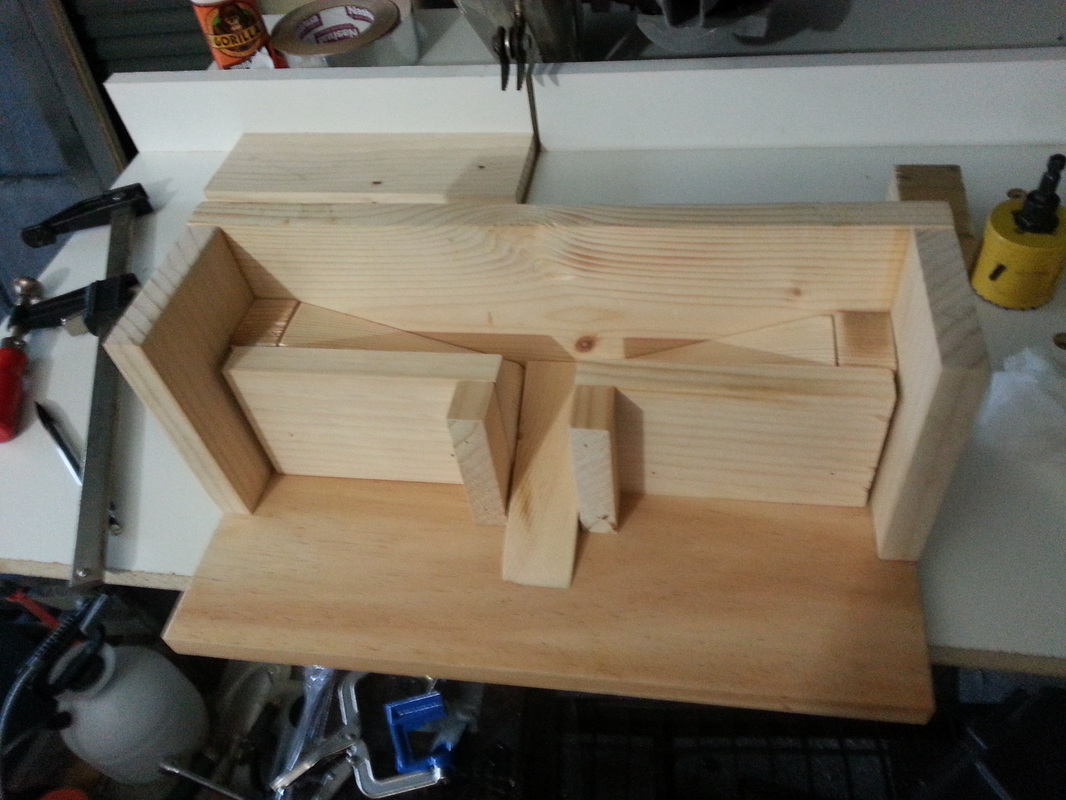
Now here's where I got in trouble - I wanted to have little blocks that block the candy openings and when you pull them out the candy falls down the ramp. But I didn't plan the height right so there would have been a gap between the blocks and the top of the dispenser so the candy would have fallen out. To fix it I had to make some little spacer blocks.
 |  |
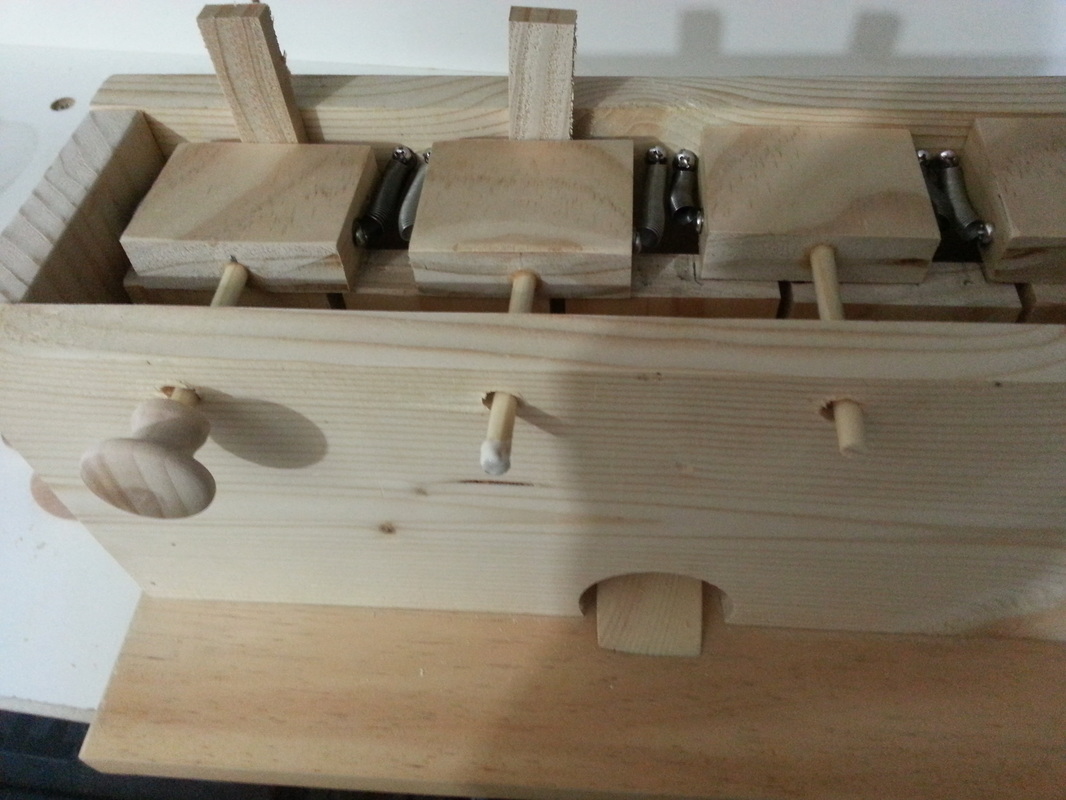
I drilled a hole in each of the candy-stops and inserted a section of dowel rod. I found some wooden cabinet pulls at home depot and bought the right sized dowel to fit in the existing opening. I put them together to see how it looked but I didn't glue it yet (you'll see why in a minute)
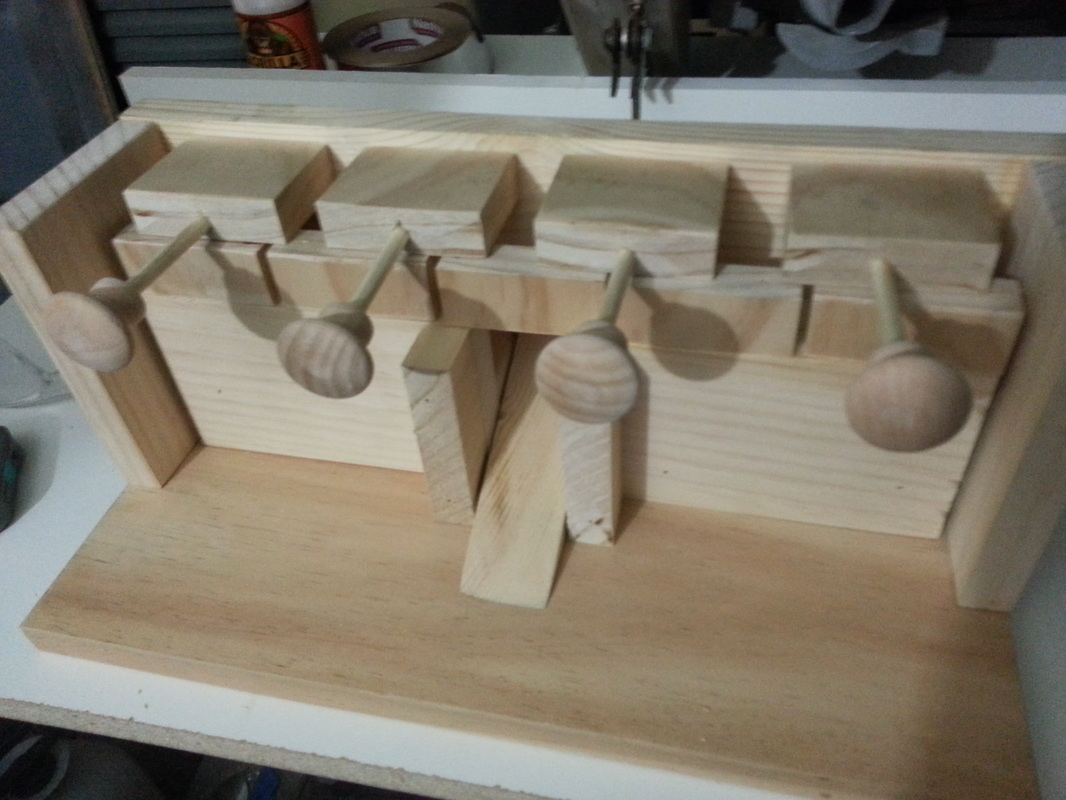
Are you starting to see it come together yet? No? Not yet? Well stay with me. I decided that I wanted the blocks to be spring loaded - so you pull the handle out, the candy falls on the ramp and when you let go of the handle it snaps closed again. At this point I glued the dowels into the blocks. I bought a small pack of various springs from Home Depot and I just guesstimated where to put the springs. I needed to make sure it would snap all the way closed AND that you could pull them all the way to the fully open position.
Once the blocks were installed with screws, I test out the idea of dropping candy from above them (still working!) and then I was ready to put on the front of the box. I set the front up against the dowels and marked the final position of the holes to account for misalignment between the holes/blocks. I used the hole saw to cut a mouse hole at the bottom where the center ramp pokes through. The top board isn't glued on yet...
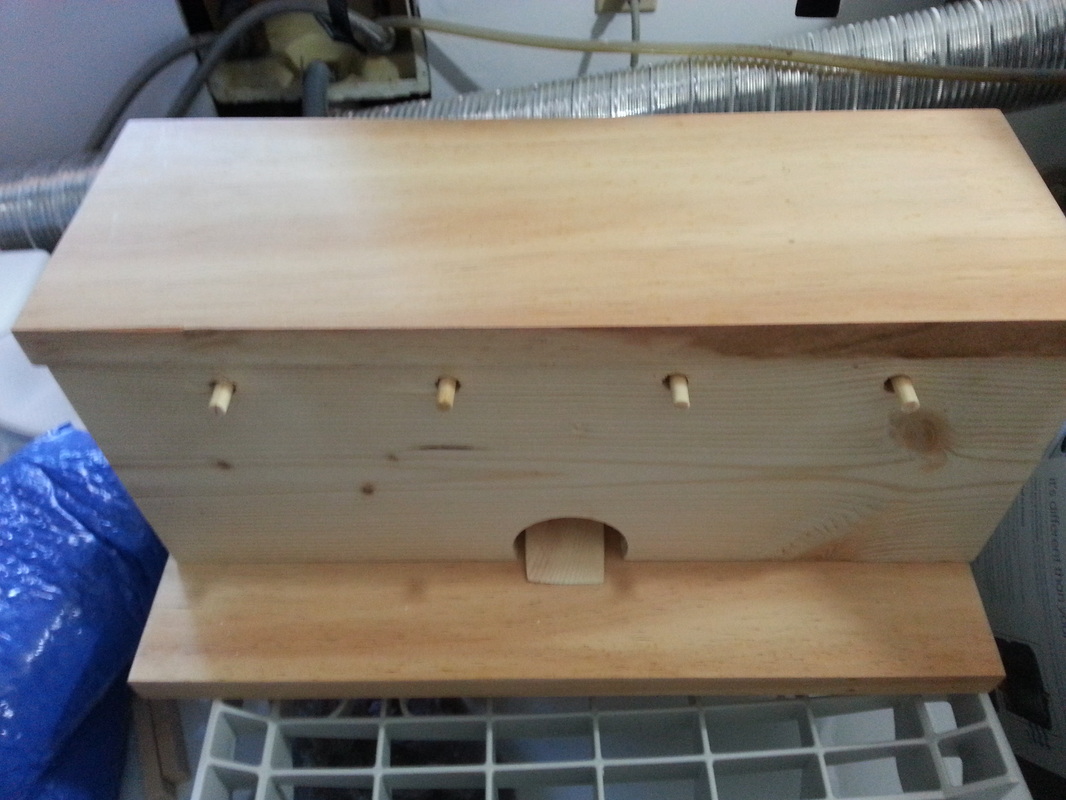 | 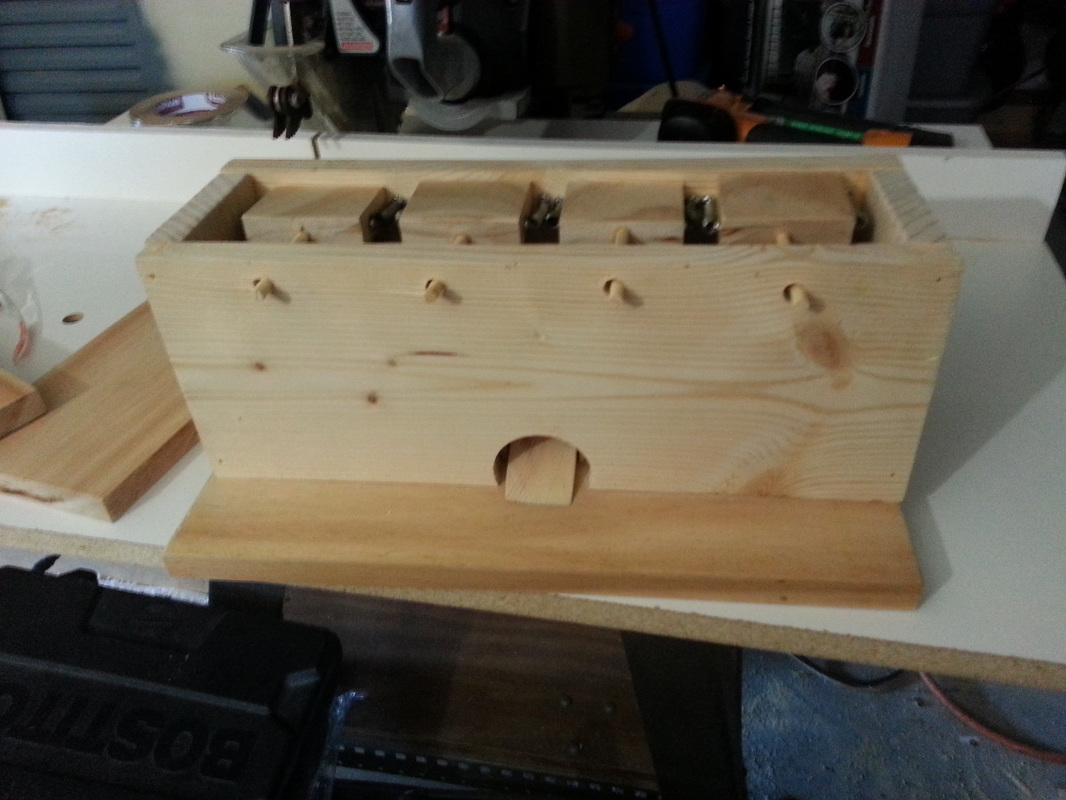 |
I glued and nailed the front board on and then I could glue on the wooden handles. I put a small shim behind the spring-loaded blocks. That made it so the dowels stuck out a little farther and I could put them on easier. It also ensured that if any glue squeezed out around the dowel that I wouldn't accidentally glue the handle to the front board.
Next it was time to attach the candy jars to the top board before I could put the rest together. Rather than use glass jars, I found these clear plastic cylinders with plastic caps. They are mailing tubes but they are food safe. I liked that they had a lid on both ends so that you could screw one lid to the board to hold the tube onto the dispenser and it would still have a lid on the top to refill the tubes. The mason jar candy dispensers have to be flipped upside down to refill which seemed impractical if you want to have multiple jars of candy (and heavy!). I spaced the tubes on the board, marked the locations and drilled the holes with a small hole saw/bit. Then I screwed on the plastic lids and used the same hole saw to open the hole thru it as well.
So close!! All I had to do was sand down the edges and seal the outside. Later I added some vinyl lettering that says "Moore Candy" but I don't have a pic of it. He was SOO surprised...he thought I was building a nut and bolt organizer (which he definitely doesn't need). And of course I didn't forget to fill it with his favorite candies!