Now that all of the center squares are sewn and the outer ring pieces are ready to be attached, we can complete all the blocks for the quilt top.
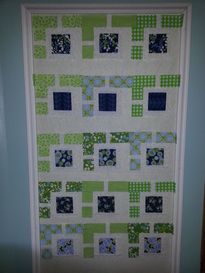
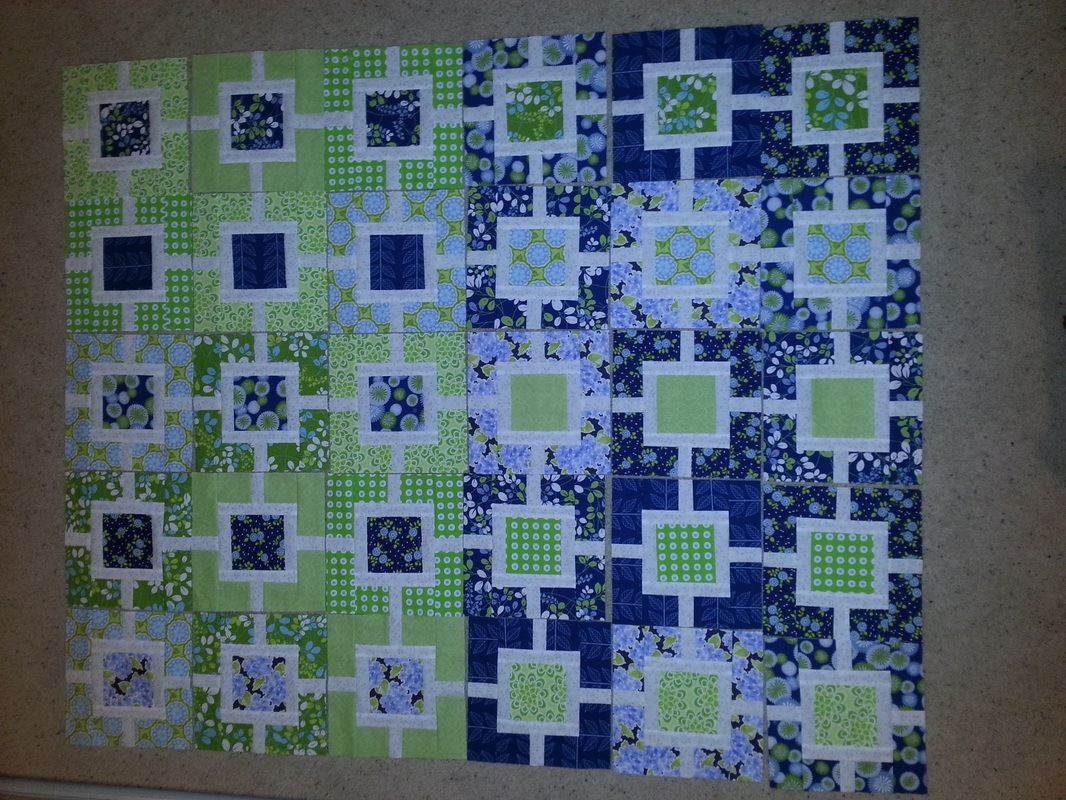
As I mentioned in the Garden Fence Quilt Planning post, each green and blue fabric in my quilt will be used for three center squares and three outer rings. Once I was ready to piece the blocks together, it’s time to put them all on the design wall and decide which inner square fabrics I want to pair with which outer ring fabrics.
 |  |
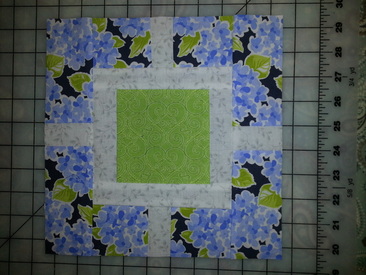
Similar to how we sewed the sashing to the center squares, sew the outer ring pieces to the center squares. For these I did pin them to keep everything from shifting. First sew on the side (shorter) pieces:
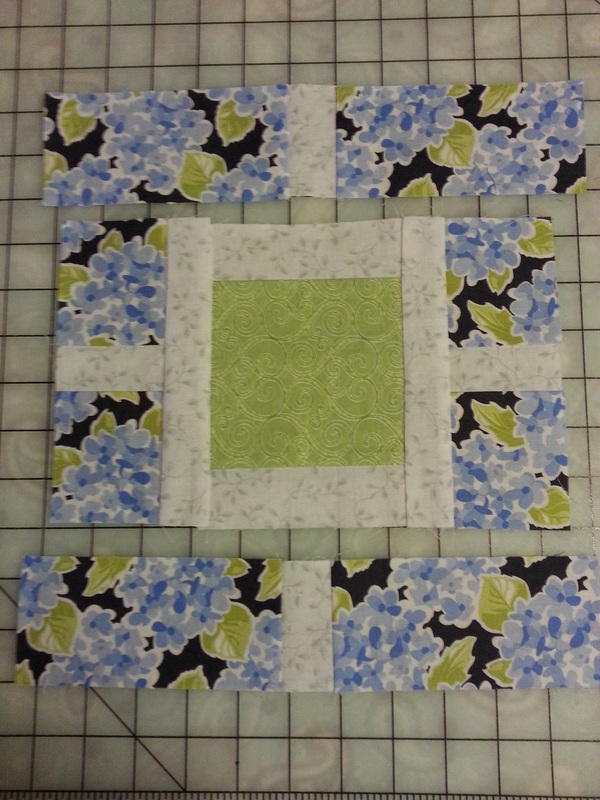
Then sew on the top and bottoms. Press and you have a completed block.
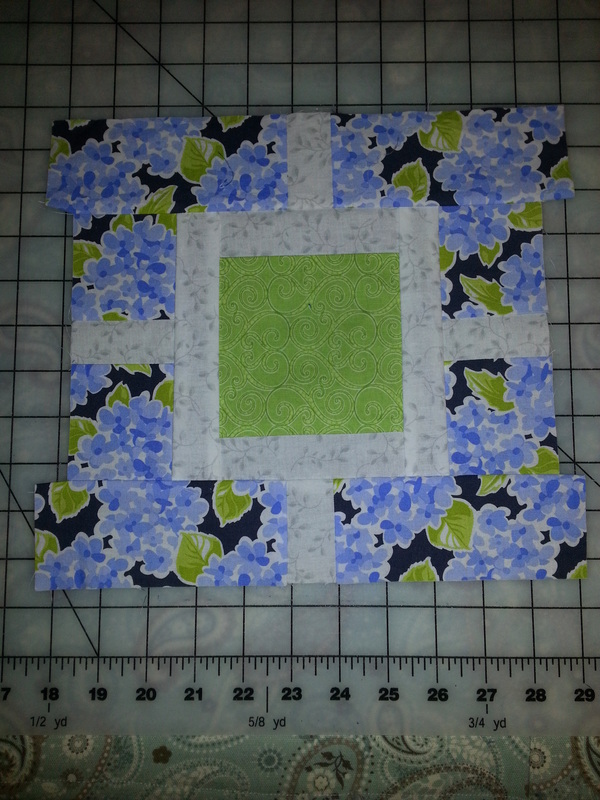
Notice how on my block the top and bottom pieces came out longer than the sides? They shouldn’t have done that. Either I didn’t cut the pieces out precisely, or my seam allowances weren’t exactly a quarter inch. But that’s ok – since we are making a quilt with square blocks, it’s more important that they are all the same size than it is to have them come out the perfect size. After I pieced all the blocks, I measured them all to see what the smallest size blocks were (10” x 10” in my case) and then I squared up all blocks and trimmed them to that size.

Once they’re trimmed, you should have 30 completed quilt blocks ready to assemble into a quilt top!
See all Garden Fence Quilt posts:


